Einleitung
To remove the lens assembly, you must remove some internal parts first. Some of these screws are in tight places, so they will be tedious to access.
Was du brauchst
-
-
Pop up and pull back on the clip to remove the screen cover and expose the back panel with the touchscreen.
-
-
-
Use the metal spudger to pry around the perimeter of the panel.
-
Pry the panel upwards by inserting the metal spudger into the corner crease between the panel and camera shell.
-
-
-
Pry around the panel to ensure it is not attached to the device.
-
Move the panel to the side so you can access the internal components.
-
-
-
Peel back the rear panel ribbon cable that is adhered to the battery until it is completely separated from the battery.
-
-
-
Place the plastic opening tool at one of the edges of the battery then pry until the battery is removed from the GoPro.
-
-
-
-
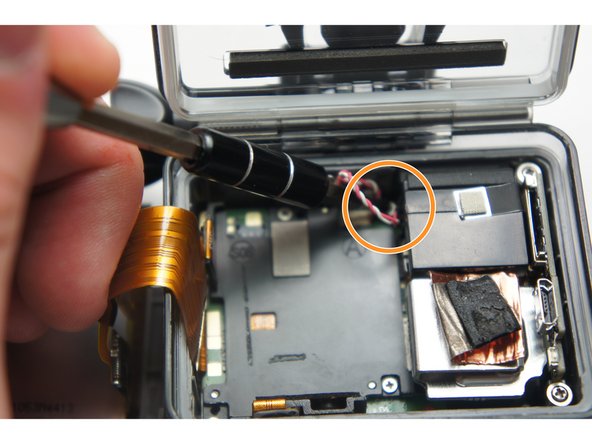
Use a pair of tweezers to disconnect the battery connector from the motherboard.
-
Gently pull the battery off the motherboard. Pulling vertically off the motherboard will give a clean release.
-
-
-
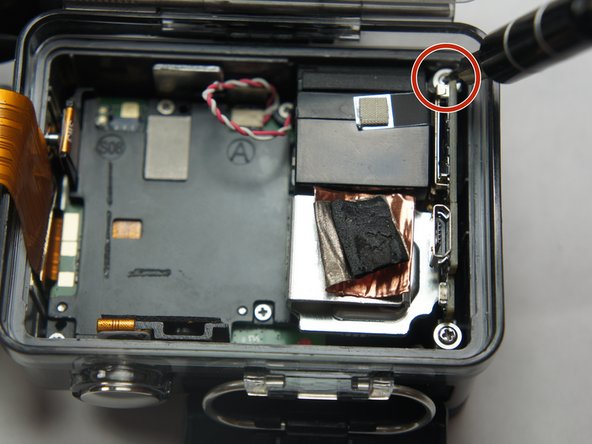
Remove the two 6 mm Phillips #00 screws.
-
Remove the single 4 mm Phillips #000 screws.
-
-
-
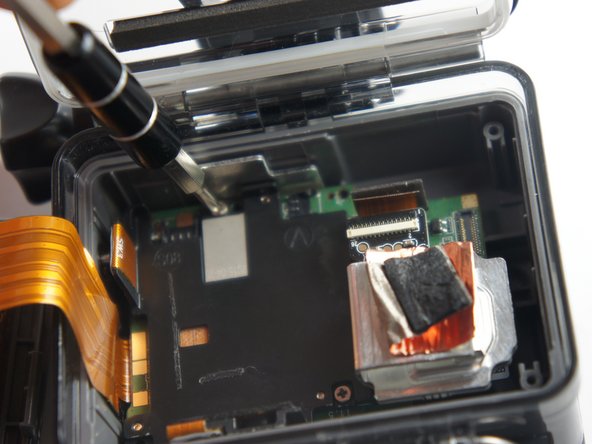
Grab the edge of the ribbon cable with the tweezers and gently pull until the cable is disconnected from the motherboard.
-
-
-
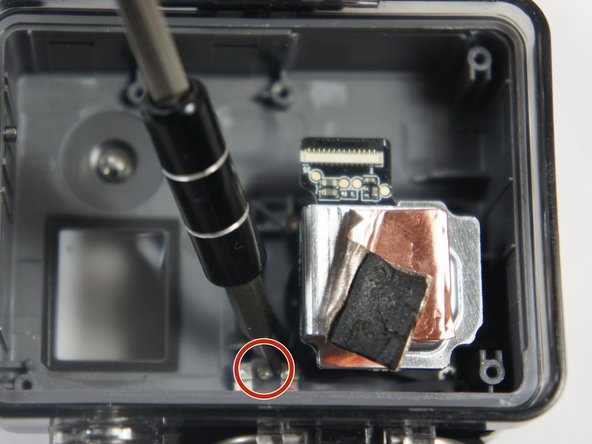
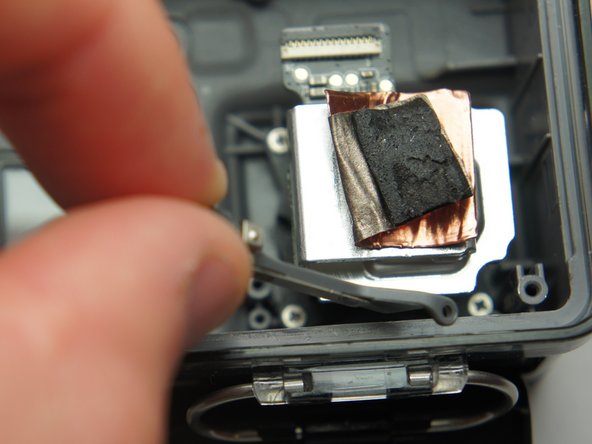
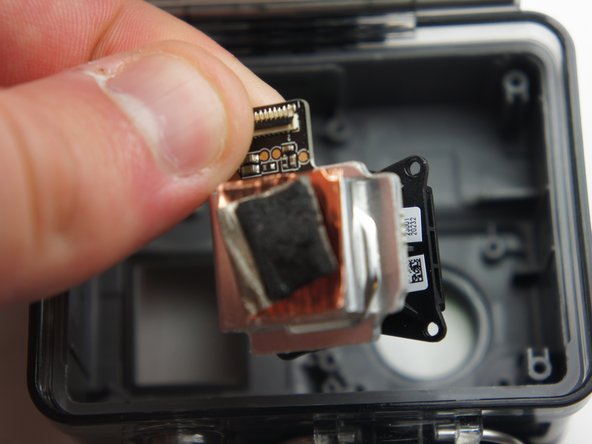
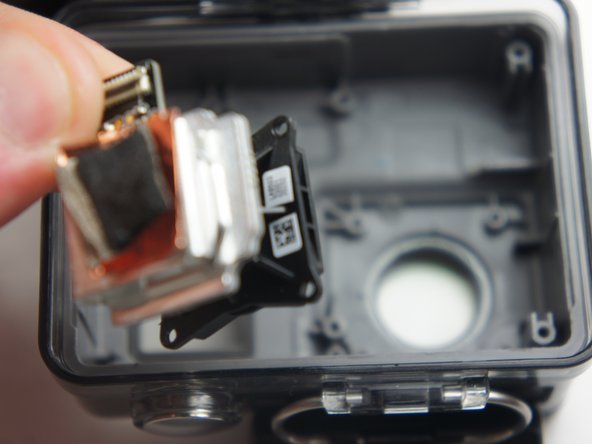
Use your fingers and gently pull out the sensor from the motherboard by slowly and gradually pulling up on the image sensor box.
-
-
-
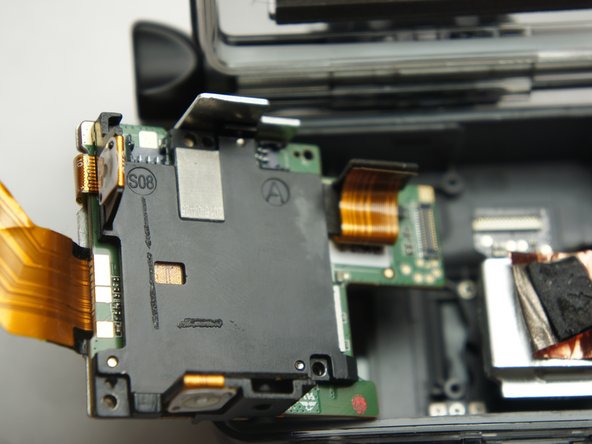
Remove the three 4 mm Phillips #000 screws securing the motherboard.
-
-
-
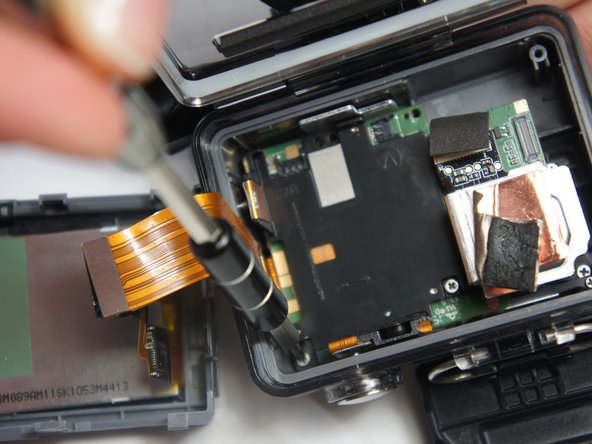
Use your fingers and carefully pull out the motherboard from under the lens. It may take a little bit of adjusting to get it out.
-


To reassemble your device, follow these instructions in reverse order.
To reassemble your device, follow these instructions in reverse order.
Rückgängig: Ich habe diese Anleitung nicht absolviert.
2 weitere Nutzer:innen haben diese Anleitung absolviert.
Team

USF Tampa, Team 2-4, Blackwell Fall 2015 Mitglied von USF Tampa, Team 2-4, Blackwell Fall 2015
USFT-BLACKWELL-F15S2G4
4 Mitglieder
20 Anleitungen geschrieben
2 Kommentare
I'm curious if you have any suggestions for sourcing the replacement part.