Diese Version enthält möglicherweise inkorrekte Änderungen. Wechsle zur letzten geprüften Version.
Was du brauchst
-
Dieser Schritt ist noch nicht übersetzt. Hilf mit, ihn zu übersetzen!
-
Pull off the Google Home’s magnetically attached base and set it aside.
-
Using a Torx T6 screwdriver head, unscrew the four 1.7mm Torx screws deep in the speaker recess so that you can remove the lid.
-
After all four screws are out, pop the lid off the device to open the capsule.
-
-
Dieser Schritt ist noch nicht übersetzt. Hilf mit, ihn zu übersetzen!
-
Carefully remove the interconnect cable using a pair of tweezers.
-
-
-
Dieser Schritt ist noch nicht übersetzt. Hilf mit, ihn zu übersetzen!
-
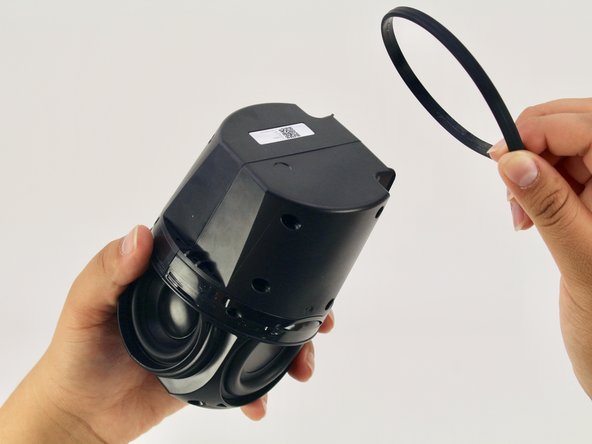
Remove the ‘O-ring’ that wraps around the device holding the switch panel in place.
-
-
Dieser Schritt ist noch nicht übersetzt. Hilf mit, ihn zu übersetzen!
-
Using a Torx T6 screwdriver head, unscrew the four black 1.7mm Torx screws.
-
Remove the panel and the mute button switch. If done correctly you should now be able to see the device’s guitar-shaped motherboard.
-


Rückgängig: Ich habe diese Anleitung nicht absolviert.
Ein:e weitere:r Nutzer:in hat diese Anleitung absolviert.
Team

Cal Poly, Team S24-G11, Maness Spring 2018 Mitglied von Cal Poly, Team S24-G11, Maness Spring 2018
CPSU-MANESS-S18S24G11
4 Mitglieder
5 Anleitungen geschrieben