Einleitung
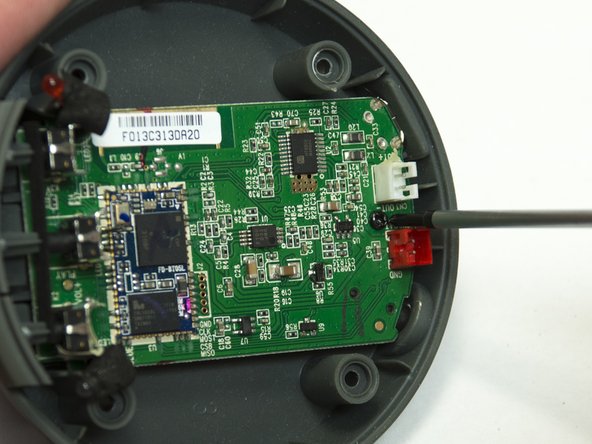
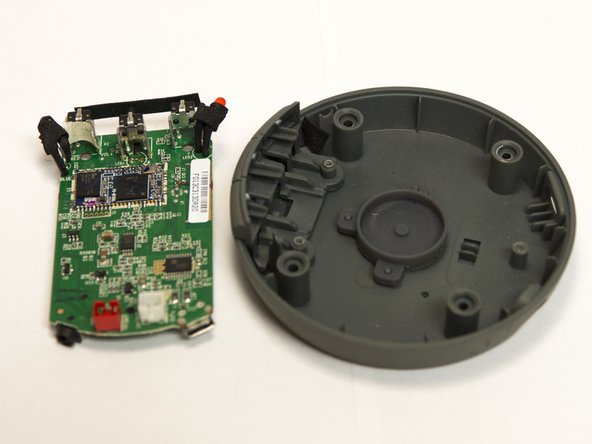
This guide provides steps for replacing a damaged Line In Jack on the HMDX Jam Plus. This guide requires previous soldering skill and utilizes a Micro Soldering Iron. This guide is should not be attempted by beginners. If performed incorrectly the device may not function anymore.
Was du brauchst
-
-
Flip the device over so the bottom is facing up.
-
Use the large plastic opening tool to gently pry the rubber base from the device.
-
Slowly move the plastic opening tool around the edge of the rubber base to separate it from the plastic.
-
-
-
Use a Phillips #1 screwdriver to remove the four black 9mm screws from the device.
-
-
-
Gently separate the base from the rest of the device to reveal the battery and the main board.
-
-
-
-
Carefully use the plastic opening tool to remove the glue around the battery and speaker connectors.
-
Pull gently on the connectors to separate each one from the main board.
-
-
-
Use the plastic opening tool to gently pry the battery free from the rest of the device.
-
-
-
Remove the three black 6mm screws from the main board using a Philips #00 screwdriver.
-
-
-
Carefully lift the main board away from the plastic.
-
Lift the side with the buttons first and be careful not to damage the Line In Jack or the Micro USB Jack.
-
-
-
Use the Micro soldering iron to heat up each pad and use the desoldering wick to wick up the melted solder.
-
The surface mount jack should pull from the surface without much force. Use tweezers to apply upward pressure on on the jack.
-
To reassemble your device, follow these instructions in reverse order.
To reassemble your device, follow these instructions in reverse order.
Rückgängig: Ich habe diese Anleitung nicht absolviert.
Eine weitere Person hat diese Anleitung absolviert.


