Einleitung
This guide will detail the process of removing the Hard Disk Drive (HDD) from the laptop.
Was du brauchst
-
-
Unclip the two latches on the bottom of the laptop.
-
Slide the battery straight out while holding the clip open.
-
-
-
Using the Phillips #0 screwdriver, remove the 7.5mm screw from the underside of the plastic frame that holds the disc tray in place.
-
-
-
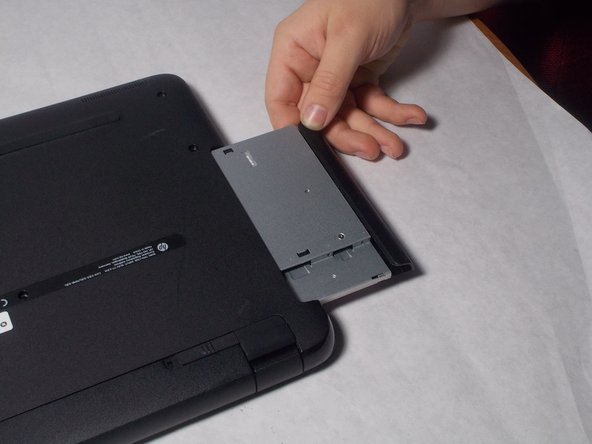
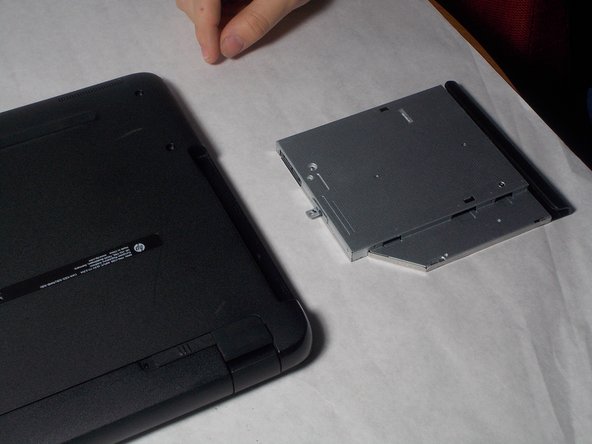
Remove the disk tray assembly by sliding it out from the side using the blue plastic opening tool.
-
-
-
Remove all of the remaining back panel screws with a #0 Phillips head screwdriver.
-
-
-
-
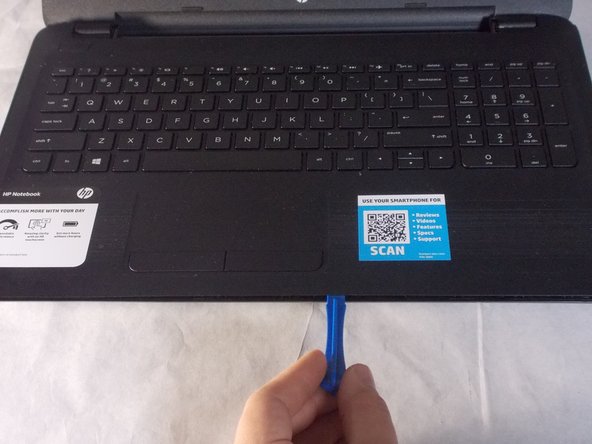
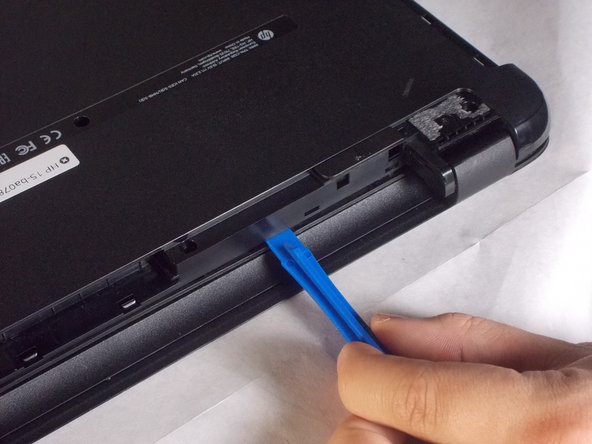
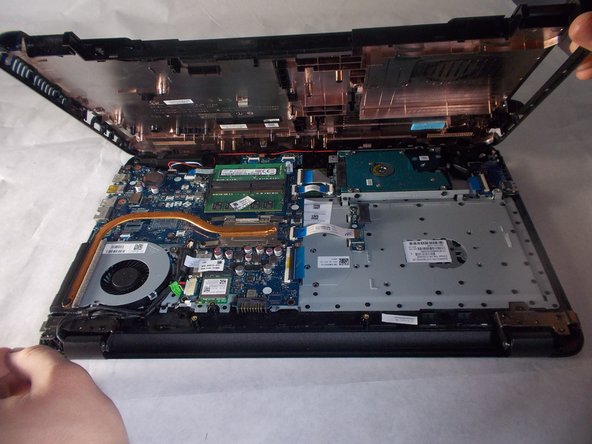
Carefully use the blue plastic opening tool to pry the clam shell of the laptop apart.
-
-
-
Using a black nylon spudger, disconnect the black connector that attaches the hard drive to the motherboard
-
-
-
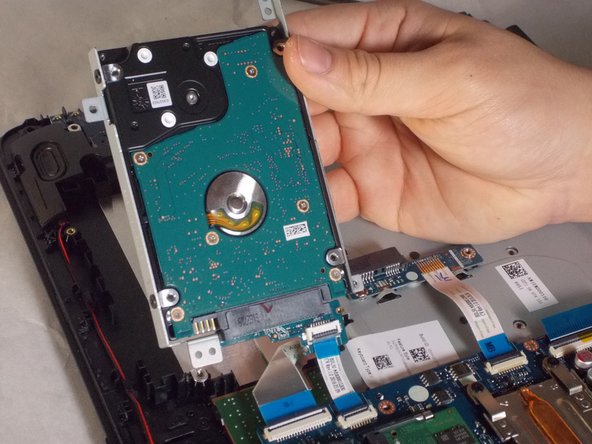
Using the Phillips #0 screwdriver, unscrew the three screws holding the hard drive down to the board.
-
-
-
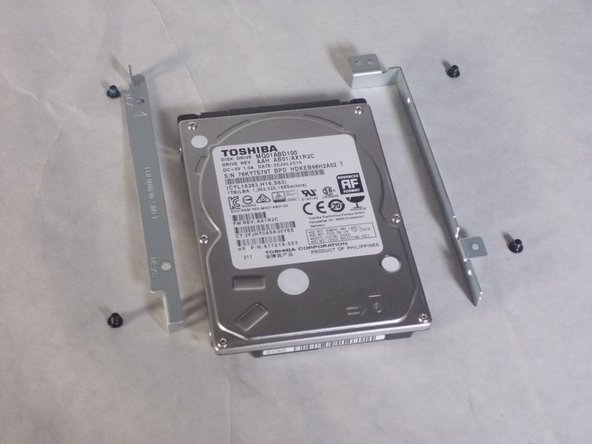
Using the Phillips #0 screwdriver, unscrew the four screws from the holding apparatus.
-


To reassemble your device, follow these instructions in reverse order.
To reassemble your device, follow these instructions in reverse order.
Rückgängig: Ich habe diese Anleitung nicht absolviert.
3 weitere Personen haben diese Anleitung absolviert.
Team

UMass Dartmouth, Team S3-G4, Peak Spring 2018 Mitglied von UMass Dartmouth, Team S3-G4, Peak Spring 2018
UMASSD-PEAK-S18S3G4
3 Mitglieder
6 Anleitungen geschrieben
3 Kommentare
Can you provide the HDD model number for replacement? Also the model number or description of a compatible HDD with higher capacity.
Thank You
Today, while disassembling my HP 15-BA078DX I had an issue trying to get the shell apart. I didn't realize that there was a screw under each rubber foot by the hinges. It would have saved me a whole lot of trouble had I known that. Very important to get those 2 screws out, otherwise you will risk breaking out the corner on the backside of the keyboard tray....... like I did. Fortunately for me, I was able to use some 2-part epoxy (the kind that works on plastic) to glue the hinge back down to the shell. Had the author pointed out those 2 screws in particular, in the pictorial, things would have gone way easier. Hopefully, this will help the next guy.