Einleitung
Does the case of your laptop have scratches, dents, or you just want to do a deep clean? Well, then this is the guide for you. This guide will direct you through the steps to removing the back panel of an HP15-AC121DX. Doing this will reveal the heart and soul of your computer allowing you to replace more than just the case, and ensure your electronics are dust-free.
Was du brauchst
-
-
Remove all external devices from the computer.
-
Remove the charging cord from the computer.
-
-
-
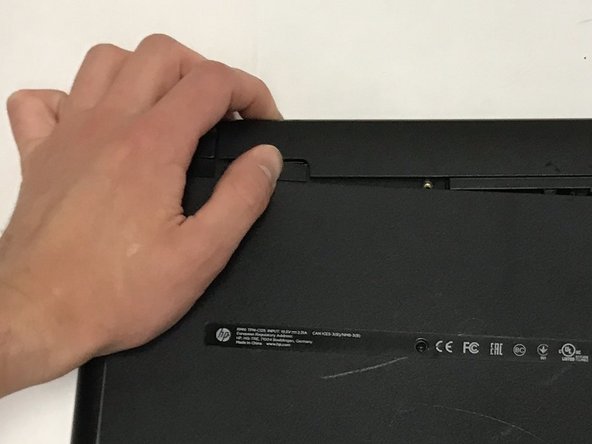
To remove the battery, slide the left slider on the back to the unlocked position.
-
-
-
-
Push the right slider inwards.
-
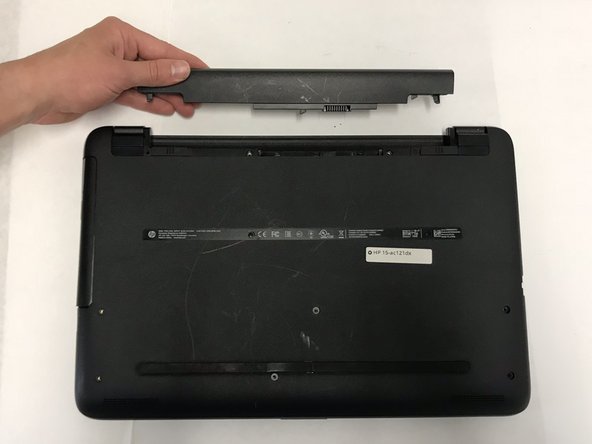
Remove the battery out by pulling straight out and to the right.
-
-
-
Place the laptop with the back panel facing up and the battery compartment facing away from you.
-
Using a spudger, carefully remove the rubber feet on both sides of the battery compartment.
-
-
-
Using a Phillips #000 screwdriver, remover the ten 7mm screws on the back panel.
-
Using the same screwdriver, remove the two 5mm Phillips #000 screws on both sides of the battery compartment.
-
-
-
With the same orientation as the previous step, locate the bottom left corner.
-
Using a plastic opening tool, carefully pry off and remove the back panel.
-


To reassemble your device, follow these instructions in reverse order.
To reassemble your device, follow these instructions in reverse order.
Rückgängig: Ich habe diese Anleitung nicht absolviert.
2 weitere Personen haben diese Anleitung absolviert.
Team

The Citadel Military College of South Carolina, Team S3-G9, Eggleston Fall 2019 Mitglied von The Citadel Military College of South Carolina, Team S3-G9, Eggleston Fall 2019
CMCSC-EGGLESTON-F19S3G9
3 Mitglieder
4 Anleitungen geschrieben