Einleitung
This guide will teach you how to replace the broken fan in your HP 15-ac121dx laptop to prevent the device from overheating.
Was du brauchst
-
-
Remove all external devices from the computer.
-
Remove the charging cord from the computer.
-
-
-
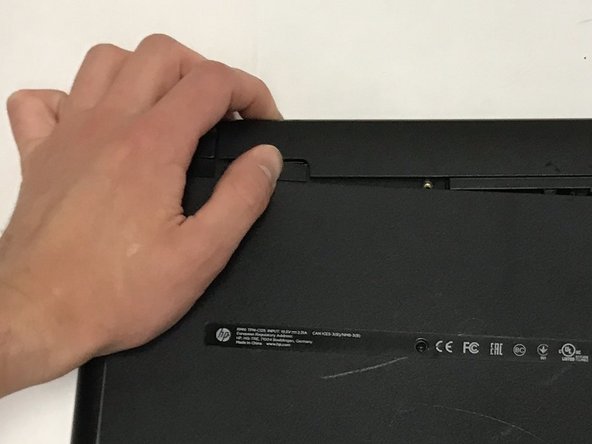
To remove the battery, slide the left slider on the back to the unlocked position.
-
-
-
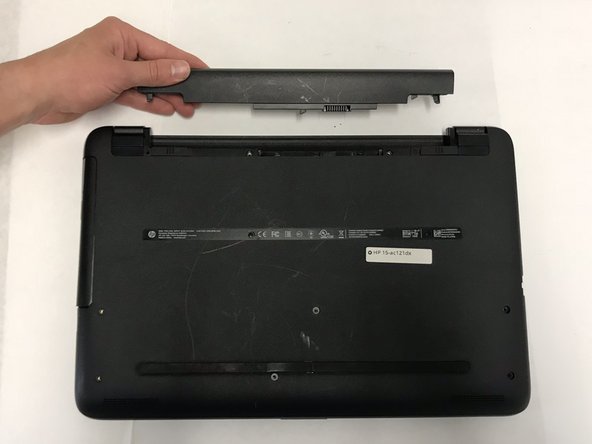
Push the right slider inwards.
-
Remove the battery out by pulling straight out and to the right.
-
-
-
-
Remove the back of the laptop by unscrewing the screws shown.
-
Also remove the other 5 Phillips screws lining the back cover.
-
-
-
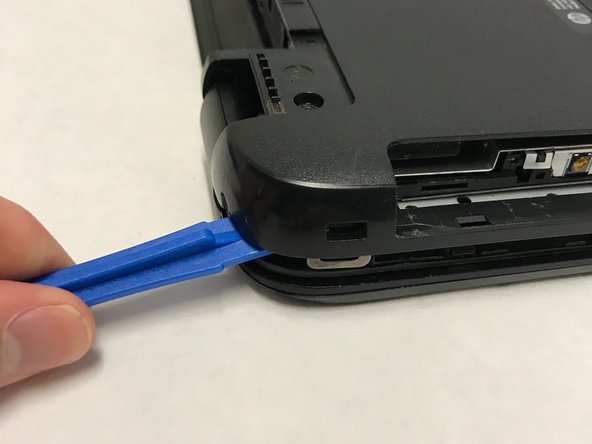
Using the prying tool, wedge it underneath the back of the laptop and do the same all around until the back comes off.
-
Dont forget to unscrew 2 screws under 2 plastic tabs (one on each hing). The lid will not come off without them being removed!
-
-
-
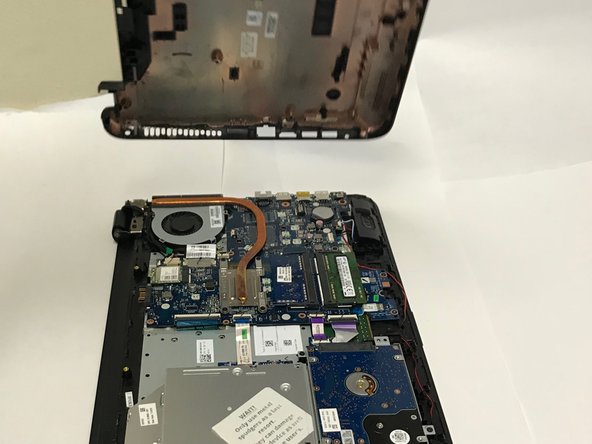
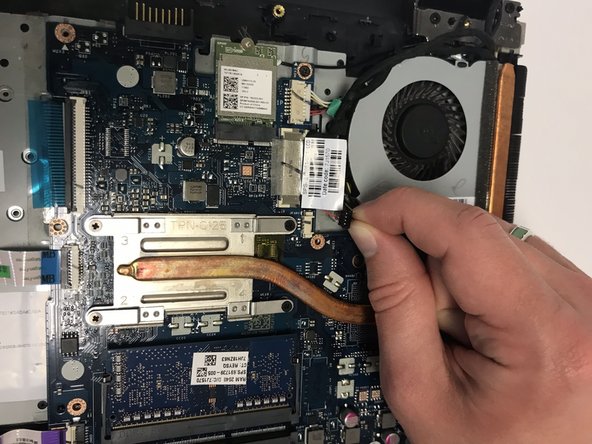
Locate the Fan as shown.
-
Pull out the black cable, with four wires attached from its port.
-
-
-
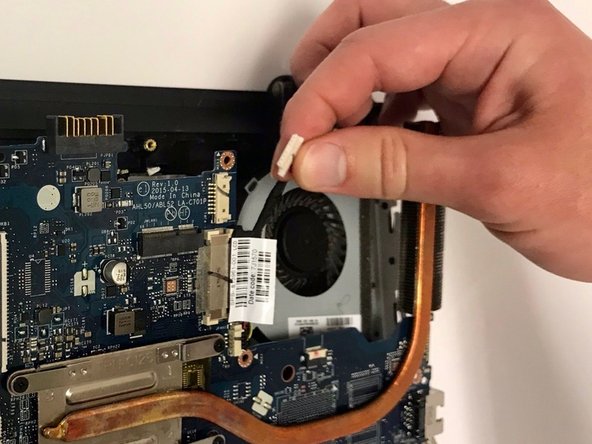
Pull out the white cable wire from its port.
-
Unscrew the two black Phillips screws holding in the fan.
-


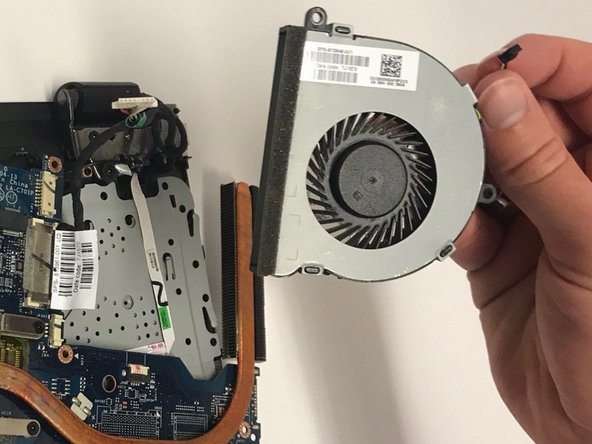
Replace fan. To reassemble your device, follow these instructions in reverse order.
Replace fan. To reassemble your device, follow these instructions in reverse order.
Rückgängig: Ich habe diese Anleitung nicht absolviert.
Eine weitere Person hat diese Anleitung absolviert.
Team

Baylor, Team S1-G2, Johnson Spring 2018 Mitglied von Baylor, Team S1-G2, Johnson Spring 2018
BU-JOHNSON-S18S1G2
3 Mitglieder
6 Anleitungen geschrieben