Einleitung
This guide will instruct users in removing and replacing the optical disk drive of their HP 15-ay091ms device. The optical drive allows users to insert and play media on their device. The optical disk drive malfunctioning can become an issue for users who rely on this function.
Was du brauchst
-
-
Push the latches on either side of the battery down and outward.
-
Remove the battery.
-
-
-
-
Remove the screws from the bottom panel using a JIS #0 screwdriver.
-
Use the iFixit opening pick to lift the back cover from the device.
-
-
-
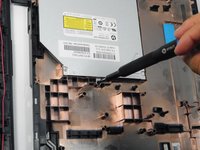
Remove the screws holding the optical drive in place using a JIS #0 screwdriver.
-
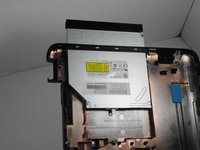
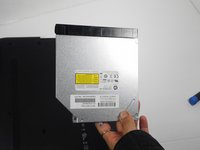
Pull the optical disk drive out of its slot.
-


To reassemble your device, follow these instructions in reverse order.
To reassemble your device, follow these instructions in reverse order.
Team

Gateway, Team A-1, Gonzalez Fall 2023 Mitglied von Gateway, Team A-1, Gonzalez Fall 2023
GCC-GONZALEZ-F23SAG1
4 Mitglieder
3 Anleitungen geschrieben