Einleitung
This guide will provide you step-by-step instructions to successfully replace your HP 15-dw2065st laptop's fan.
The fan is a vital part in maintaining your laptop's temperature. If the fan stops working, you will need to repair it fast to prevent other parts from malfunctioning or worse, breaking.
For your safety, please ensure that the laptop is completely powered off, unplugged, and that you have grounded any static on you before continuing.
Was du brauchst
-
-
Close the screen and flip the laptop over so the backside is facing up.
-
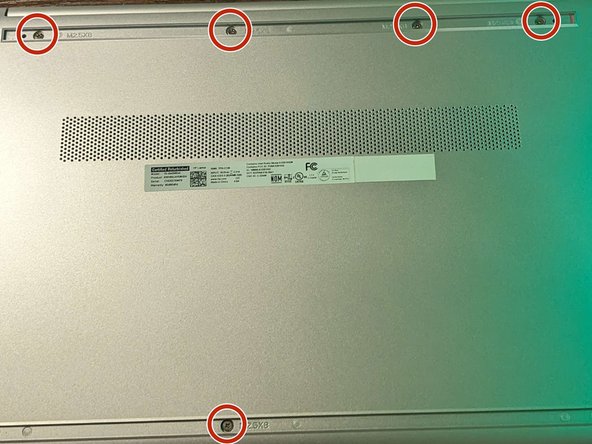
Using a Phillips screwdriver, remove the left and right corner screws.
-
-
-
Use a spudger or your fingers to remove the protective padding from the top and bottom of the base and expose the screws.
-
With a Phillips screwdriver, remove the five screws from the base.
-
-
-
-
Open the screen.
-
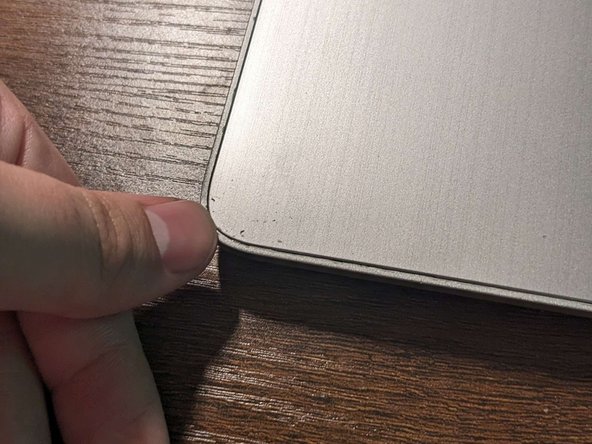
Use a spudger to pry the palm rest assembly from the laptop.
-
Work the spudger around the perimeter to release the clips that secure the palm rest assembly.
-
-
-
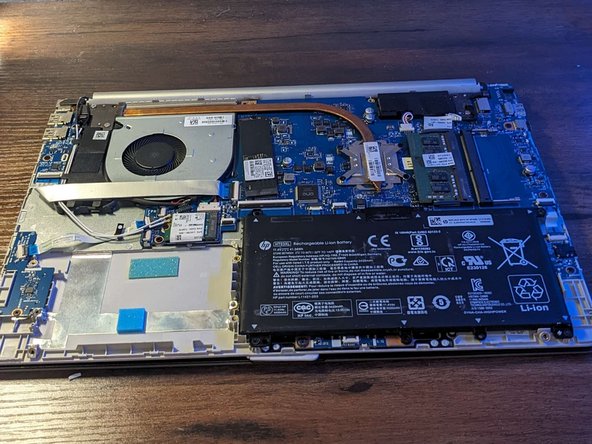
With a Phillips screwdriver, remove the four screws securing the battery.
-
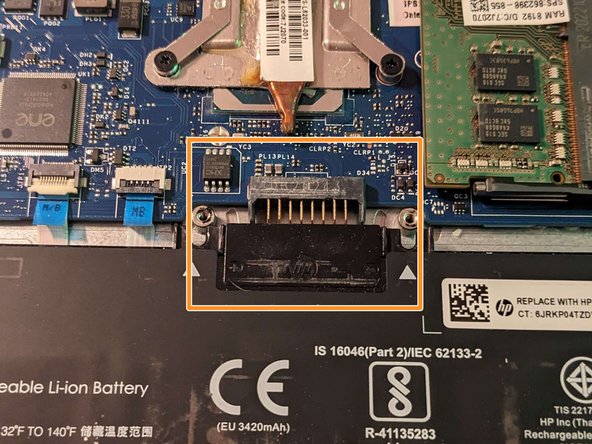
Remove the battery from the connector.
-
-
-
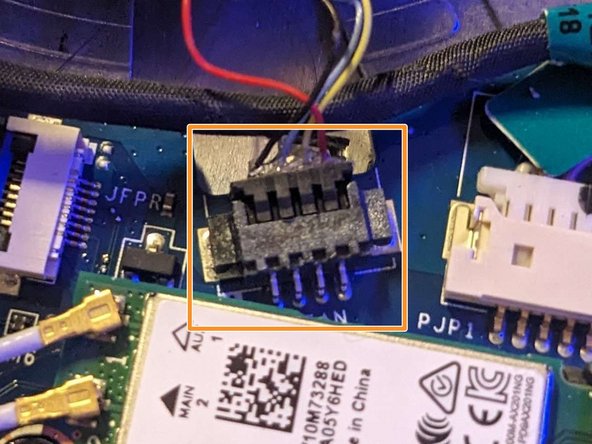
Remove the black screw from the fan.
-
Pull the cable away from the connector in the same direction that the individual wires are running
-
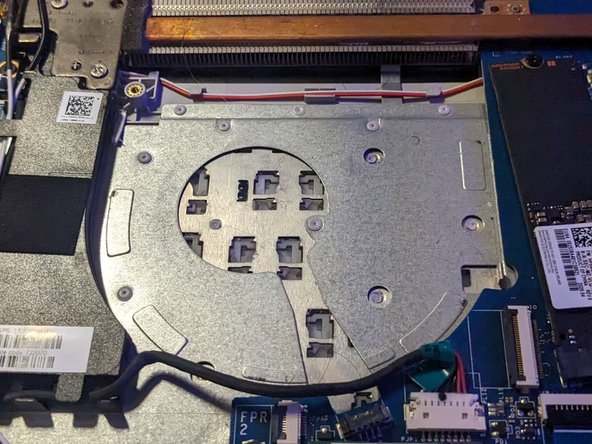
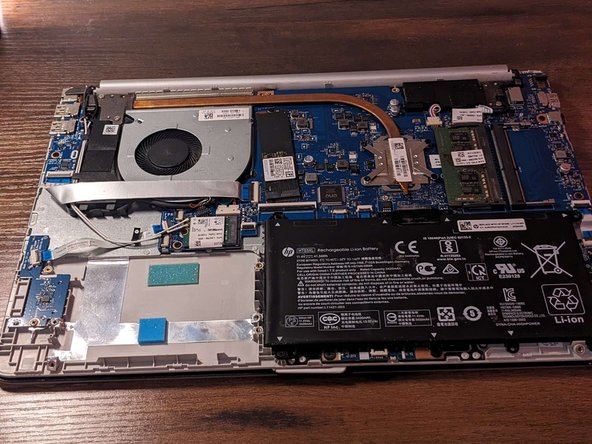
Remove the fan.
-
-
-
Plug in the new fan.
-
Screw in the new fan.
-
Return all parts to the base.
-
Close the base.
-


Team

University of North Texas, Team 2-4, Kilpatrick Summer 2023 Mitglied von University of North Texas, Team 2-4, Kilpatrick Summer 2023
UNT-KILPATRICK-SU23S2G4
1 Mitglied
1 Anleitung geschrieben