Einleitung
A hard drive replacement is crucial for your laptop to function properly for long periods. This repair is required when a hard disk begins to malfunction, loses its dependability or no longer satisfies the user's storage or performance needs. Common signs include sluggish performance, frequent system errors, or odd noises like clicking noises. Replacing your hard drive can fix several issues, such as performance snags, data retrieval issues, and system crashes. This also provides an opportunity to upgrade to a faster or larger capacity disk, like an SSD.
Be sure to hardware components safely and possibly clone data or reinstall the operating system. It is important to take precautions like backing up your data and checking system compatibility to prevent issues that may arise during or after the replacement of your hard drive.
This guide covers procedures involved in replacing a hard drive for HP 15-g071nr laptop, along with typical problems and the equipment you will require to execute this guide successfully. It is important to note that before you start replacing your hard drive, keep your laptop turned off. Disconnect the power adapter to eliminate any risk of electrical discharge. This is to prevent any electrical damage to its internal software and hardware components, data loss, corruption and your safety. When disregarding the old hard drive, it best to donate or recycle them instead of throwing it in the trash.
Was du brauchst
-
-
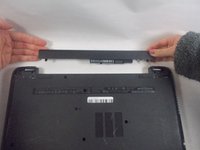
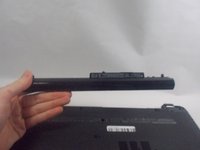
Press the tabs at the corners of the laptop at the same time to release the battery.
-
-
-
-
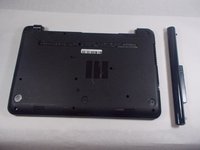
Using your Phillips #0 screwdriver, remove all of the screws on the back case.
-
-
-
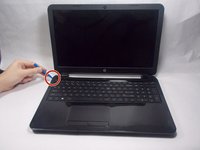
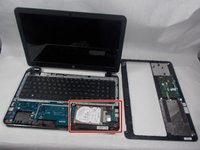
Carefully move the iFixit opening tool along the seam of wrist rest until you can remove it.
-
Remove the wrist rest once it comes loose from the body.
-
-
-
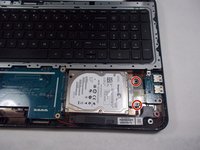
Remove the two screws with the Phillips #0.
-
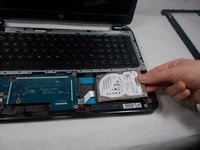
Gently pull the hard drive out of its SATA connection to the motherboard.
-
Attach the loose data cable to the new drive.
-


To reassemble your device, follow these instructions in reverse order.
To reassemble your device, follow these instructions in reverse order.
