Einleitung
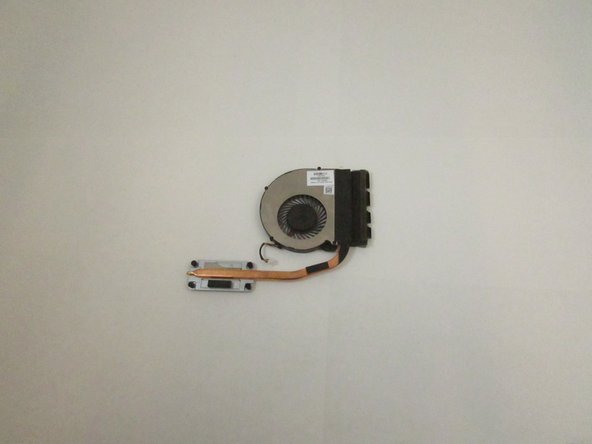
If your computer is overheating, you may need to replace your CPU cooling fan. This procedure involves the removal of a few screws and disconnecting power cords. NOTE: when ordering the CPU cooling fan, you need the assembly that includes the heat sink.
Was du brauchst
-
-
-
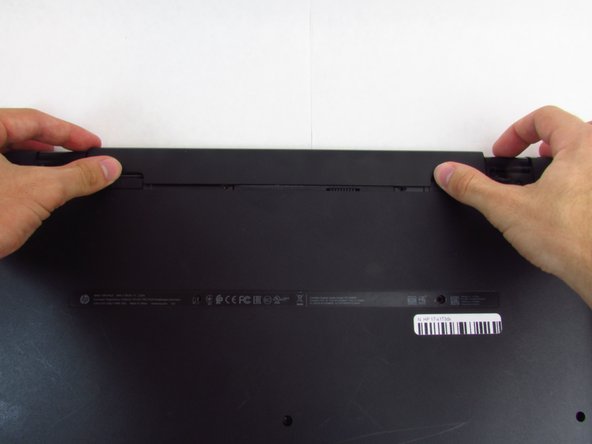
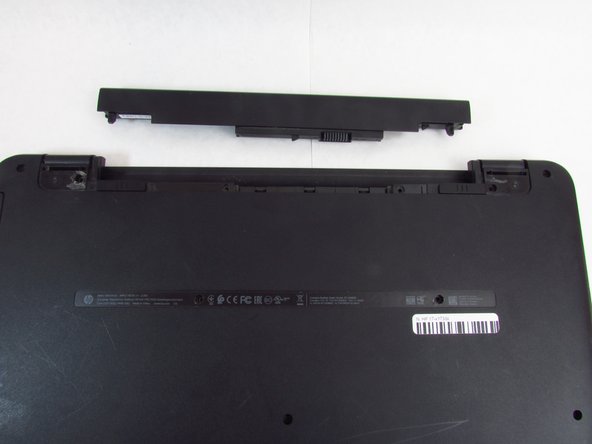
Slide and hold the right tab to the left, while gently pushing out the battery with your thumbs
-
-
-
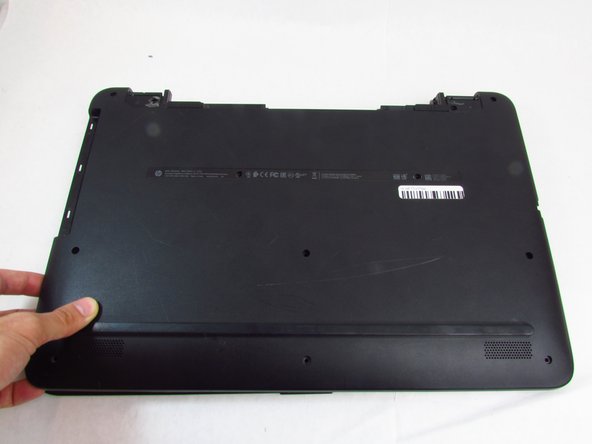
Use a spudger or Jimmy to lift the plastic back cover starting from the back right side near the vents.
-
Remove the back cover of the device by continuing to lift the plastic around the entire perimeter of the device.
-
-
-
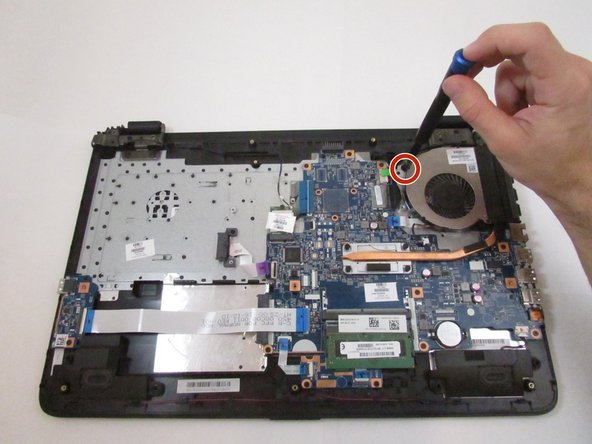
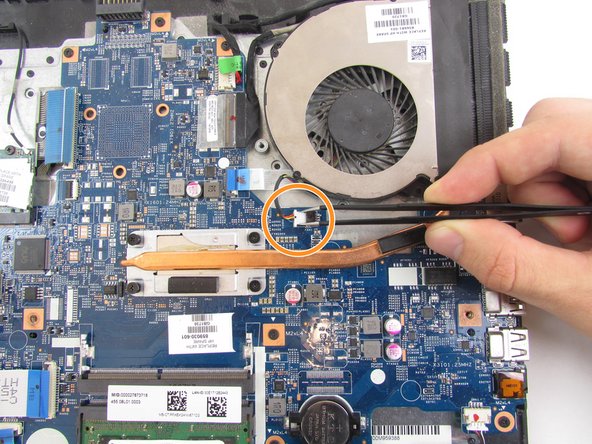
Using the Phillips #0 screwdriver, unscrew four heat-sink screws (These will unscrew, but will stay attached to the heat-sink), and one screw towards the top.
-
Disconnect the power cable.
-


To reassemble your device, follow these instructions in reverse order.
To reassemble your device, follow these instructions in reverse order.
Rückgängig: Ich habe diese Anleitung nicht absolviert.
Ein:e weitere:r Nutzer:in hat diese Anleitung absolviert.
Team

Embry-Riddle Aeronautical University, Team S24-G4, McClure Fall 2019 Mitglied von Embry-Riddle Aeronautical University, Team S24-G4, McClure Fall 2019
ERAU-MCCLURE-F19S24G4
4 Mitglieder
5 Anleitungen geschrieben