Einleitung
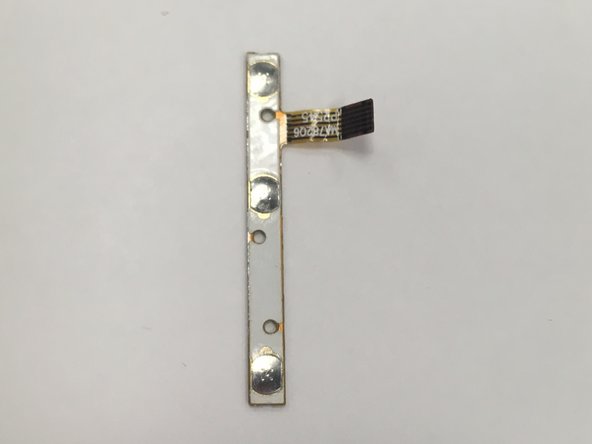
This guide can help if your power or volume buttons are broken. The power/ volume board may not be completely attached to the control board so be careful when unhooking the clip.
Was du brauchst
-
-
Using a Torx T4 screwdriver, remove the four 5 mm screws on the back panel.
-
-
-
Insert the tip of a plastic opening tool in the seam between the front and back panels.
-
-
-
-
Slide the plastic opening tool around all edges of the device until the back panel detaches.
-
Lift off the back panel.
-
-
-
Disconnect the power/ volume button board from the control board by pulling the ribbon cable out of the white connector. You can use tweezers or your fingers.
-


To reassemble your device, follow these instructions in reverse order.
To reassemble your device, follow these instructions in reverse order.
Team

University of Alabama, Team S1-G1, Bedsole Spring 2019 Mitglied von University of Alabama, Team S1-G1, Bedsole Spring 2019
UA-BEDSOLE-S19S1G1
4 Mitglieder
6 Anleitungen geschrieben