Diese Anleitung enthält neuere Änderungen. Wechsel zur neuesten unüberprüften Version.
Einleitung
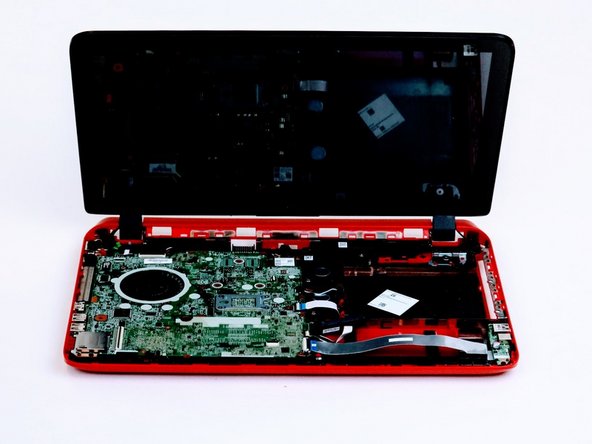
Use this guide to help disassemble the keyboard panel for any parts needing to be replaced located under the keyboard panel.
Was du brauchst
-
-
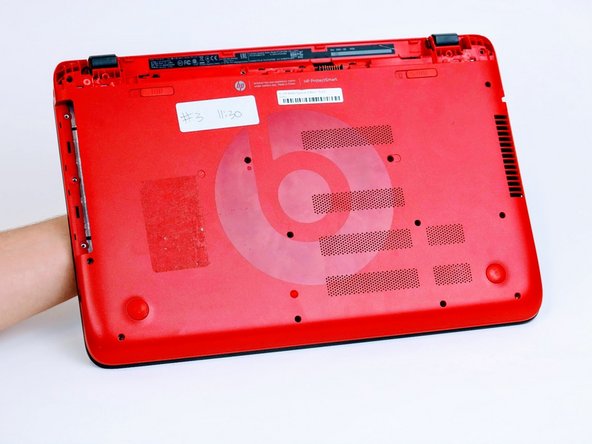
Turn computer over and begin removing noticeable 8mm screws with a Phillips #0 screwdriver.
-
-
-
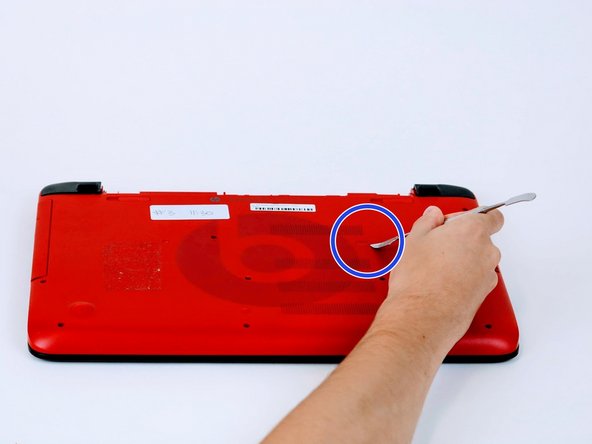
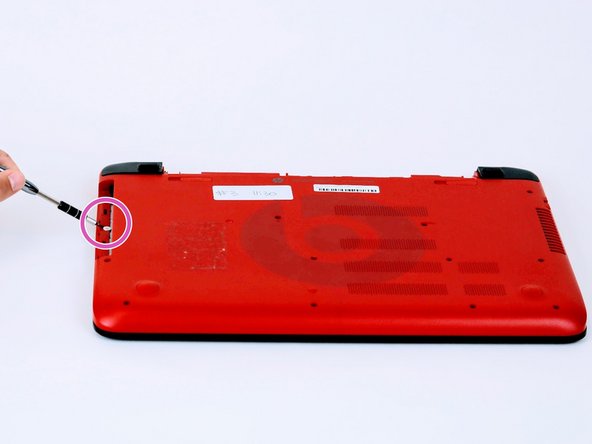
Simply use a metal spudger to pop off the screw cover to unveil the hidden 8mm screw.
-
-
-
-
Once screws are removed you may now remove the optical drive.
-
Remove the hidden 3mm screw in the optical drive port.
-
-
-
Remove the rubberized feet located on the left and right shoulder of the computer to uncover hidden 8mm screws.
-
The shoulder caps are removable. Underneath there are 2 additional screws.
-
-
-
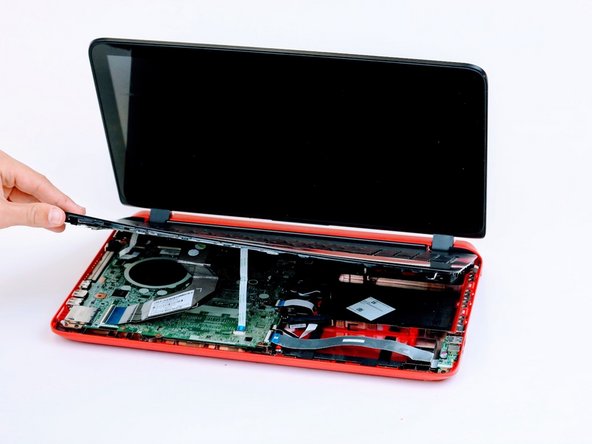
Flip computer over and wedge metal spudger along the computer to pop off keyboard panel
-


To reassemble your device, follow these instructions in reverse order.
To reassemble your device, follow these instructions in reverse order.
Rückgängig: Ich habe diese Anleitung nicht absolviert.
4 weitere Nutzer:innen haben diese Anleitung absolviert.
Team

Linn Benton Community College, Team S1-G3, Karnes Fall 2018 Mitglied von Linn Benton Community College, Team S1-G3, Karnes Fall 2018
LBCC-KARNES-F18S1G3
4 Mitglieder
7 Anleitungen geschrieben