Diese Version enthält möglicherweise inkorrekte Änderungen. Wechsle zur letzten geprüften Version.
Was du brauchst
-
Dieser Schritt ist noch nicht übersetzt. Hilf mit, ihn zu übersetzen!
-
Turn computer over and begin removing noticeable 8mm screws with a Phillips #0 screwdriver.
-
-
Dieser Schritt ist noch nicht übersetzt. Hilf mit, ihn zu übersetzen!
-
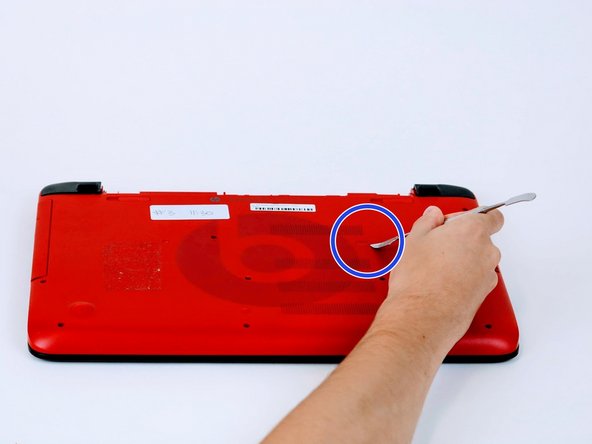
Simply use a metal spudger to pop off the screw cover to unveil the hidden 8mm screw.
-
-
Dieser Schritt ist noch nicht übersetzt. Hilf mit, ihn zu übersetzen!
-
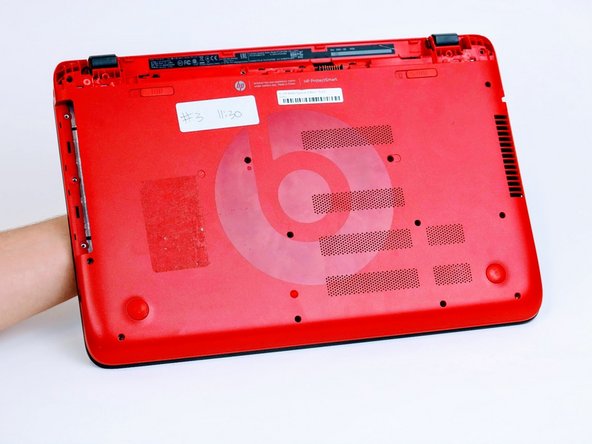
Once screws are removed you may now remove the optical drive.
-
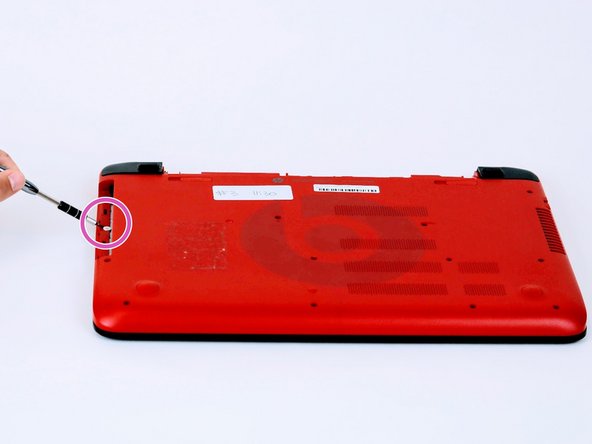
Remove the hidden 3mm screw in the optical drive port.
-
-
Dieser Schritt ist noch nicht übersetzt. Hilf mit, ihn zu übersetzen!
-
Remove the rubberized feet located on the left and right shoulder of the computer to uncover hidden 8mm screws.
-
The shoulder caps are removable. Underneath there are 2 additional screws.
-
-
-
Dieser Schritt ist noch nicht übersetzt. Hilf mit, ihn zu übersetzen!
-
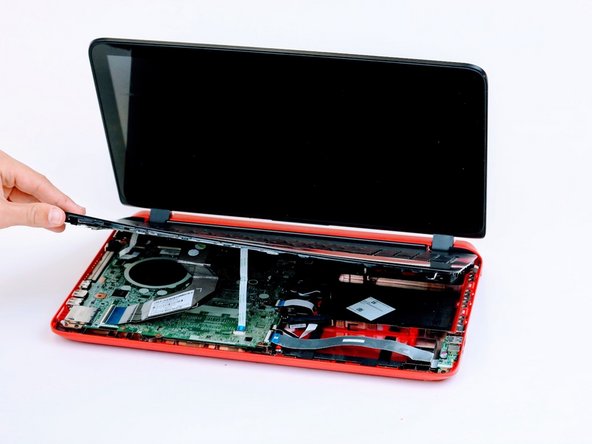
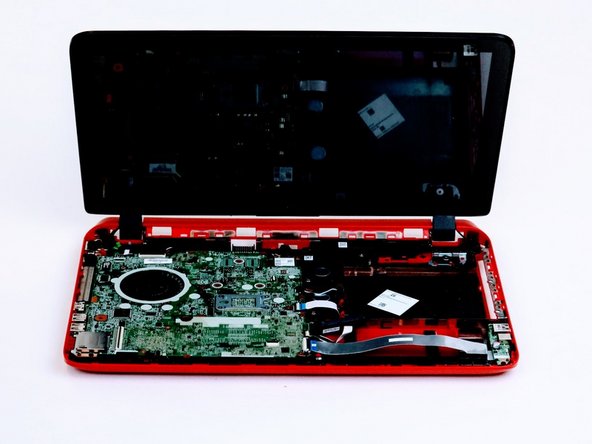
Flip computer over and wedge metal spudger along the computer to pop off keyboard panel
-
-
Dieser Schritt ist noch nicht übersetzt. Hilf mit, ihn zu übersetzen!
-
Unclip wires connected to the motherboard and remove keyboard from the device.
-
-
Dieser Schritt ist noch nicht übersetzt. Hilf mit, ihn zu übersetzen!
-
Remove screws from the motherboard.
-
-
Dieser Schritt ist noch nicht übersetzt. Hilf mit, ihn zu übersetzen!
-
Unclamp wire strips from motherboard.
-
-
Dieser Schritt ist noch nicht übersetzt. Hilf mit, ihn zu übersetzen!
-
Detach by lifting the motherboard up and flip the motherboard over.
-
-
Dieser Schritt ist noch nicht übersetzt. Hilf mit, ihn zu übersetzen!
-
Unclip wifi card for further procedures
-
-
Dieser Schritt ist noch nicht übersetzt. Hilf mit, ihn zu übersetzen!
-
Remove the screws from the hinge on each side
-


Rückgängig: Ich habe diese Anleitung nicht absolviert.
2 weitere Nutzer:innen haben diese Anleitung absolviert.
Team

Linn Benton Community College, Team S1-G3, Karnes Fall 2018 Mitglied von Linn Benton Community College, Team S1-G3, Karnes Fall 2018
LBCC-KARNES-F18S1G3
4 Mitglieder
7 Anleitungen geschrieben