Diese Anleitung enthält neuere Änderungen. Wechsel zur neuesten unüberprüften Version.
Einleitung
This guide walks through the replacement of the HP Chromebook 11 G3’s touchpad. It will require the use of tweezers, a Phillips head screwdriver, and a spudger.
Was du brauchst
-
-
Flip the laptop upside down so that the lid lies flat on the table.
-
Remove the nine 6mm Phillips #00 screws that line the border.
-
-
-
Remove the two rubber feet closest to the hinge using tweezers.
-
Remove the two 6mm Phillips #00 screws revealed under these rubber feet.
-
-
-
Flip the laptop so it is in the upright position.
-
Open the lid.
-
Unsnap the keyboard mount along the border of the laptop using a plastic opening tool.
-
-
-
-
Tilt the keyboard mount up.
-
Use a spudger to flip up the two ZIF connector retaining flaps for the ribbon cables that connect the keyboard mount to the motherboard.
-
Gently remove both ribbon cables.
-
-
-
Flip the keyboard mount upside down.
-
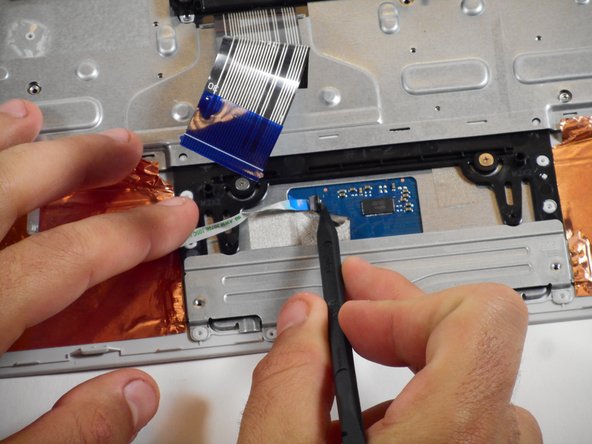
Use tweezers to lift the tape on the bottom of the touchpad to expose the connector.
-
With a spudger, push up the ZIF retaining flip.
-
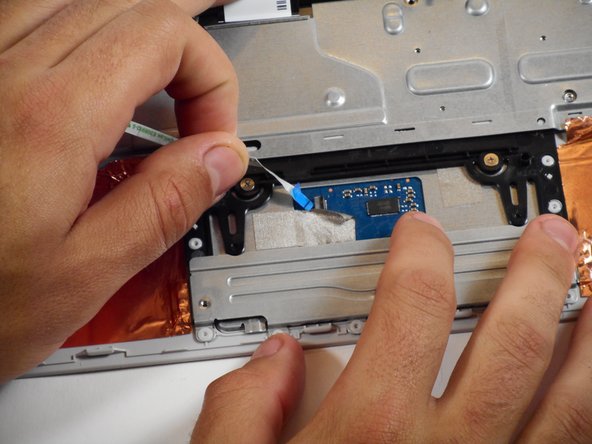
Pull out the small ribbon cable.
-
-
-
Remove the two Phillips #00 2mm screws that secure the touchpad to the black plastic housing.
-
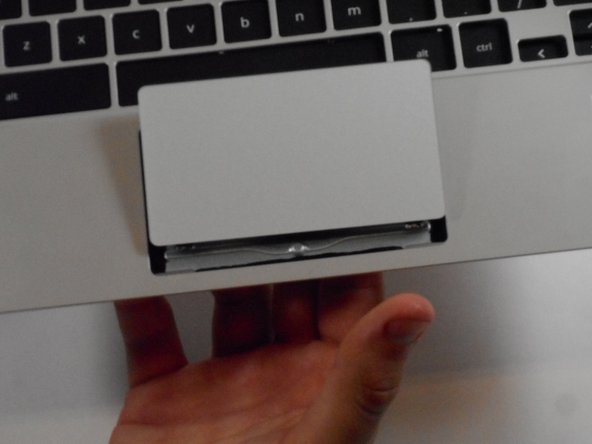
Flip the keyboard mount to the upright position.
-
From beneath, push the touchpad up through the top of the keyboard mount to remove it.
-


To reassemble your device, follow these instructions in reverse order.
To reassemble your device, follow these instructions in reverse order.
Rückgängig: Ich habe diese Anleitung nicht absolviert.
2 weitere Nutzer:innen haben diese Anleitung absolviert.

Team

Cal Poly, Team S23-G3, Livingston Spring 2017 Mitglied von Cal Poly, Team S23-G3, Livingston Spring 2017
CPSU-LIVINGSTON-S17S23G3
4 Mitglieder
12 Anleitungen geschrieben