Einleitung
Cracked, broken, and scratched LCD screens can make using your Chromebook difficult. Such damage to the LCD can be caused by accidental drops or impacts which are common in portable devices such as Chromebooks.
Due to the commonality of these issues, it is useful to know how to replace just the screen as opposed to replacing the entire device. This guide will instruct the user on how to replace just the LCD screen within their HP Chromebook 11 G4.
The screws that keep the plastic bezel attached to the Chromebook can be difficult to remove at times as they are very small and are positioned at an odd angle. Be careful to not strip the screws as it will make future screen replacements harder.
If your screen is severely cracked with shattered glass, use extra caution when taking the damaged display out of the device as to not cut yourself on the sharp glass.
Was du brauchst
-
-
Open the laptop.
-
With the plastic spudger or your fingers, gently peel off the two thin adhesive layers at the left and right bottom edges of the screen.
-
-
-
Remove the two 3 mm Phillips #00 screws located underneath the adhesive layers that were removed in the previous step
-
-
-
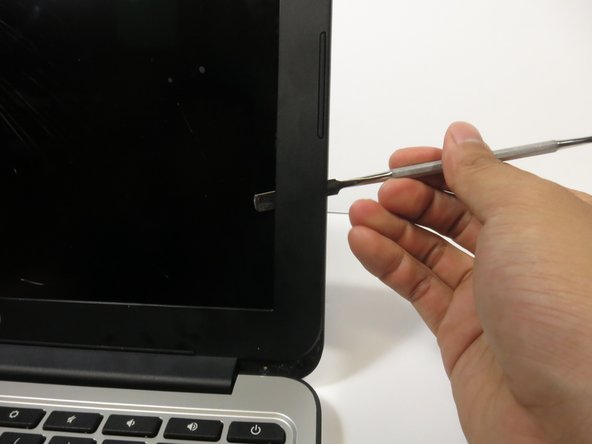
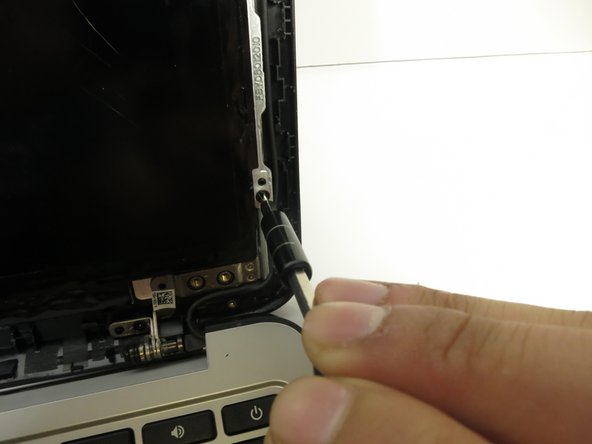
Gently pry up the plastic bezel with the small, narrow end of the metal spudger.
-
Insert the long, flat end of the metal spudger into the gap.
-
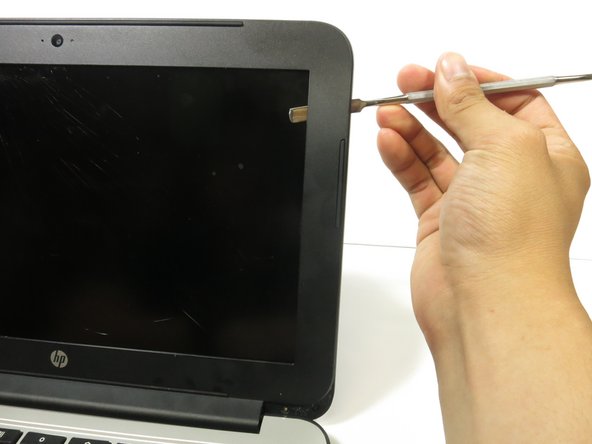
Slide the metal spudger along the edge to disconnect the bezel from the laptop
-
-
-
-
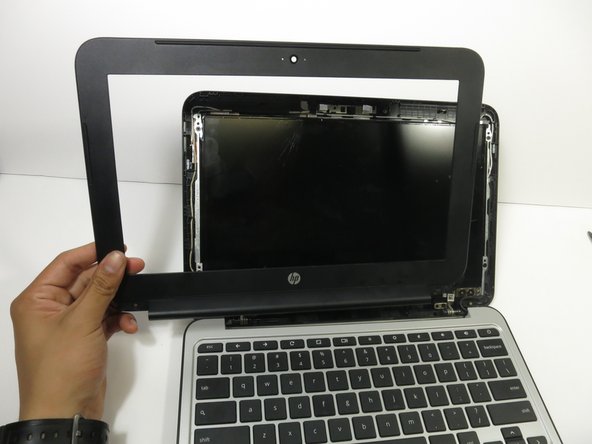
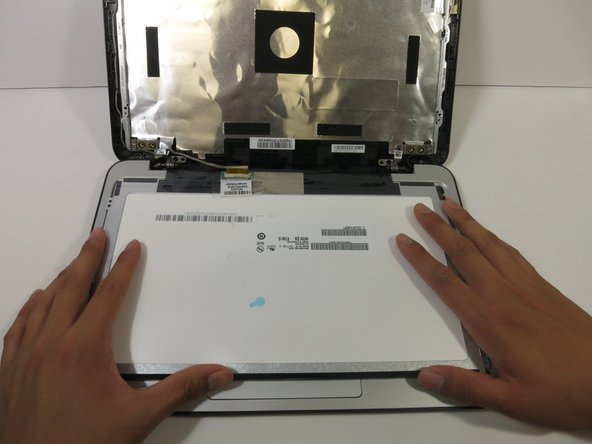
Tilt the laptop screen as far back as possible
-
Hold the bezel with both hands, then pull the bezel towards you to disconnect the bottom edge of the bezel from the laptop.
-
-
-
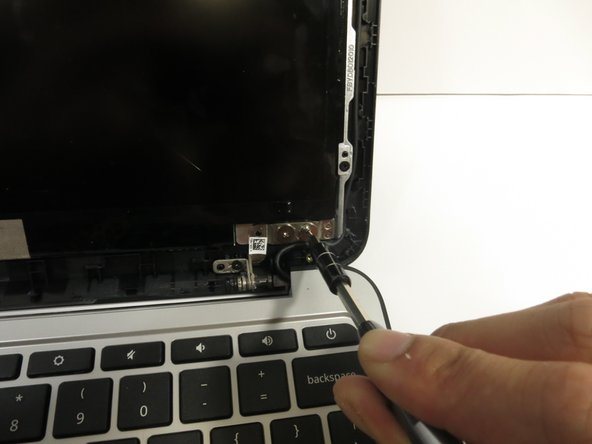
Remove the four silver 4 mm Phillips #0 screws at the bottom of the LCD.
-
Remove the four black 3 mm Phillips #00 screws along the perimeter of the LCD.
The four silver screws (in red) are not necessary to remove. They only connect to the top case.
-
-
-
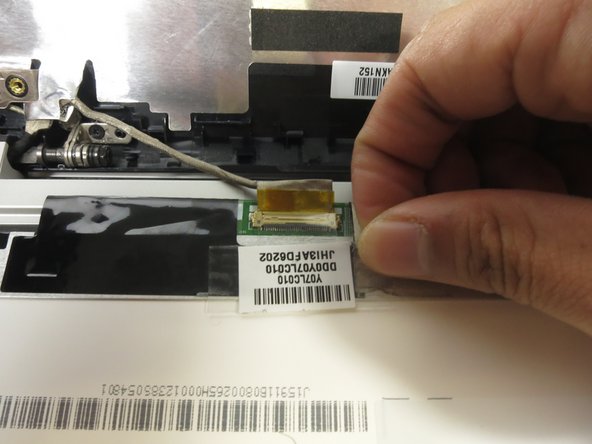
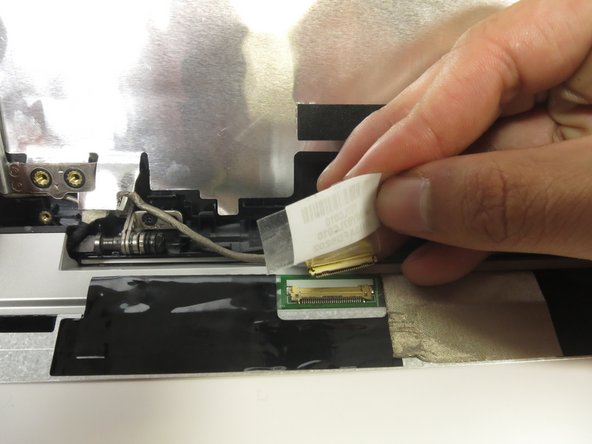
Peel off the clear sticker covering the display cable at the base of the LCD.
-
Gently pull the display cable from the connector.
-


To reassemble your device, follow these instructions in reverse order.
To reassemble your device, follow these instructions in reverse order.
Rückgängig: Ich habe diese Anleitung nicht absolviert.
13 weitere Nutzer:innen haben diese Anleitung absolviert.

Team

Cal Poly, Team S23-G5, Livingston Spring 2017 Mitglied von Cal Poly, Team S23-G5, Livingston Spring 2017
CPSU-LIVINGSTON-S17S23G5
3 Mitglieder
6 Anleitungen geschrieben