Diese Version enthält möglicherweise inkorrekte Änderungen. Wechsle zur letzten geprüften Version.
Was du brauchst
-
Dieser Schritt ist noch nicht übersetzt. Hilf mit, ihn zu übersetzen!
-
With the screen face down, lift up the stand as far as it goes.
-
-
-
Verwende einen T5-Schraubendreher, um die sechs Schrauben auf der Rückseite des Tablets zu entfernen.
-
-
Dieser Schritt ist noch nicht übersetzt. Hilf mit, ihn zu übersetzen!
-
After removing the screws, delicately close the stand.
-
Flip the tablet on its back so that the screen is facing up.
-
-
-
Dieser Schritt ist noch nicht übersetzt. Hilf mit, ihn zu übersetzen!
-
Use the suction cup to carefully separate the screen from the device. Pull upwards with a fluid and smooth motion.
-
-
-
Entferne das Klebeband auf der unteren linken Seite des Bildschirms.
-
Trenne unter dem Klebeband das LCM-Kabel, das größere Kabel, das sich unter dem Klebeband befand, von der Rückseite des Tablet-Bildschirms ab.
-
-
-
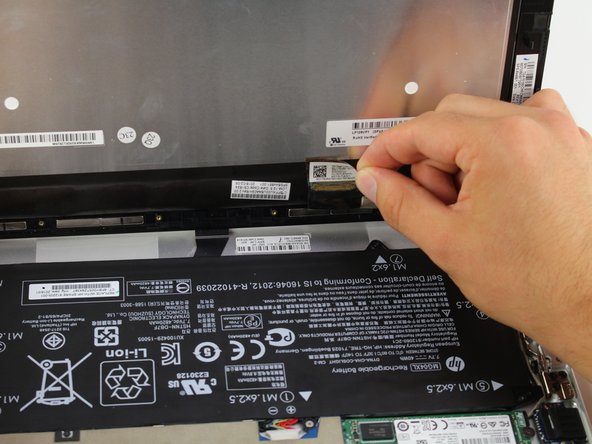
Trenne das Flachbandkabel mit dem Spudger vom Gerät ab.
-
Entferne die Displayeinheit vom Gerät.
-
-
Dieser Schritt ist noch nicht übersetzt. Hilf mit, ihn zu übersetzen!
-
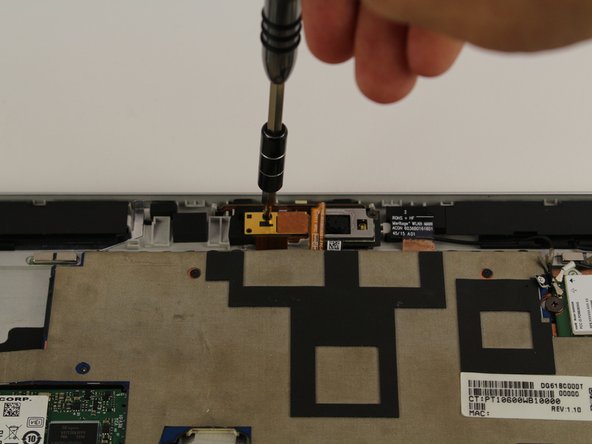
Use a Phillips #00 screwdriver to remove the screw.
-
-
Dieser Schritt ist noch nicht übersetzt. Hilf mit, ihn zu übersetzen!
-
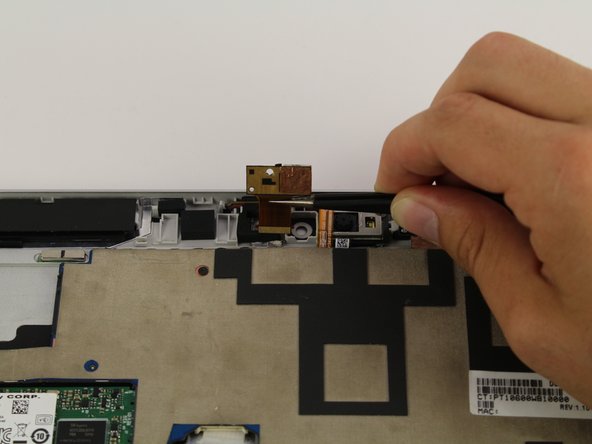
Use the spudger to gently lift up the camera.
-
-
Dieser Schritt ist noch nicht übersetzt. Hilf mit, ihn zu übersetzen!
-
Use a pair of tweezers to disconnect the flex cable from the motherboard.
-
Remove the front-facing camera from the device.
-


Team

Cal Poly, Team S24-G7, Maness Spring 2018 Mitglied von Cal Poly, Team S24-G7, Maness Spring 2018
CPSU-MANESS-S18S24G7
4 Mitglieder
6 Anleitungen geschrieben