Zum Hauptinhalt wechseln

HP Elitebook 820 G1 Hard Drive Replacement

Was du brauchst

  1. HP Elitebook 820 G1 Hard Drive Replacement, Battery: Schritt 1, Bild 1 von 1
    • Ensure the laptop is completely powered off and power adapter is unplugged before removing the battery.

    • Turn over laptop so that the bottom is showing.

    • Unlock the latch.

  2. HP Elitebook 820 G1 Hard Drive Replacement: Schritt 2, Bild 1 von 1
    • Remove the back cover and you will then be able to see the battery.

  3. HP Elitebook 820 G1 Hard Drive Replacement: Schritt 3, Bild 1 von 1
    • Unlatch the two latches securing the battery in the case.

  4. HP Elitebook 820 G1 Hard Drive Replacement: Schritt 4, Bild 1 von 1
    • Use a plastic opening tool to lift and remove the battery.

  5. HP Elitebook 820 G1 Hard Drive Replacement, Hard Drive: Schritt 5, Bild 1 von 1
    • Remove the four 8mm screws with the T7 philip's head.

  6. HP Elitebook 820 G1 Hard Drive Replacement: Schritt 6, Bild 1 von 1
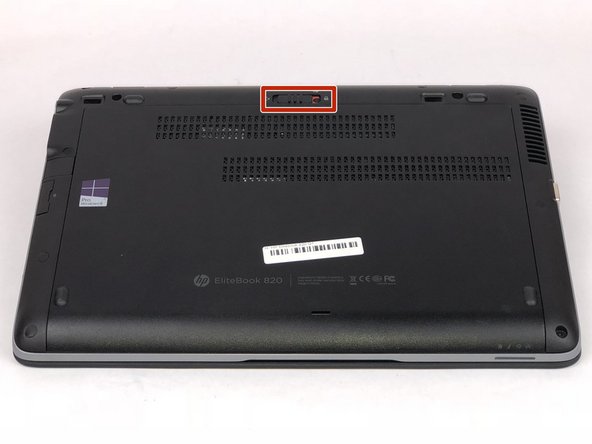
    • Remove the hard drive casing.

    • Unscrew the four 8mm Philips screws holding the hard drive.

  7. HP Elitebook 820 G1 Hard Drive Replacement: Schritt 7, Bild 1 von 1
    • Remove the hard drive from the casing and replace it.

Abschluss

To reassemble your device, follow these instructions in reverse order.

3 weitere Nutzer:innen haben diese Anleitung absolviert.

Team

USF Tampa, Team S5-G1, Eyestone Spring 2018 Mitglied von USF Tampa, Team S5-G1, Eyestone Spring 2018

USFT-EYESTONE-S18S5G1

3 Mitglieder

7 Anleitungen geschrieben

0 Kommentare

Kommentar hinzufügen

Seitenaufrufe:

Letzte 24 Stunden: 2

Letzte 7 Tage: 6

Letzte 30 Tage: 18

Insgesamt: 3,761