Einleitung
This guide demonstrates how to properly remove the CPU of a HP Envy m6-n010dx.
Was du brauchst
-
-
Find the battery removal slider.
-
Slide it across while simultaneously popping out and removing the device's battery.
-
-
-
Remove the five marked screws found under the battery using a philips head screwdriver.
-
-
-
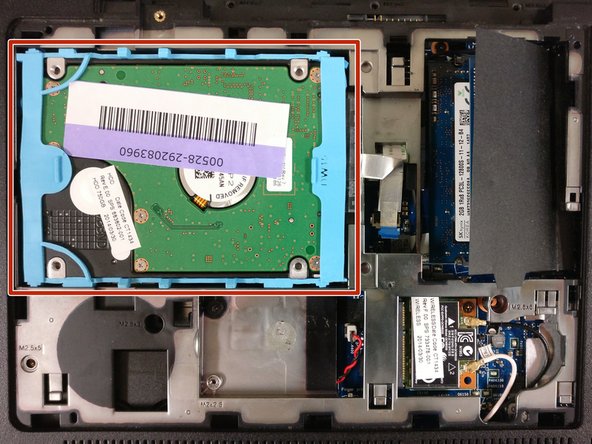
Remove the small panel on the back by prying it off. This should reveal the hard drive.
-
-
-
-
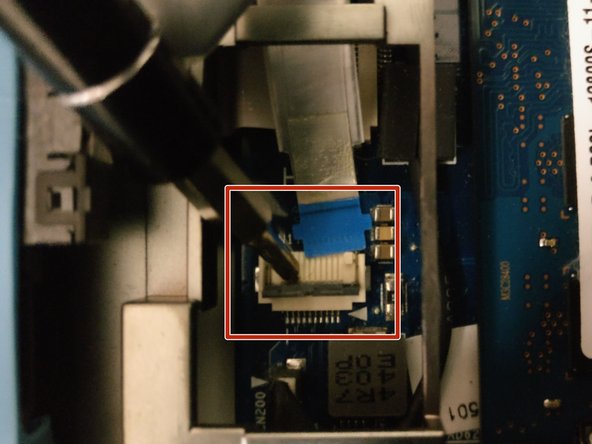
Gently pry off the cover to release the cable.
-
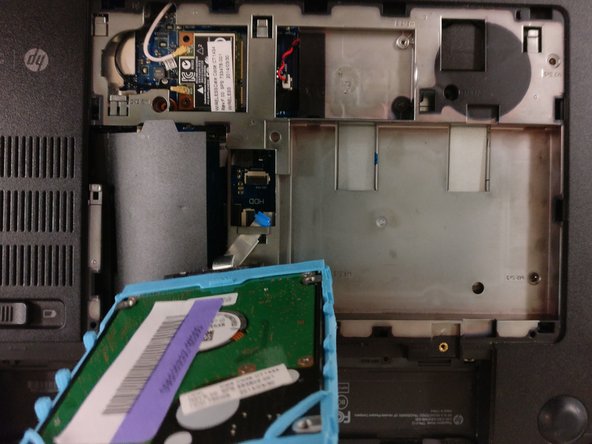
Slowly lift the hard drive out and away from the device.
-
-
-
Remove the 6 highlighted 1.5 mm screws using a #00 philips head screwdriver.
-
Pry off the lower two grip pads highlighted in orange.
-
Remove the two additional 1.5mm screws underneath the lower grip pads using a #00 philips head screwdriver.
-
Remove the large back panel to reveal the inner workings.
-
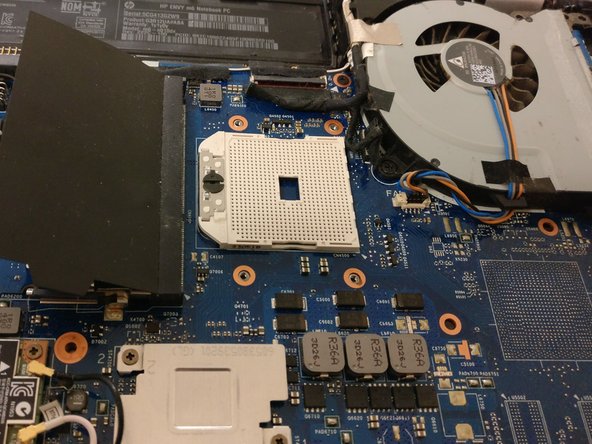
The CPU can be found underneath the heatsink, highlighted in yellow.
-
-
-
Loosen the four 1.5 mm screws on the heat sink using a #00 philips head screwdriver.
-
Remove the tape holding the heatsink to the fan.
-
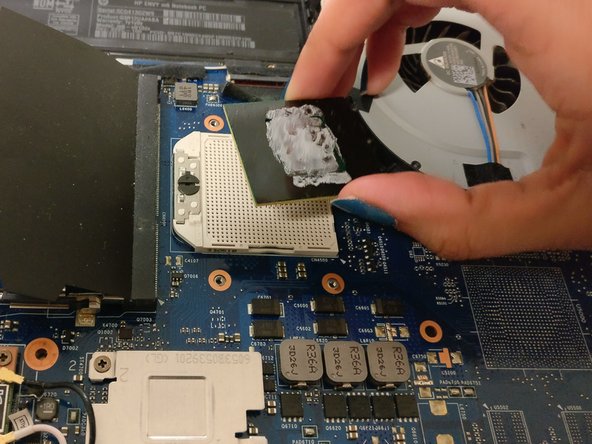
Remove the heatsink.
-
-
-
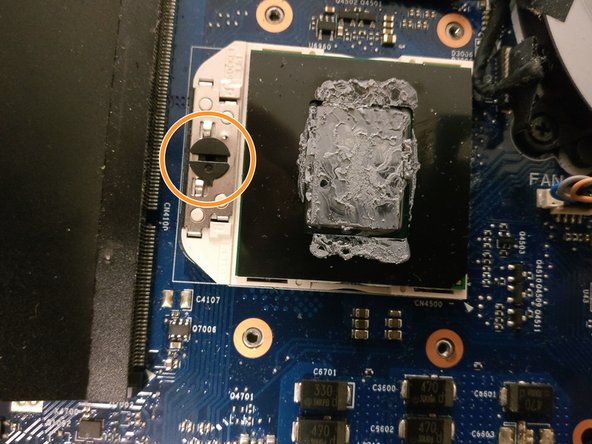
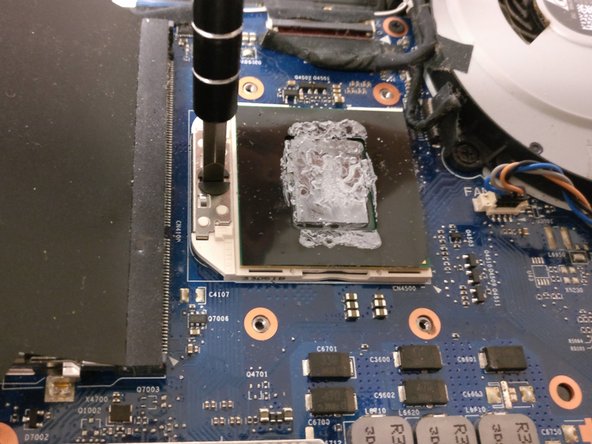
Find the uncovered CPU highlighted in red.
-
Turn the fastener, highlighted in orange, 180 degrees counterclockwise using a flat headed screwdriver to loosen the CPU.
-


To reassemble your device, follow these instructions in reverse order. Be sure to apply new thermal paste if you are using a new CPU.
To reassemble your device, follow these instructions in reverse order. Be sure to apply new thermal paste if you are using a new CPU.
Rückgängig: Ich habe diese Anleitung nicht absolviert.
3 weitere Personen haben diese Anleitung absolviert.
Team

University of North Texas, Team S2-G1, Thomas Spring 2018 Mitglied von University of North Texas, Team S2-G1, Thomas Spring 2018
UNT-THOMAS-S18S2G1
4 Mitglieder
6 Anleitungen geschrieben