Einleitung
The cooling fan is a key component of a laptop. This component keeps the computer cool while operating. If the fan fails, the computer may overheat and damage components in the computer. This guide will show in-depth steps on how to safely remove a cooling fan from an HP Envy x360.
Was du brauchst
-
-
Remove the rubber strip along the top of the backside of the computer.
-
On the back panel of the device, remove the four (4) 2.5 mm screws at the top of the photo using a Phillips #0 screwdriver.
-
Unscrew the three (3) screws at the bottom of the photo using a T5 Torx screwdriver.
-
-
-
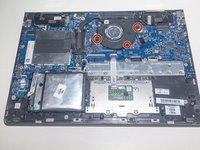
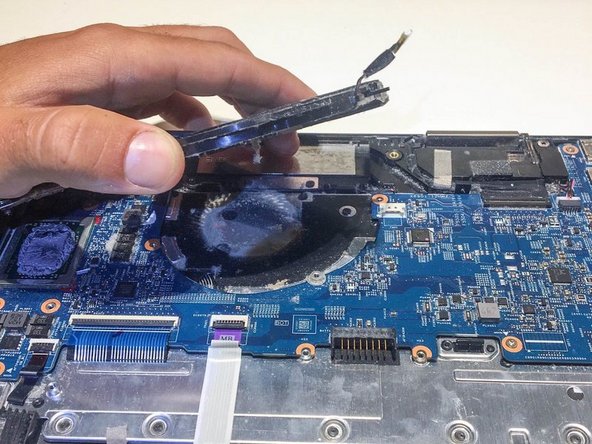
To remove the back cover, use the spudger to lift up on the edges of the cover.
-
Use a suction cup to assist in lifting the back cover
-
-
-
-
Lift and pull the front of the battery up and out away from the connector to remove.
-
-
-
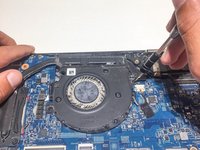
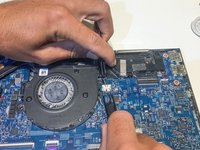
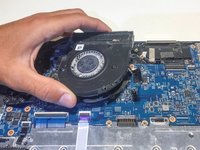
Using a Philips #0 screwdriver, remove the three 2 mm screws located around the cooling fan as shown in this picture.
-
-
In diesem Schritt verwendetes Werkzeug:Tweezers$4.99
-
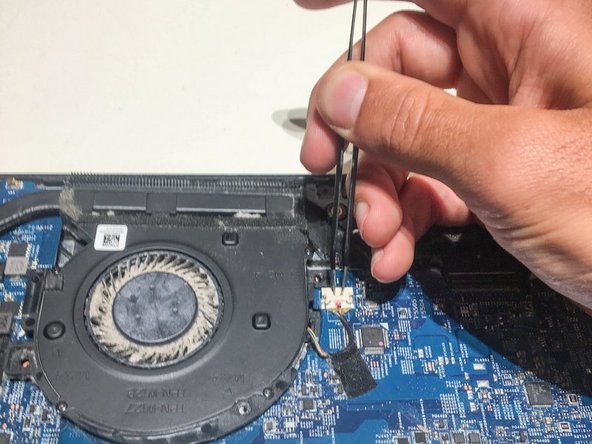
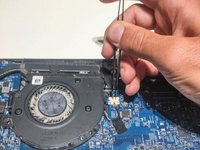
Remove the connector clip with the tweezers.
-


To reassemble your device, follow these instructions in reverse order.
To reassemble your device, follow these instructions in reverse order.
Team

University of North Texas, Team S2-G1, Thomas Spring 2020 Mitglied von University of North Texas, Team S2-G1, Thomas Spring 2020
UNT-THOMAS-S20S2G1
4 Mitglieder
1 Anleitung geschrieben