Einleitung
If your HP Envy x360 m Convertible (Model 15m-cn0012dx) isn’t reading SD cards, use this guide to replace the SD card motherboard.
A faulty SD card reader will not even recognize that there is a card in the slot. It will not show up on the computer desktop screen.
Before starting, make sure all external connections are unplugged and the computer is turned off.
Was du brauchst
-
-
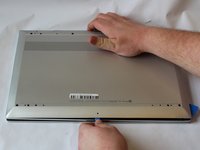
Set the laptop face down.
-
Peel back the grey screw guards, along the top and bottom edge of the back case. It may be helpful to use a spudger to get started.
-
-
-
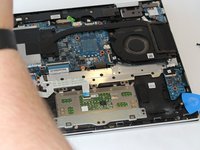
Using the Phillips #0 screwdriver, remove the seven 5mm screws from the back case.
-
-
-
-
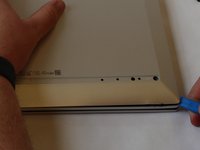
Pry open the back cover using the iFixit Opening Tool.
-
While using the tool, place a pick at each corner of the computer (be careful and do it slowly).
-
Once all the corners are slightly lifted, carefully pop off the back cover.
-
-
-
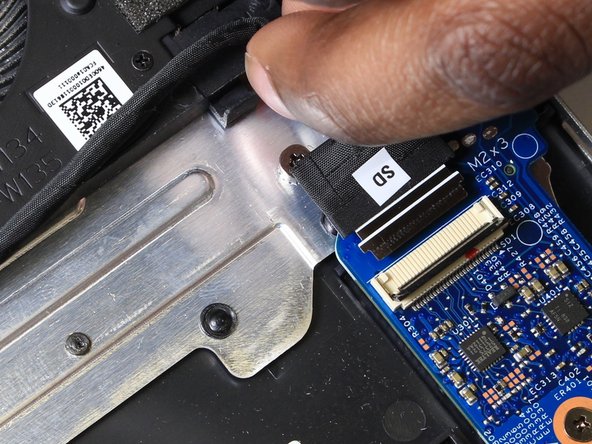
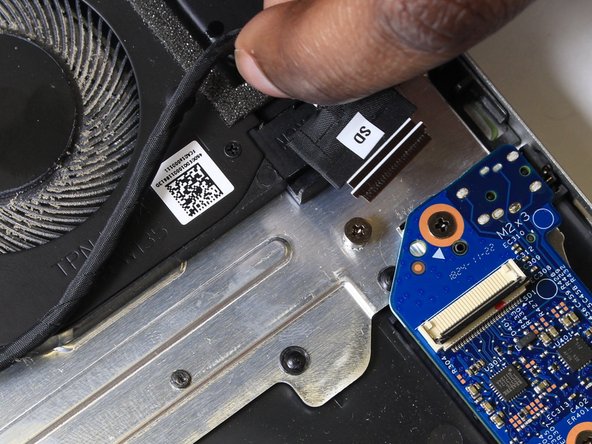
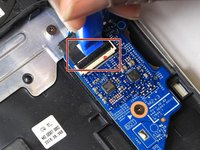
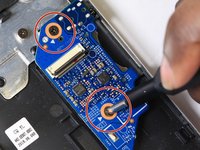
Use the iFixit opening tool to unlatch the ZIF connector with the cable labelled 'SD' from the daughterboard.
-
Slide out the interconnect ribbon cable.
-
-
-
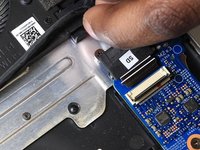
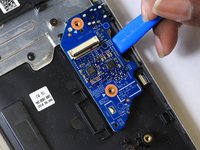
Using a Phillips #0 screwdriver, remove the two 4mm screws on holding down the SD card daughterboard.
-
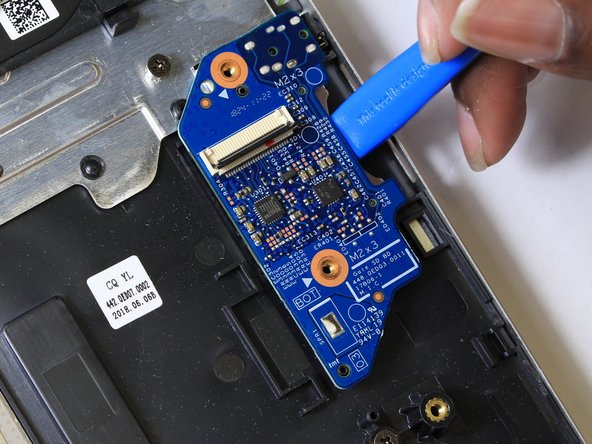
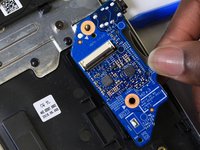
Remove the SD card daughterboard.
-


To reassemble your device, follow these instructions in reverse order.
To reassemble your device, follow these instructions in reverse order.
Rückgängig: Ich habe diese Anleitung nicht absolviert.
Eine weitere Person hat diese Anleitung absolviert.

Team

UW Stout, Team S1-G3, Schneider-Bateman Spring 2020 Mitglied von UW Stout, Team S1-G3, Schneider-Bateman Spring 2020
UWSTOUT-SCHNEIDER-BATEMAN-S20S1G3
3 Mitglieder
5 Anleitungen geschrieben