Einleitung
The Solid State Drive is responsible for the storing of dynamic random access memory. This guide will instruct on how to replace a Solid State Drive.
Was du brauchst
-
-
Remove the two 7.8 mm screws using the Phillips #0 screwdriver.
-
Remove the six 5.2 mm screws using the Torx T5 screwdriver.
-
-
-
Insert the Jimmy in between the frame of the laptop and the removable back cover and remove the back cover from the device.
-
-
-
-
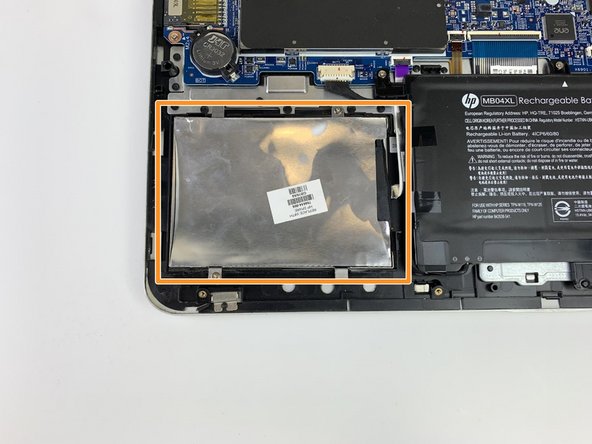
Remove the two 4.6 mm screws securing old hard drive/solid-state drive in place using the Phillips #0 screwdriver.
-
-
-
Disconnect the SATA cable connected to the old hard drive/solid-state drive.
-
Remove the solid state drive.
-
To reassemble your device, follow these instructions in reverse order.
To reassemble your device, follow these instructions in reverse order.


