Diese Version enthält möglicherweise inkorrekte Änderungen. Wechsle zur letzten geprüften Version.
Was du brauchst
-
Dieser Schritt ist noch nicht übersetzt. Hilf mit, ihn zu übersetzen!
-
Close the laptop and turn it over so that the underside is up and the silver battery bay is facing towards you.
-
-
Dieser Schritt ist noch nicht übersetzt. Hilf mit, ihn zu übersetzen!
-
The battery locking latch is on the bottom right corner; slide it inward to unlock the battery.
-
Slide the battery release latch inwards.
-
Pull the battery towards you to remove it.
-
-
Dieser Schritt ist noch nicht übersetzt. Hilf mit, ihn zu übersetzen!
-
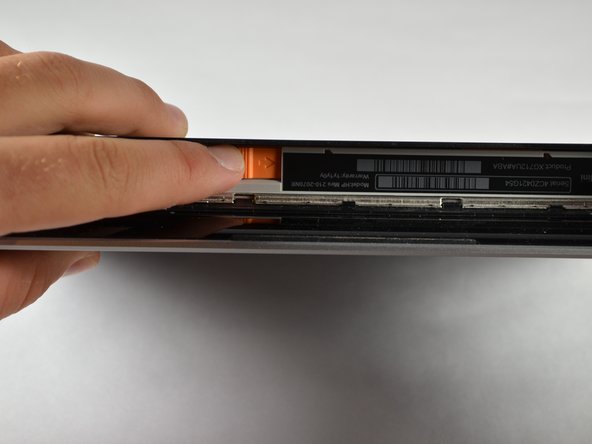
Slide the service access cover release lever to the right.
-
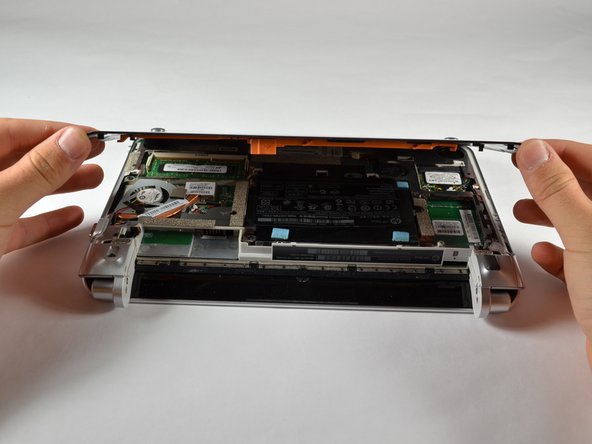
While holding the lever to the right, lift up the laptop's bottom cover gently and remove the cover.
-
-
-
Dieser Schritt ist noch nicht übersetzt. Hilf mit, ihn zu übersetzen!
-
Orient the computer as shown in the picture.
-
-
Dieser Schritt ist noch nicht übersetzt. Hilf mit, ihn zu übersetzen!
-
Remove the HP product sticker.
-
-
Dieser Schritt ist noch nicht übersetzt. Hilf mit, ihn zu übersetzen!
-
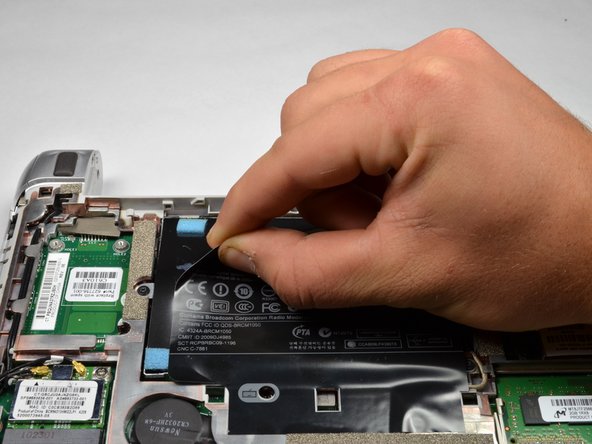
Locate the hard drive, where the HP Product sticker used to be.
-
Locate the hard drive cable, connected to the hard drive.
-
Disconnect the hard drive cable by gently pulling upward.
-
-
Dieser Schritt ist noch nicht übersetzt. Hilf mit, ihn zu übersetzen!
-
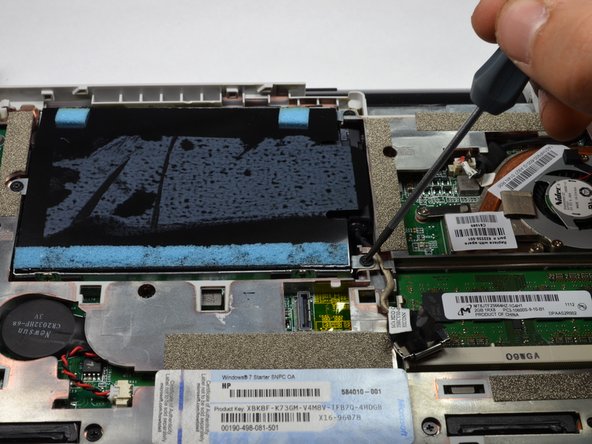
Using a #00 Phillips screwdriver, unscrew and remove the three 2.0 x 4.0 Philips screws holding the hard drive in place.
-
-
Dieser Schritt ist noch nicht übersetzt. Hilf mit, ihn zu übersetzen!
-
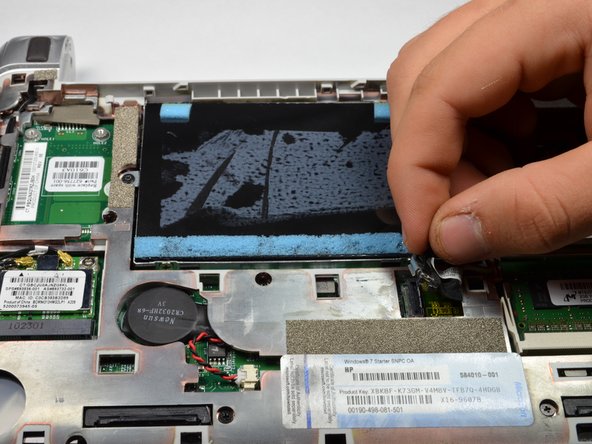
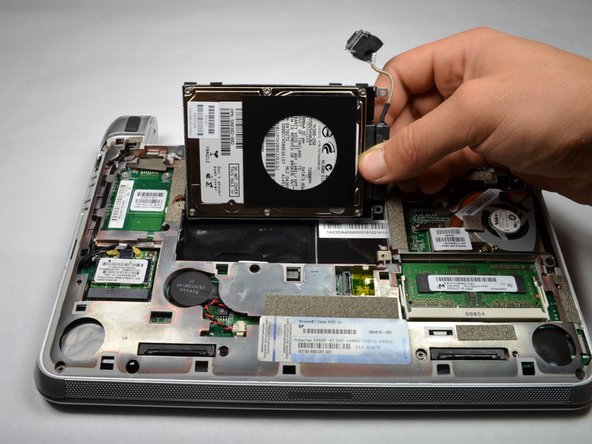
Use the Mylar Tab located on the right side of the hard drive to pry up the hard drive.
-
Remove the hard drive.
-
-
Dieser Schritt ist noch nicht übersetzt. Hilf mit, ihn zu übersetzen!
-
Lay the hard drive down with the underside facing up.
-
Pull and remove the hard drive pin connector from the hard drive.
-


Rückgängig: Ich habe diese Anleitung nicht absolviert.
4 weitere Nutzer:innen haben diese Anleitung absolviert.
Team

Cal Poly, Team 3-23, Amido Fall 2012 Mitglied von Cal Poly, Team 3-23, Amido Fall 2012
CPSU-AMIDO-F12S3G23
4 Mitglieder
6 Anleitungen geschrieben