Zum Hauptinhalt wechseln

HP Mobile Thin Client mt41 Optical Disc Drive Replacement

Was du brauchst

  1. HP Mobile Thin Client mt41 Optical Disc Drive Replacement, Optical Disc Drive: Schritt 1, Bild 1 von 2 HP Mobile Thin Client mt41 Optical Disc Drive Replacement, Optical Disc Drive: Schritt 1, Bild 2 von 2
    • Turn off and unplug your laptop. Also, make sure to disconnect all the external devices.

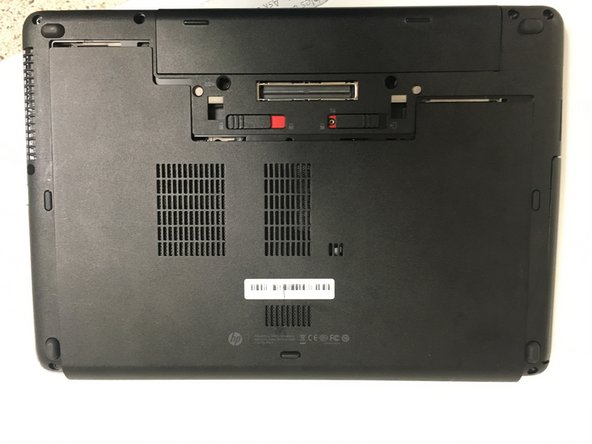
    • After that, slide the two switches to the indicated directions in order to remove the battery and the back cover.

  2. HP Mobile Thin Client mt41 Optical Disc Drive Replacement: Schritt 2, Bild 1 von 2 HP Mobile Thin Client mt41 Optical Disc Drive Replacement: Schritt 2, Bild 2 von 2
    • Now you're able to remove the battery and the service cover.

    • Slide the battery upward to remove it.

  3. HP Mobile Thin Client mt41 Optical Disc Drive Replacement: Schritt 3, Bild 1 von 3 HP Mobile Thin Client mt41 Optical Disc Drive Replacement: Schritt 3, Bild 2 von 3 HP Mobile Thin Client mt41 Optical Disc Drive Replacement: Schritt 3, Bild 3 von 3
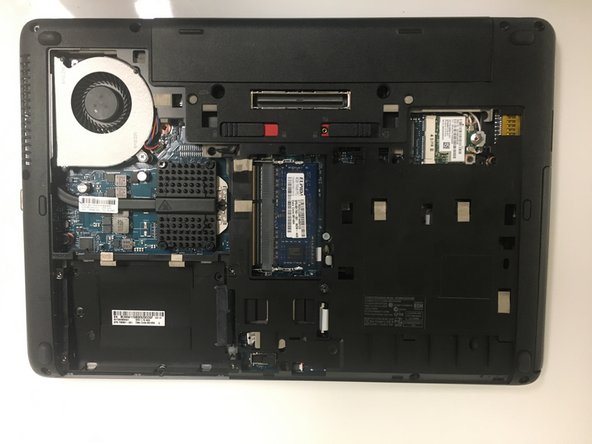
    • Slide the service cover downward.

    • After that, lift the back cover to remove it.

  4. HP Mobile Thin Client mt41 Optical Disc Drive Replacement: Schritt 4, Bild 1 von 3 HP Mobile Thin Client mt41 Optical Disc Drive Replacement: Schritt 4, Bild 2 von 3 HP Mobile Thin Client mt41 Optical Disc Drive Replacement: Schritt 4, Bild 3 von 3
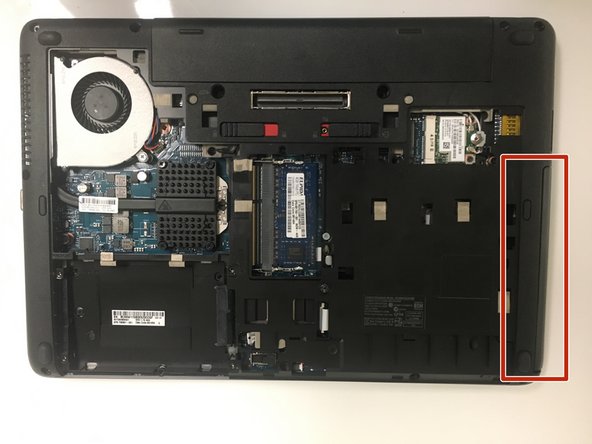
    • Unlock the indicated screw in order to remove the optical drive.

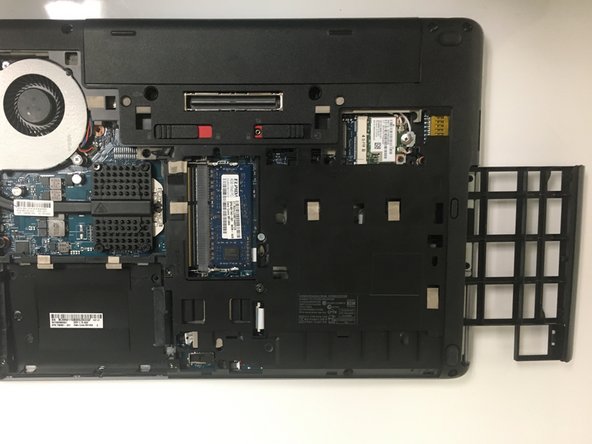
    • Slide the optical drive to completely remove it from the laptop.

Abschluss

To reassemble your device, follow these instructions in reverse order.

0 Kommentare

Kommentar hinzufügen

Seitenaufrufe:

Letzte 24 Stunden: 1

Letzte 7 Tage: 6

Letzte 30 Tage: 8

Insgesamt: 430