Einleitung
The hard drive of your device is where all of the information is kept. Issues with your hard drive can cause a slower moving device, PC errors and lack of free space on your device. Replacing this item will solve these problems. Be sure the device is turned off and disconnected from all power sources.
Was du brauchst
-
-
Use the nylon spudger to remove the rubber pads near the hinge of the screen, then remove the screws under the pads.
-
Use the Phillips #0 to remove four 9mm screws.
-
Use the Phillips #0 to remove seven 6mm screws.
-
-
-
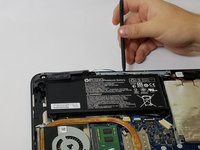
Use the nylon spudger to pry the back casing near the hinges for the screen.
-
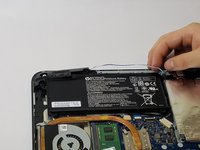
Continue to pry along the edge of the back case until the back is ready to be removed.
-
-
-
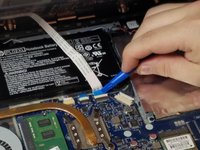
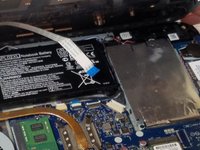
Use the blue plastic opening tool to lift up on the white tab that is holding the cable in place on the motherboard.
-
Now carefully pull the cable out of place and remove the entire back casing.
-
-
-
Remove the five 6mm screws that hold the battery in place using the Phillips #0.
-
-
-
-
Use the nylon spudger to pry away the blue/white wire that is positioned near your battery.
-
-
-
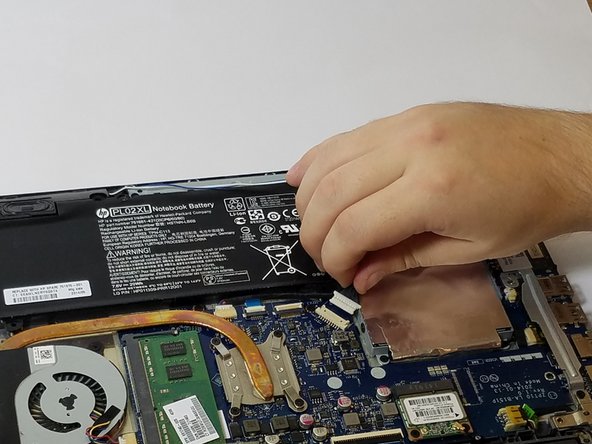
Disconnect the battery cable from the motherboard by carefully pulling on the black wire at the point closest to the white tab.
-
-
-
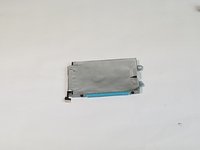
Use the Phillips #0 to remove the three 3mm screws holding the hard drive in place.
-
-
-
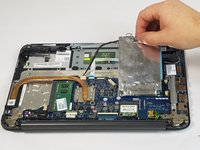
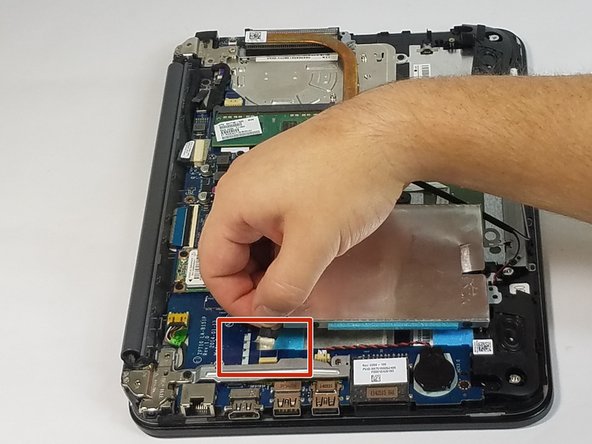
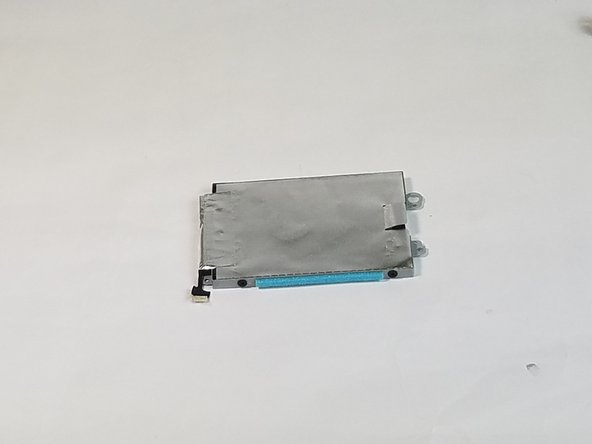
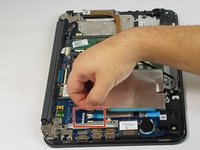
Gently pull on the cable connector to disconnect the hard drive from your device.
-
To reassemble your device, follow these instructions in reverse order.
To reassemble your device, follow these instructions in reverse order.
Rückgängig: Ich habe diese Anleitung nicht absolviert.
6 weitere Personen haben diese Anleitung absolviert.


