Diese Version enthält möglicherweise inkorrekte Änderungen. Wechsle zur letzten geprüften Version.
Was du brauchst
-
Dieser Schritt ist noch nicht übersetzt. Hilf mit, ihn zu übersetzen!
-
Use the iFixit opening tool to take off the rubber caps.
-
Remove the screws using the Phillips #0 screwdriver.
-
-
-
Dieser Schritt ist noch nicht übersetzt. Hilf mit, ihn zu übersetzen!
-
Use the Jimmy to pry around the seam of the laptop.
-
Remove the back panel of the laptop.
-
-
Dieser Schritt ist noch nicht übersetzt. Hilf mit, ihn zu übersetzen!
-
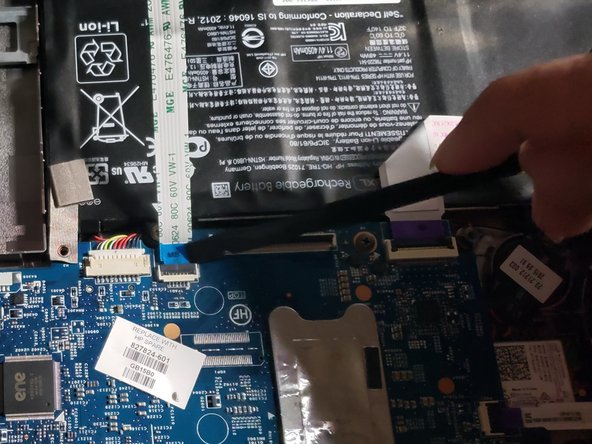
Using the iFixit opening tool to lift the tabs holding in the cables connecting the keyboard to the motherboard.
-
Pull the cable from the motherboard.
-


Team

University of North Texas, Team S3-G4, Thomas Spring 2020 Mitglied von University of North Texas, Team S3-G4, Thomas Spring 2020
UNT-THOMAS-S20S3G4
3 Mitglieder
2 Anleitungen geschrieben