Zum Hauptinhalt wechseln

HP Pavilion 14-c015dx Chromebook Fan Replacement

Was du brauchst

  1. HP Pavilion 14-c015dx Chromebook Fan Replacement, Keyboard: Schritt 1, Bild 1 von 1
    • Remove the two 7mm screws with a Phillips Head #1 Screwdriver.

    • These screws may not completely come out of the laptop, so just make sure that you have loosened them all of the way.

  2. HP Pavilion 14-c015dx Chromebook Fan Replacement: Schritt 2, Bild 1 von 2 HP Pavilion 14-c015dx Chromebook Fan Replacement: Schritt 2, Bild 2 von 2
    • Starting from the left side, use the metal spudger to pry off the keyboard.

    • Run the spudger across the edges until all plastic clips are popped up and the keyboard is free from the palm rest assembly.

    • Do not pull the keyboard away from the computer while popping the keyboard off, there is a connector cable in the bottom center of the keyboard that will be disconnected in the next step.

  3. HP Pavilion 14-c015dx Chromebook Fan Replacement: Schritt 3, Bild 1 von 3 HP Pavilion 14-c015dx Chromebook Fan Replacement: Schritt 3, Bild 2 von 3 HP Pavilion 14-c015dx Chromebook Fan Replacement: Schritt 3, Bild 3 von 3
    • Detach the circuit connector by flipping up the black flap upwards and gently pulling the connector out by pulling up on the blue release tab.

    • Lift the keyboard away from the computer once the connector is detached.

  4. HP Pavilion 14-c015dx Chromebook Fan Replacement, Fan: Schritt 4, Bild 1 von 2 HP Pavilion 14-c015dx Chromebook Fan Replacement, Fan: Schritt 4, Bild 2 von 2
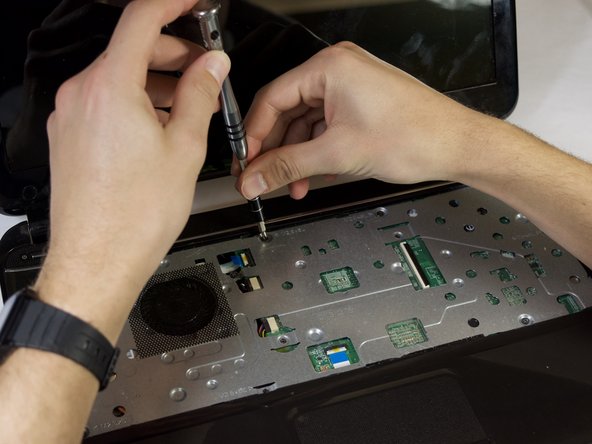
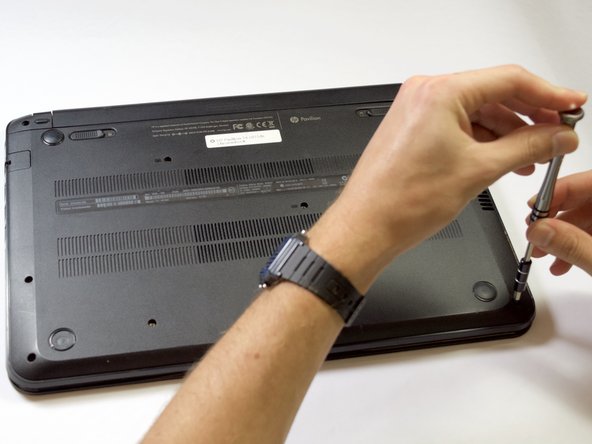
    • Locate these seven circled screws.

    • Remove the seven 5mm screws using the Phillips Head #1 Screwdriver.

  5. HP Pavilion 14-c015dx Chromebook Fan Replacement: Schritt 5, Bild 1 von 3 HP Pavilion 14-c015dx Chromebook Fan Replacement: Schritt 5, Bild 2 von 3 HP Pavilion 14-c015dx Chromebook Fan Replacement: Schritt 5, Bild 3 von 3
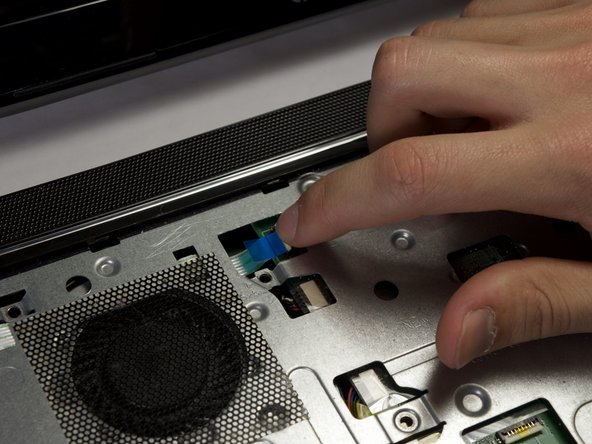
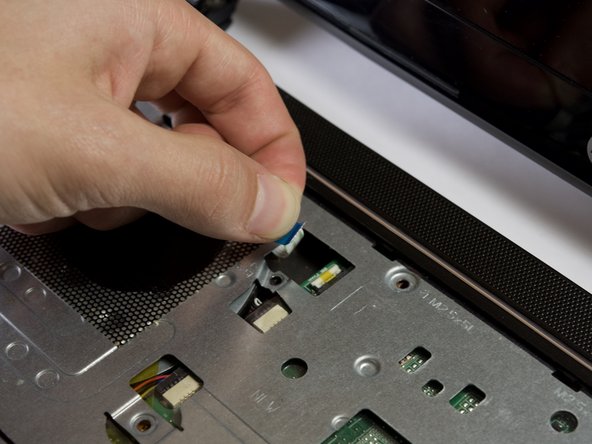
    • Locate the ribbon cable near the top of the keyboard area.

    • At the cable base, lift the white tab with a fingernail and then pull on the blue section of the cable to release it.

  6. HP Pavilion 14-c015dx Chromebook Fan Replacement: Schritt 6, Bild 1 von 3 HP Pavilion 14-c015dx Chromebook Fan Replacement: Schritt 6, Bild 2 von 3 HP Pavilion 14-c015dx Chromebook Fan Replacement: Schritt 6, Bild 3 von 3
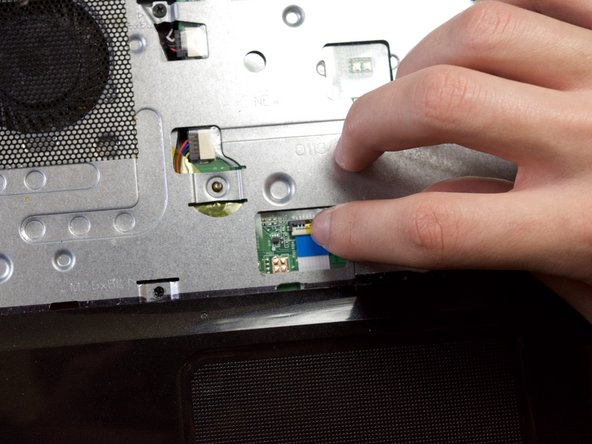
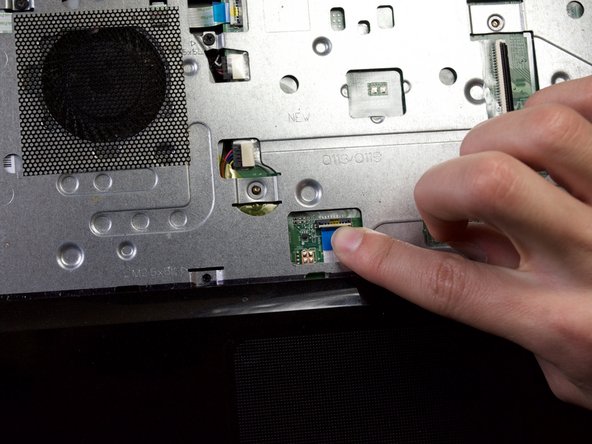
    • Locate the ribbon cable just above the touchpad.

    • Disconnect the cable by lifting the white tab at the base of the cable with a fingernail and then pulling on the blue section of the cable.

  7. HP Pavilion 14-c015dx Chromebook Fan Replacement: Schritt 7, Bild 1 von 2 HP Pavilion 14-c015dx Chromebook Fan Replacement: Schritt 7, Bild 2 von 2
    • Remove the eight 7mm screws with a Philips Head #1 screwdriver.

  8. HP Pavilion 14-c015dx Chromebook Fan Replacement: Schritt 8, Bild 1 von 1
    • Remove the plastic palm rest assembly using the metal spudger.

    • Go little by little around the edge and carefully pry off the plastic palm rest assembly.

  9. HP Pavilion 14-c015dx Chromebook Fan Replacement: Schritt 9, Bild 1 von 2 HP Pavilion 14-c015dx Chromebook Fan Replacement: Schritt 9, Bild 2 von 2
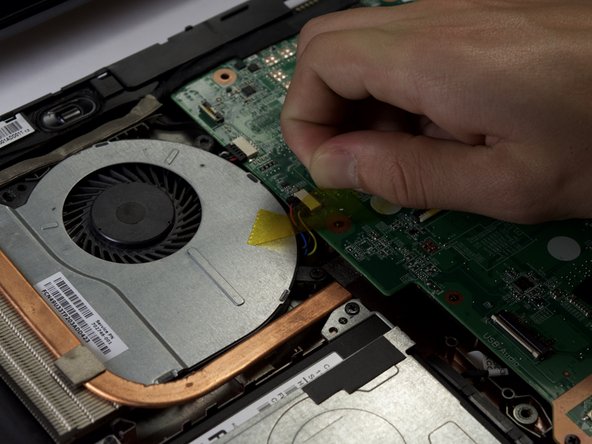
    • Locate the protective yellow tape that is covering two wires in between the fan and the motherboard.

    • Remove this yellow tape.

    • Some laptops may not have this protective yellow tape. If yours does not it does not matter, just skip this step.

  10. HP Pavilion 14-c015dx Chromebook Fan Replacement: Schritt 10, Bild 1 von 2 HP Pavilion 14-c015dx Chromebook Fan Replacement: Schritt 10, Bild 2 von 2
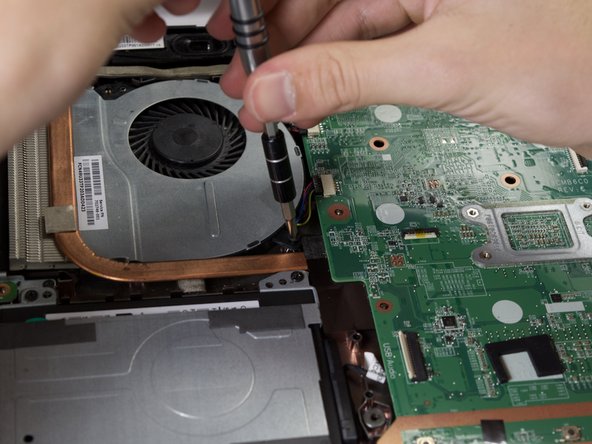
    • Locate the single remaining screw holding the fan in place.

    • Remove the 5 mm screw using a Phillips Head #1 Screw Driver.

  11. HP Pavilion 14-c015dx Chromebook Fan Replacement: Schritt 11, Bild 1 von 3 HP Pavilion 14-c015dx Chromebook Fan Replacement: Schritt 11, Bild 2 von 3 HP Pavilion 14-c015dx Chromebook Fan Replacement: Schritt 11, Bild 3 von 3
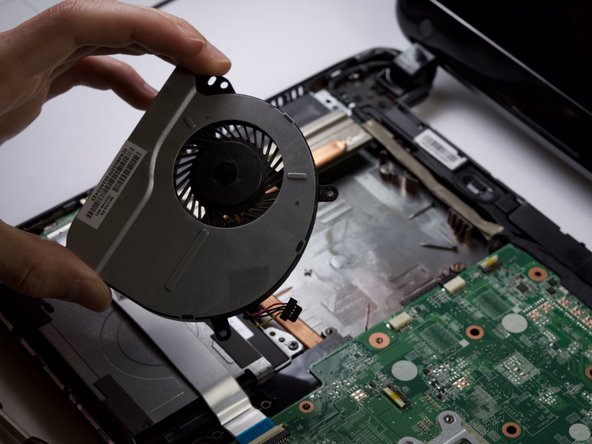
    • Locate the wires that connect the fan to the motherboard.

    • Remove this wire connector using the tweezers.

    • You can now completely remove the fan from the laptop.

Abschluss

To reassemble your device, follow these instructions in reverse order.

William Busby

Mitglied seit: 01/23/17

234 Reputation

2 Anleitungen geschrieben

Team

Cal Poly, Team 22-8, Maness Winter 2017 Mitglied von Cal Poly, Team 22-8, Maness Winter 2017

CPSU-MANESS-W17S22G8

4 Mitglieder

5 Anleitungen geschrieben

0 Kommentare

Kommentar hinzufügen

Seitenaufrufe:

Letzte 24 Stunden: 0

Letzte 7 Tage: 0

Letzte 30 Tage: 1

Insgesamt: 364