Diese Version enthält möglicherweise inkorrekte Änderungen. Wechsle zur letzten geprüften Version.
Was du brauchst
-
Dieser Schritt ist noch nicht übersetzt. Hilf mit, ihn zu übersetzen!
-
Shut down the computer.
-
Disconnect all external devices and cables from the computer.
-
-
Dieser Schritt ist noch nicht übersetzt. Hilf mit, ihn zu übersetzen!
-
Locate the gray sliding tab next to the black bar where the battery is located.
-
Slide the gray sliding tab to the left until you hear a distinct click.
-
The inside edge of the battery should pop up.
-
-
Dieser Schritt ist noch nicht übersetzt. Hilf mit, ihn zu übersetzen!
-
Grasp the inside edge of the battery.
-
Lift the inside edge of the battery up to detach the battery from the laptop.
-
-
Dieser Schritt ist noch nicht übersetzt. Hilf mit, ihn zu übersetzen!
-
Remove the highlighted screws.
-
After removing the screws, flip the laptop over.
-
-
-
Dieser Schritt ist noch nicht übersetzt. Hilf mit, ihn zu übersetzen!
-
Open the laptop.
-
Use the spudger to lift the keyboard.
-
Press the two white clips forward with your fingers and gently pull the ribbon from the clips.
-
-
Dieser Schritt ist noch nicht übersetzt. Hilf mit, ihn zu übersetzen!
-
Turn the laptop upside-down again.
-
Remove the highlighted screws.
-
-
Dieser Schritt ist noch nicht übersetzt. Hilf mit, ihn zu übersetzen!
-
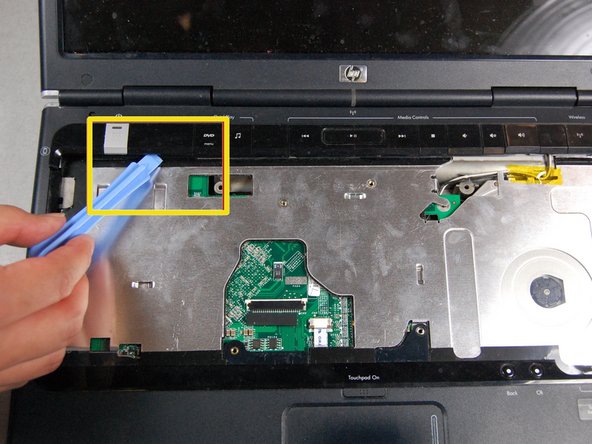
Turn the laptop right-side up. Open the screen and tilt it all the way back.
-
Locate the media keys.
-
Gently lift up the media key strip using the plastic pry tool.
-
-
Dieser Schritt ist noch nicht übersetzt. Hilf mit, ihn zu übersetzen!
-
Remove the rubber inserts with the spudger.
-
Remove the screws behind the rubber inserts.
-
-
Dieser Schritt ist noch nicht übersetzt. Hilf mit, ihn zu übersetzen!
-
Carefully pry loose the screen casing with a plastic prying tool.
-
-
Dieser Schritt ist noch nicht übersetzt. Hilf mit, ihn zu übersetzen!
-
Remove the plug by prying it loose with the spudger.
-
-
Dieser Schritt ist noch nicht übersetzt. Hilf mit, ihn zu übersetzen!
-
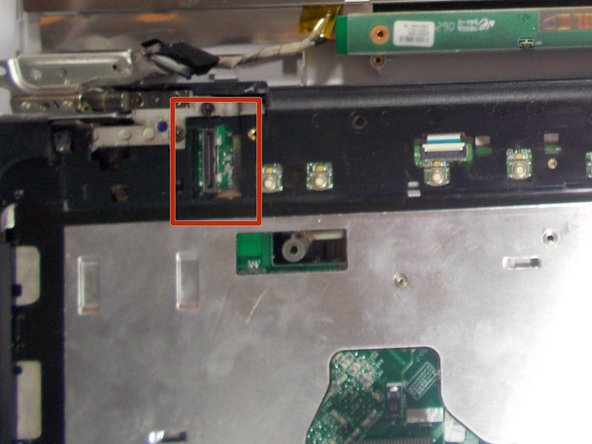
Remove the single screw marked in the image.
-
-
Dieser Schritt ist noch nicht übersetzt. Hilf mit, ihn zu übersetzen!
-
Remove the 4 screws marked in the picture.
-
-
Dieser Schritt ist noch nicht übersetzt. Hilf mit, ihn zu übersetzen!
-
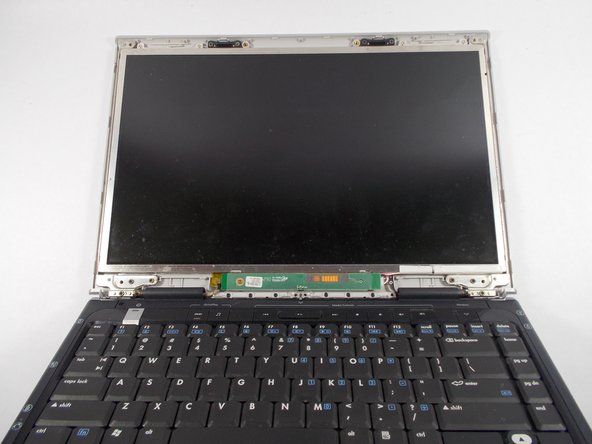
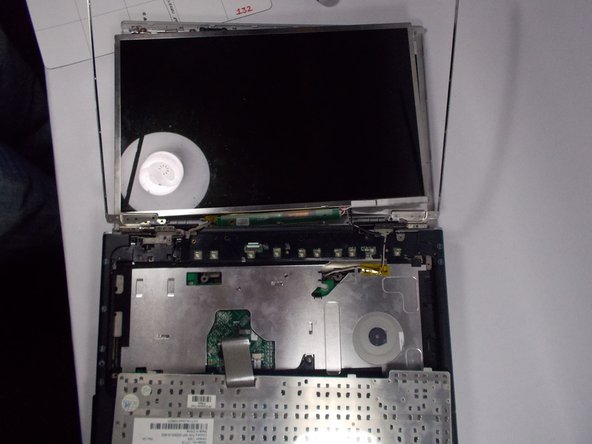
Remove the screws on each side of the screen. There are four screws on each side.
-
Remove the screen.
-


Rückgängig: Ich habe diese Anleitung nicht absolviert.
3 weitere Nutzer:innen haben diese Anleitung absolviert.
Team

UMass Dartmouth, Team 6-7, Vijaybhaskar Spring 2014 Mitglied von UMass Dartmouth, Team 6-7, Vijaybhaskar Spring 2014
UMASSD-VIJAYBHASKAR-S14S6G7
4 Mitglieder
3 Anleitungen geschrieben