Diese Version enthält möglicherweise inkorrekte Änderungen. Wechsle zur letzten geprüften Version.
Was du brauchst
-
Dieser Schritt ist noch nicht übersetzt. Hilf mit, ihn zu übersetzen!
-
Flip the computer so that the bottom side is facing up, and locate the battery above the screen hinges.
-
-
Dieser Schritt ist noch nicht übersetzt. Hilf mit, ihn zu übersetzen!
-
Slide the switch under the battery compartment to release the battery.
-
-
Dieser Schritt ist noch nicht übersetzt. Hilf mit, ihn zu übersetzen!
-
Unscrew the two silver screws holding the protective cover in place until they make a clicking noise.
-
-
-
Dieser Schritt ist noch nicht übersetzt. Hilf mit, ihn zu übersetzen!
-
Unsnap the Cover by lifting the edge along the battery compartment.
-
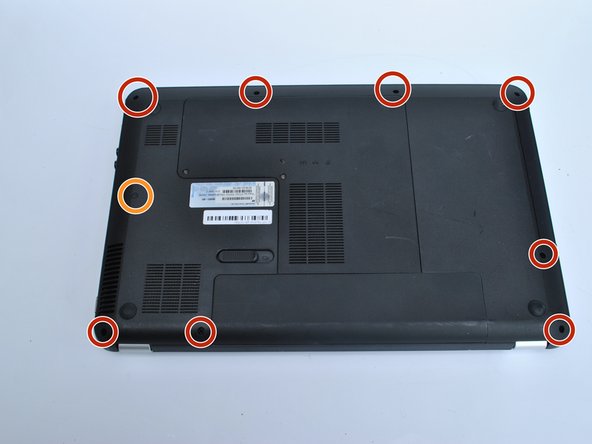
Remove all of the body screws.
-
Remove the rubber cap and the screw underneath it.
-
-
Dieser Schritt ist noch nicht übersetzt. Hilf mit, ihn zu übersetzen!
-
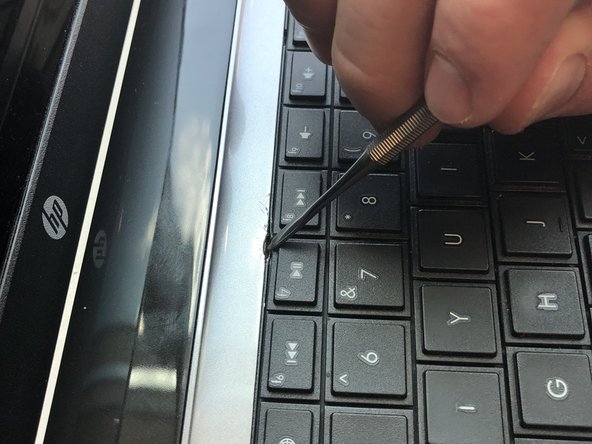
Using a metal tool, depress the center tab and pry up the keyboard by pivoting the tool towards the screen.
-
-
Dieser Schritt ist noch nicht übersetzt. Hilf mit, ihn zu übersetzen!
-
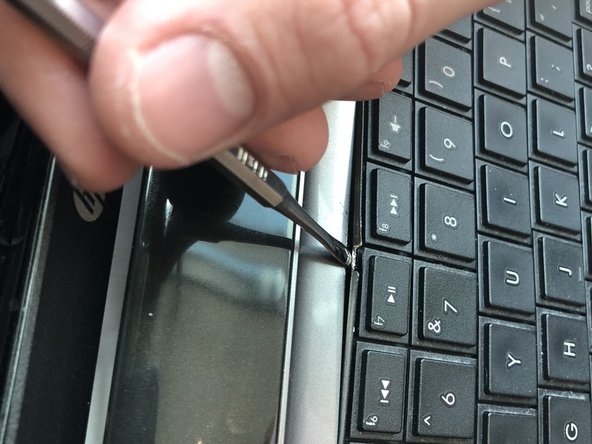
Slide the tool that is now under the keyboard sideways along the edge and use another tool to depress the other tabs along the edge of the keyboard.
-
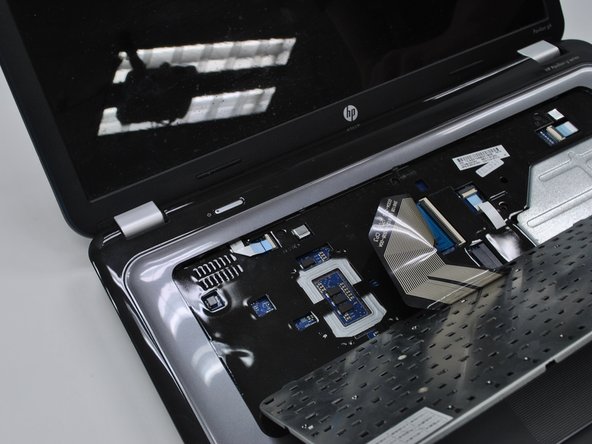
Lift off the keyboard
-
-
Dieser Schritt ist noch nicht übersetzt. Hilf mit, ihn zu übersetzen!
-
Flip up the black tab holding the keyboard in place via the ribbon cable and pull out the cable
-
-
Dieser Schritt ist noch nicht übersetzt. Hilf mit, ihn zu übersetzen!
-
Remove the two remaining ribbon cables.
-
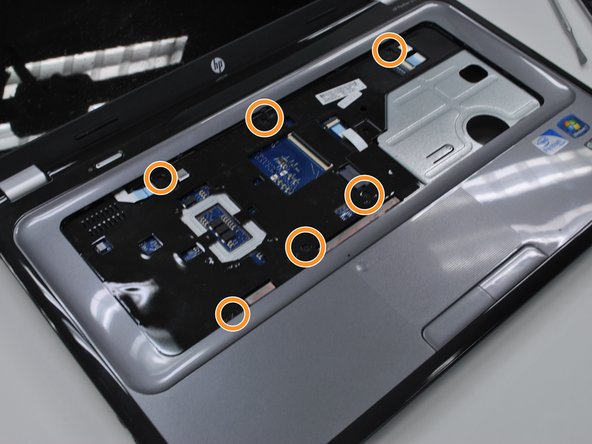
Remove the screws holding in the protective cover underneath the keyboard.
-
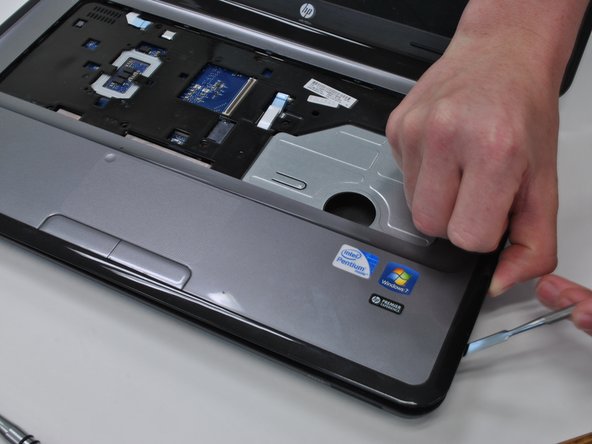
Pop the cover off using any flat metal tool, starting with where you took out the optical drive
-
-
Dieser Schritt ist noch nicht übersetzt. Hilf mit, ihn zu übersetzen!
-
Unplug the ribbon cable on the right side of the motherboard.
-
-
Dieser Schritt ist noch nicht übersetzt. Hilf mit, ihn zu übersetzen!
-
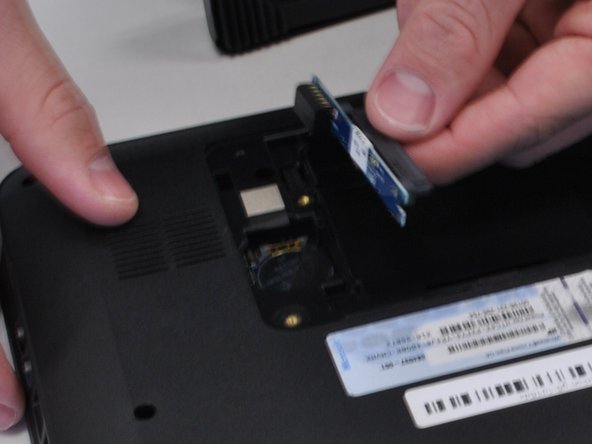
Underneath the computer, unscrew the hard drive connector screw, and pop out the hard drive plug-in.
-
-
Dieser Schritt ist noch nicht übersetzt. Hilf mit, ihn zu übersetzen!
-
Unscrew all mother board screws and lift the motherboard out of the body.
-
Rückgängig: Ich habe diese Anleitung nicht absolviert.
4 weitere Nutzer:innen haben diese Anleitung absolviert.


