Zum Hauptinhalt wechseln
Gemeinsam reparieren - Jetzt registrieren

HP Pavilion G6-2249wm screen Replacement

Was du brauchst

  1. HP Pavilion G6-2249wm screen Replacement, Battery removal: Schritt 1, Bild 1 von 1
    • Make sure the computer is shut off.

    • When you know that is shut off you may remove the battery

    Frag FixBot

    Kommentar hinzufügen

  2. HP Pavilion G6-2249wm screen Replacement, Begin screen removal: Schritt 2, Bild 1 von 1
    • Remove the little pieces of black sticky tape covering the screws that need to be removed in each lower corner

    Frag FixBot

    Kommentar hinzufügen

  3. HP Pavilion G6-2249wm screen Replacement, screw removal: Schritt 3, Bild 1 von 1
    • After the little black sticky tape is removed the two little screws at the lower corners of the screen need to be removed (place the screws on a little piece of tape).

    Frag FixBot

    Kommentar hinzufügen

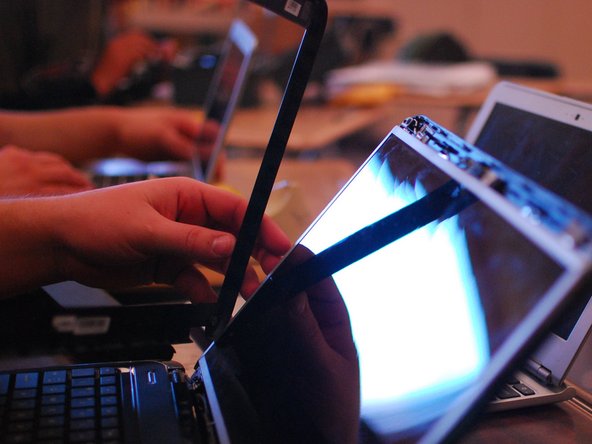
  4. HP Pavilion G6-2249wm screen Replacement, screen cover removal: Schritt 4, Bild 1 von 2 HP Pavilion G6-2249wm screen Replacement, screen cover removal: Schritt 4, Bild 2 von 2
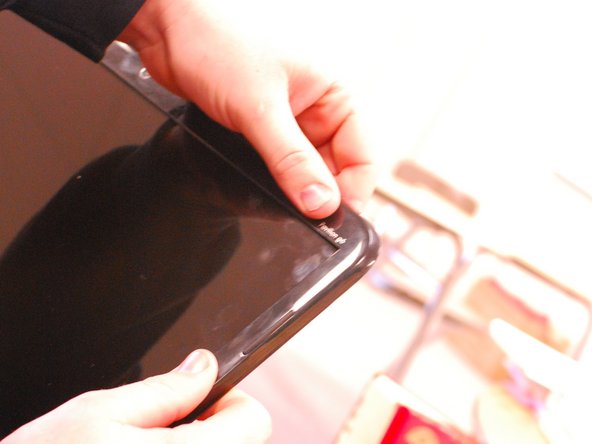
    • After removing the screws, pop out the plastic protector (can be done with your fingers).

    • Start at one corner and run your finger under the plastic and it will pop out.

    Frag FixBot

    Kommentar hinzufügen

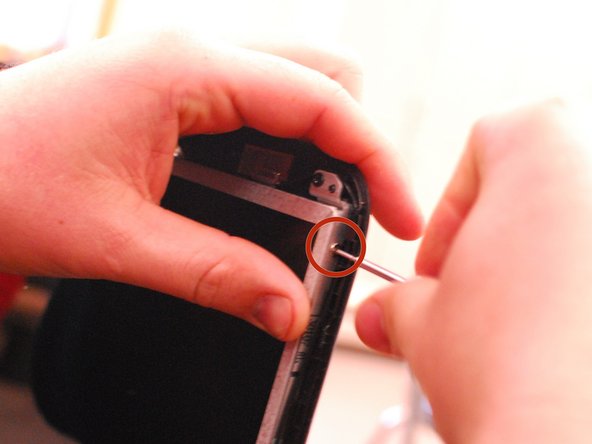
  5. HP Pavilion G6-2249wm screen Replacement, screen screw removal: Schritt 5, Bild 1 von 1
    • On each side of the screen there are two little screws, one on top and one on bottom.

    • All four of the screws need to be removed (place the screws on a little piece of tape so they won't be lost).

    Frag FixBot

    Kommentar hinzufügen

  6. HP Pavilion G6-2249wm screen Replacement, screen removal: Schritt 6, Bild 1 von 1
    • Once the screws are out, remove the screen and lay it on your keyboard.

    Frag FixBot

    Kommentar hinzufügen

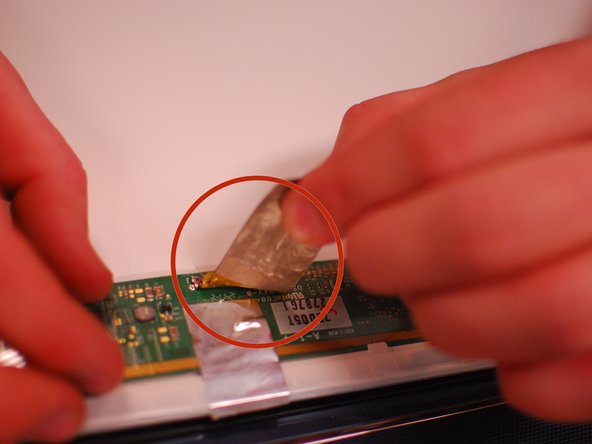
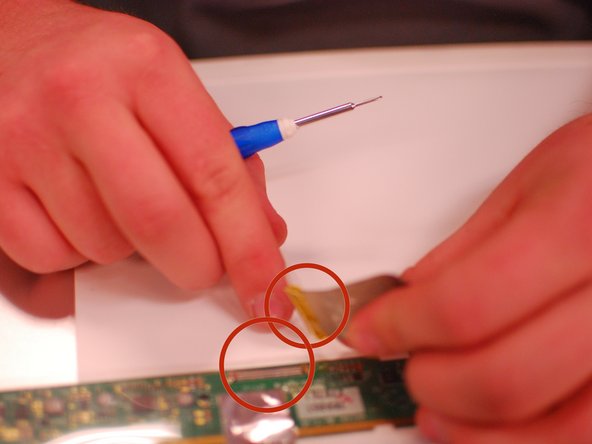
  7. HP Pavilion G6-2249wm screen Replacement, digital attachment removal: Schritt 7, Bild 1 von 3 HP Pavilion G6-2249wm screen Replacement, digital attachment removal: Schritt 7, Bild 2 von 3 HP Pavilion G6-2249wm screen Replacement, digital attachment removal: Schritt 7, Bild 3 von 3
    • Once the screen is laying down you will see a connector on the back of it.

    • Pull the sticker off which pulls the connector with it.

    Frag FixBot

    Kommentar hinzufügen

  8. HP Pavilion G6-2249wm screen Replacement, Reconnecting the screen: Schritt 8, Bild 1 von 1
    • After the new screen has arrived, reconnect the little connecter strip.

    Frag FixBot

    Kommentar hinzufügen

  9. HP Pavilion G6-2249wm screen Replacement, Replacing the screws: Schritt 9, Bild 1 von 2 HP Pavilion G6-2249wm screen Replacement, Replacing the screws: Schritt 9, Bild 2 von 2
    • After the connecter has been connected place the screen back into its place.

    • Once the screen is in place put in the four little screws that go in each corner of the screen.

    Frag FixBot

    Kommentar hinzufügen

  10. HP Pavilion G6-2249wm screen Replacement, black cover placement: Schritt 10, Bild 1 von 2 HP Pavilion G6-2249wm screen Replacement, black cover placement: Schritt 10, Bild 2 von 2
    • After the screen is screwed in place the black plastic cover back over the screen.

    • Once the black over is in place start clicking the clips back into place by just pressing with your fingers.

    Frag FixBot

    Kommentar hinzufügen

  11. HP Pavilion G6-2249wm screen Replacement, Screwing the cover in place: Schritt 11, Bild 1 von 1
    • After the black cover is in place start to but the two little screws back in the two button corners

    Frag FixBot

    Kommentar hinzufügen

  12. HP Pavilion G6-2249wm screen Replacement, Sticker placement: Schritt 12, Bild 1 von 1
    • After the screws are in place the little black sticker over the screws.

    Frag FixBot

    Kommentar hinzufügen

  13. HP Pavilion G6-2249wm screen Replacement, Placing the battery: Schritt 13, Bild 1 von 1
    • After the screen is in and everything is tight and in place you may but the battery back in.

    Frag FixBot

    Kommentar hinzufügen

  14. HP Pavilion G6-2249wm screen Replacement, Turning on the computer: Schritt 14, Bild 1 von 1
    • Once the battery is in place you may turn is it on and watch your screen come back to life.

    Frag FixBot

    Kommentar hinzufügen

Abschluss

To reassemble your device, follow these instructions in reverse order.

Rückgängig: Ich habe diese Anleitung nicht absolviert.

10 weitere Personen haben diese Anleitung absolviert.

Team

Vegas Room H9 Mitglied von Vegas Room H9

Community

13 Mitglieder

21 Anleitungen geschrieben

1 Kommentar zur Anleitung

Good guide. Easiest screen replacement ever.

I’m concerned about your poor little knuckles.

Jim Buchholz - Antwort Teilen

Kommentar hinzufügen

Seitenaufrufe:

Letzte 24 Stunden: 0

Letzte 7 Tage: 7

Letzte 30 Tage: 39

Insgesamt: 4,620