Zum Hauptinhalt wechseln

HP Pavilion Notebook 15-ab293cl Hard Drive Replacement

Was du brauchst

  1. HP Pavilion Notebook 15-ab293cl Hard Drive Replacement, Hard Drive: Schritt 1, Bild 1 von 2 HP Pavilion Notebook 15-ab293cl Hard Drive Replacement, Hard Drive: Schritt 1, Bild 2 von 2
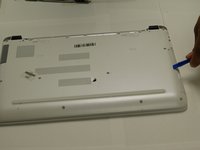
    • Flip the laptop over so that the battery is facing upward.

  2. HP Pavilion Notebook 15-ab293cl Hard Drive Replacement: Schritt 2, Bild 1 von 3 HP Pavilion Notebook 15-ab293cl Hard Drive Replacement: Schritt 2, Bild 2 von 3 HP Pavilion Notebook 15-ab293cl Hard Drive Replacement: Schritt 2, Bild 3 von 3
    • Slide both tab buttons inward to open the battery cover. Gently push the battery out to remove.

  3. HP Pavilion Notebook 15-ab293cl Hard Drive Replacement: Schritt 3, Bild 1 von 2 HP Pavilion Notebook 15-ab293cl Hard Drive Replacement: Schritt 3, Bild 2 von 2
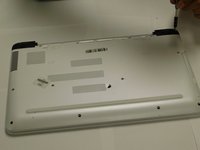
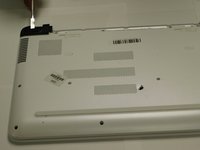
    • Remove the black plastic hinge covers at the top corners of the laptop.

    • Use the Phillips #1 to remove the two 7.5mm screws.

    • Use the opening tool to pry the black covers off of the laptop.

  4. HP Pavilion Notebook 15-ab293cl Hard Drive Replacement: Schritt 4, Bild 1 von 3 HP Pavilion Notebook 15-ab293cl Hard Drive Replacement: Schritt 4, Bild 2 von 3 HP Pavilion Notebook 15-ab293cl Hard Drive Replacement: Schritt 4, Bild 3 von 3
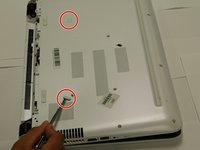
    • Remember to remove the tabs shown in the second picture.

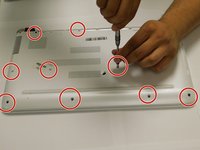
    • Remove all 16 - 7.5mm screws with the Phillips #1 screwdriver.

    • Pry and slide the CD/DVD drive out of the laptop case.

  5. HP Pavilion Notebook 15-ab293cl Hard Drive Replacement: Schritt 5, Bild 1 von 1
    • Unscrew the two 3.5mm silver screws with the Phillips #000 and the Philips # 1.

  6. HP Pavilion Notebook 15-ab293cl Hard Drive Replacement: Schritt 6, Bild 1 von 3 HP Pavilion Notebook 15-ab293cl Hard Drive Replacement: Schritt 6, Bild 2 von 3 HP Pavilion Notebook 15-ab293cl Hard Drive Replacement: Schritt 6, Bild 3 von 3
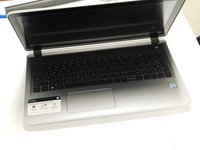
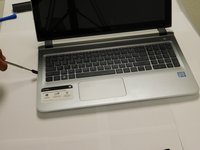
    • Turn the computer so that the screen faces you.

    • Use the pry tool to pry off the edge of the keyboard side of laptop.

  7. HP Pavilion Notebook 15-ab293cl Hard Drive Replacement: Schritt 7, Bild 1 von 3 HP Pavilion Notebook 15-ab293cl Hard Drive Replacement: Schritt 7, Bild 2 von 3 HP Pavilion Notebook 15-ab293cl Hard Drive Replacement: Schritt 7, Bild 3 von 3
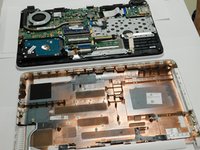
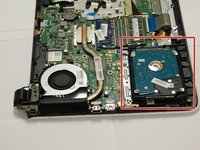
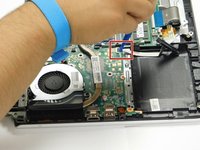
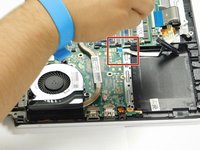
    • The hard drive is located in the bottom corner of the laptop.

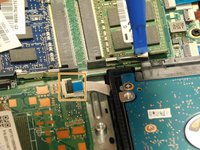
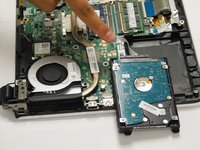
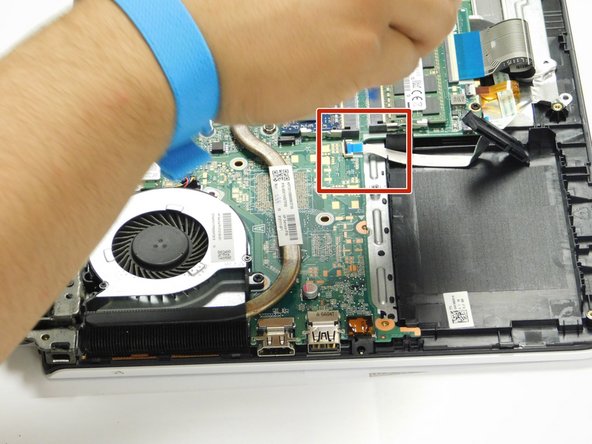
    • Gently lift up the hard drive and pry off the white tab to release the hard drive.

  8. HP Pavilion Notebook 15-ab293cl Hard Drive Replacement: Schritt 8, Bild 1 von 2 HP Pavilion Notebook 15-ab293cl Hard Drive Replacement: Schritt 8, Bild 2 von 2
    • Once you release the white tab from the green board, remove the hard drive.

Abschluss

To reassemble your device, follow these instructions in reverse order.

Ein:e weitere:r Nutzer:in hat diese Anleitung absolviert.

Efren Solis

Mitglied seit: 09/10/18

228 Reputation

1 Anleitung geschrieben

Team

Gateway, Team S1-G2, Luster Fall 2018 Mitglied von Gateway, Team S1-G2, Luster Fall 2018

GCC-LUSTER-F18S1G2

4 Mitglieder

4 Anleitungen geschrieben

0 Kommentare

Kommentar hinzufügen

Seitenaufrufe:

Letzte 24 Stunden: 3

Letzte 7 Tage: 17

Letzte 30 Tage: 73

Insgesamt: 2,026