Einleitung
Is your device constantly overheating or having trouble with cooling down? If so, the fan in your device may be faulty and needs to be replaced. Follow the instructions in this guide to remove and replace the fan in the HP Pavilion dv4-4141us laptop.
Was du brauchst
-
-
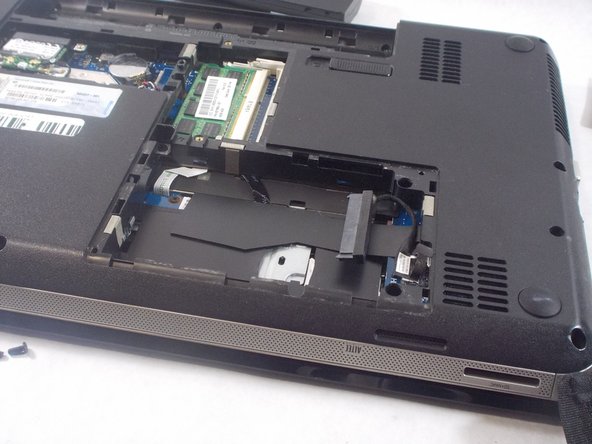
Lift up the back panel using a spudger, and remove it from the device.
-
-
-
Using the Phillips #1 screwdriver unscrew the panel from the computer.
-
Lift the panel up and remove it from the laptop.
-
-
-
Use the spudger to lift the left side of the hard drive.
-
Unplug the hard drive and remove it from the device.
-
-
-
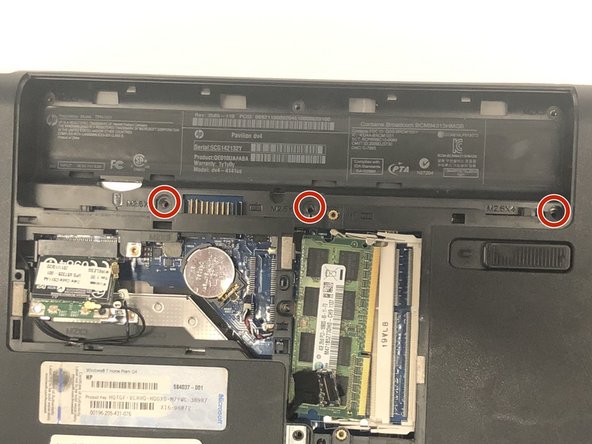
Use a Phillips #1 Screwdriver to remove all the screws indicated in the pictures.
-
-
-
-
Use a spudger to gently lift the white plastic flap and release the ribbon cable holding the keyboard in place.
-
-
-
Use the spudger to lift up the flap and release the cable for both of these two separate components.
-
-
-
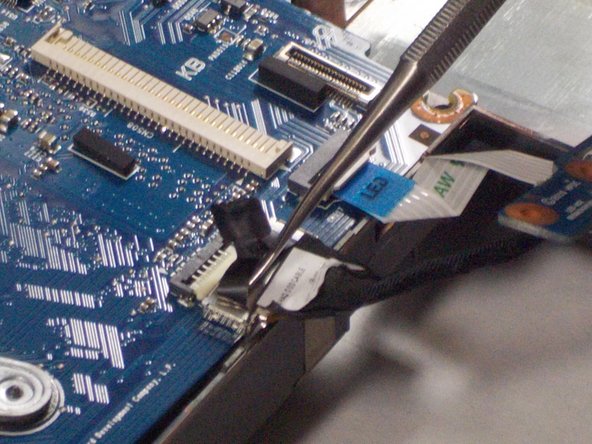
Unclip the last wire holding the motherboard in place. To do this pull down on the wire in the direction of the arrow.
-
-
-
Take out the mother board and flip it over so that you can access the fan.
-
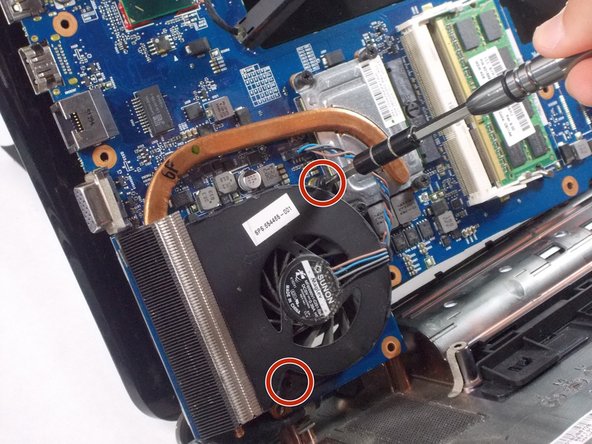
Unscrew the two screws holding the fan in place.
-


To reassemble your device, follow these instructions in reverse order.
To reassemble your device, follow these instructions in reverse order.
Rückgängig: Ich habe diese Anleitung nicht absolviert.
Ein:e weitere:r Nutzer:in hat diese Anleitung absolviert.
Team

UMass Dartmouth, Team 2-3, Sinclaire Fall 2021 Mitglied von UMass Dartmouth, Team 2-3, Sinclaire Fall 2021
UMASSD-SINCLAIRE-F21S2G3
3 Mitglieder
7 Anleitungen geschrieben
Ein Kommentar
Thanks! I was able to upgrade my Intel Core i3 2330m to a considerably more powerful core i5 2410m! The instructions were very easy to follow. This fixed my problem!