Diese Version enthält möglicherweise inkorrekte Änderungen. Wechsle zur letzten geprüften Version.
Was du brauchst
-
Dieser Schritt ist noch nicht übersetzt. Hilf mit, ihn zu übersetzen!
-
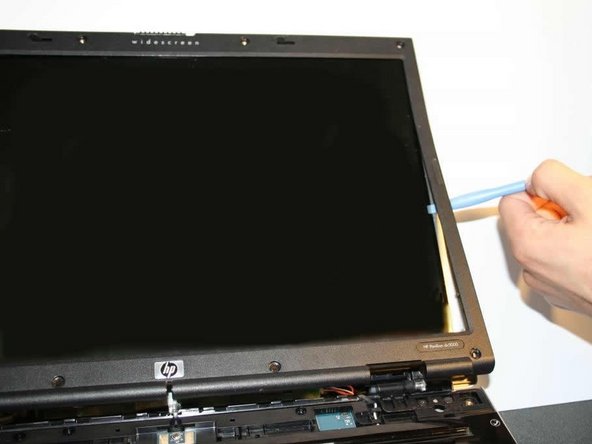
Lay the computer face-down on a flat surface. Orient the computer to match the image.
-
Locate the battery release switch, as indicated in the image by the red rectangle. Slide the switch from right to left, and remove the battery.
-
-
Dieser Schritt ist noch nicht übersetzt. Hilf mit, ihn zu übersetzen!
-
Remove the two 11.0mm screws at the corners on either side of the battery compartment. (shown by the red circles)
-
Remove the three 6.0mm screws. (shown by the blue circles)
-
Remove the two silver 5.0mm screws. (shown by the yellow circles)
-
Remove the 6.0mm screw in the middle of the battery compartment. (shown by the teal circle)
-
-
Dieser Schritt ist noch nicht übersetzt. Hilf mit, ihn zu übersetzen!
-
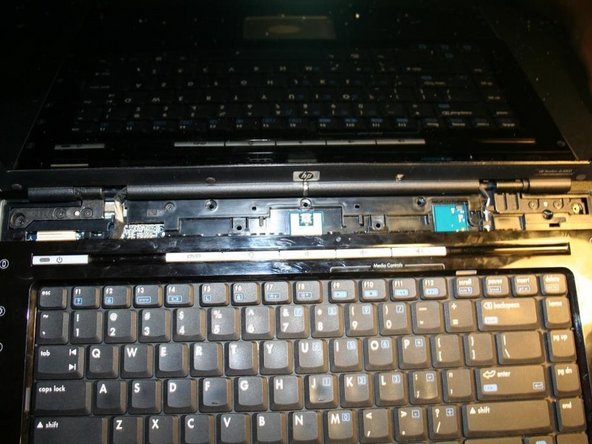
Lift plastic covering strip gently at the corner to separate the plastic it from the keyboard area.
-
Slide a plastic separator tool along the strip and lift off to remove it.
-
-
-
Dieser Schritt ist noch nicht übersetzt. Hilf mit, ihn zu übersetzen!
-
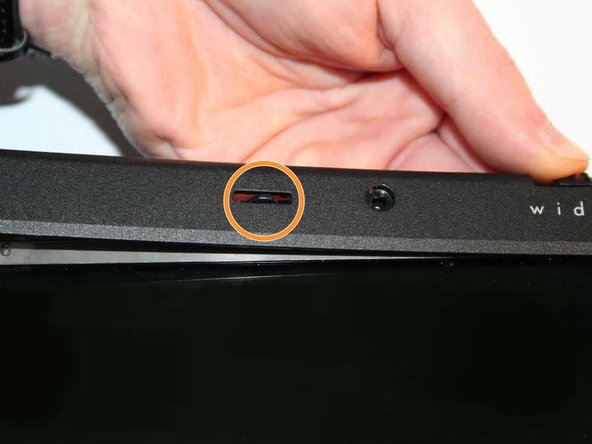
Using tweezers, remove the (8) silicone covers over the screws of the screen's frame.
-
Remove the (8) now-exposed screws.
-
-
Dieser Schritt ist noch nicht übersetzt. Hilf mit, ihn zu übersetzen!
-
Using the plastic separator, make your way up from the bottom, separating the screen's frame off.
-
You may need to finagle the locking tab slightly in order to pull the frame away from it
-
-
Dieser Schritt ist noch nicht übersetzt. Hilf mit, ihn zu übersetzen!
-
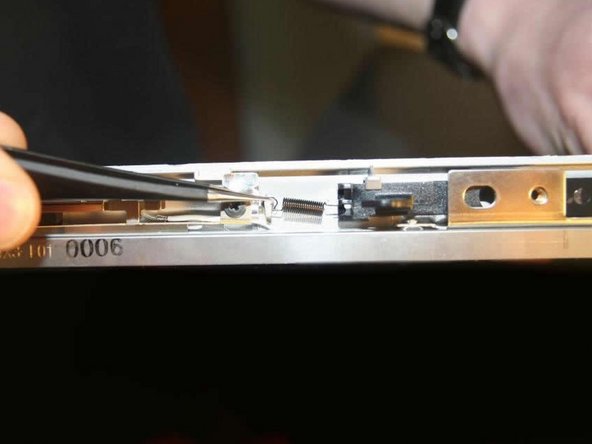
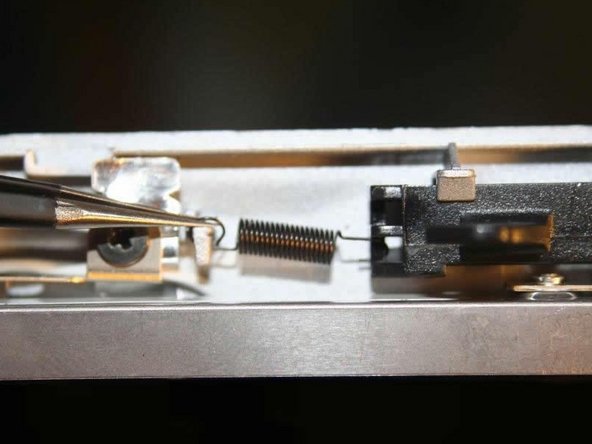
With frame removed, the locking assembly is visible
-
Using tweezers, pull the spring off the hook, and the locking assembly will pull down and off with little effort
-
Be sure not to drop the spring behind the screen while removing it!
-
-
Dieser Schritt ist noch nicht übersetzt. Hilf mit, ihn zu übersetzen!
-
Congratulations! You're ready to install the new assembly and reassemble your laptop!
-


Rückgängig: Ich habe diese Anleitung nicht absolviert.
Ein:e weitere:r Nutzer:in hat diese Anleitung absolviert.
Team

UMass Dartmouth, Team 4-5, Calaway Spring 2014 Mitglied von UMass Dartmouth, Team 4-5, Calaway Spring 2014
UMASSD-CALAWAY-S14S4G5
4 Mitglieder
3 Anleitungen geschrieben