Einleitung
If your HP pavilion dv6700 is producing excessive heat or the fans are very loud it most likely means that your heatsink is broken and you need to replace it. The heat sink works by attaching to a computer chip and absorbing the heat it produces, cooling it down and preventing the chip from overheating.
Warning: make sure to power down your device and to wear anti-static guard straps as you could damage the circuitry when coming into contact with static electricity.
Was du brauchst
-
-
Flip over the device so that the bottom is facing you.
-
Locate the battery on the bottom of your laptop.
-
-
-
Slide the tab all the way over to the left until battery pops out. Lift out and remove battery.
-
-
-
Use a Phillips #00 screwdriver to remove the two screws securing Hard Disk Drive (HDD) cover.
-
-
-
Use a Phillips #00 screwdriver to remove the 25 screws securing the bottom of the computer.
-
-
-
Flip over HP Pavilion dv6700 so that the top is facing you.
-
Open up HP Pavilion dv6700.
-
-
-
Pull out and up on keyboard to remove it.
-
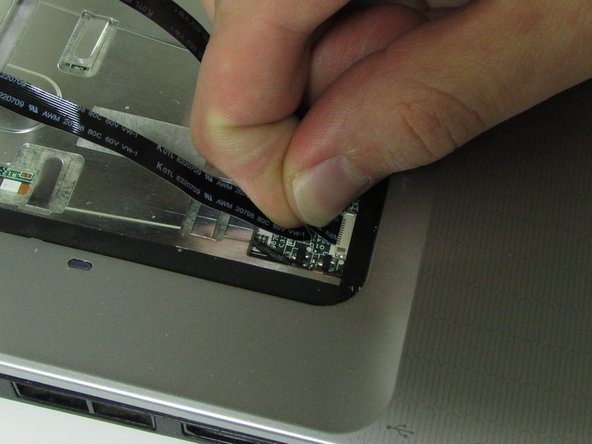
Slide the two black locks on the side of the keyboard cable connection port up to release the cable.
-
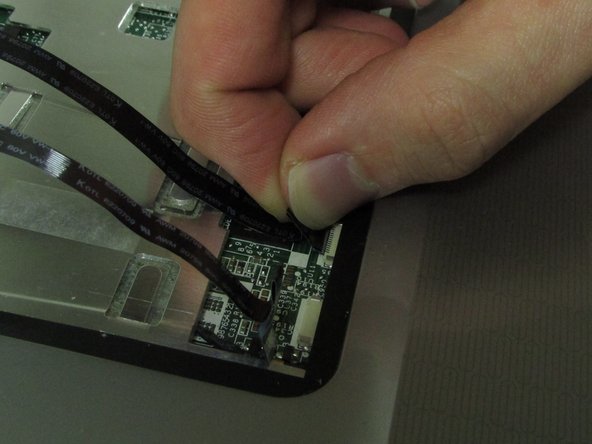
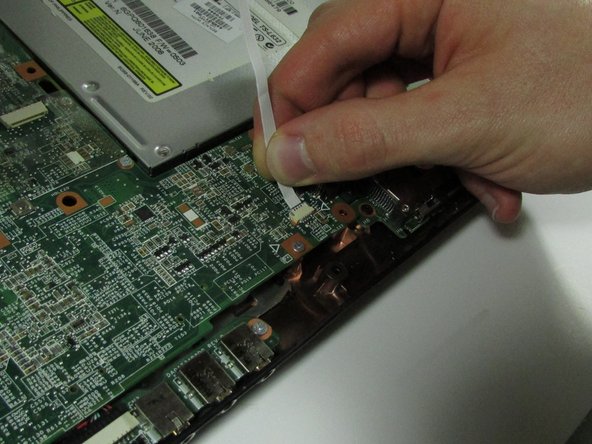
Grip the ribbon cable near the connection point and gently but firmly pull it out.
-
-
-
-
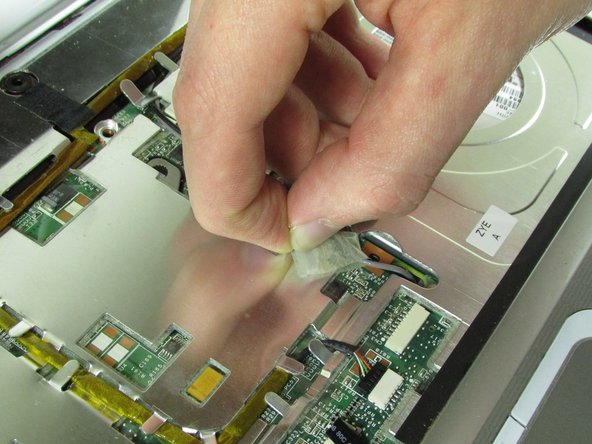
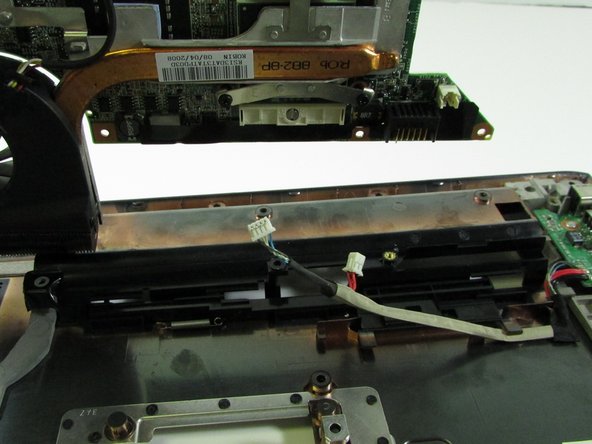
Disconnect the connector from the port.
-
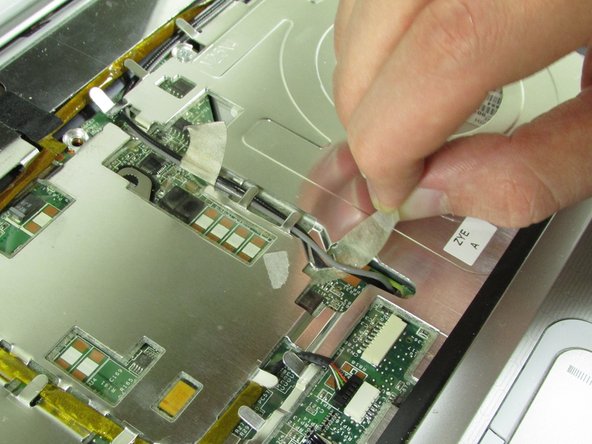
Remove the wire from under the metal tabs.
-
Let wire hang loose after removing under the tabs.
-
-
-
Use a Phillips #00 screwdriver to remove the black screw located in the top right corner near the display.
-
-
-
Use a Phillips #00 screwdriver to remove the black screw securing the screen.
-
Lift the screen off and set it aside.
-
-
-
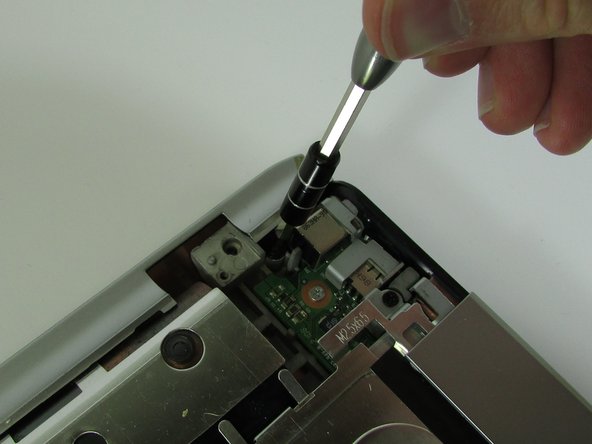
Unscrew the black screw in the top right corner using the Phillips #00 screwdriver.
-
Pull up on the top piece and remove it.
-
-
-
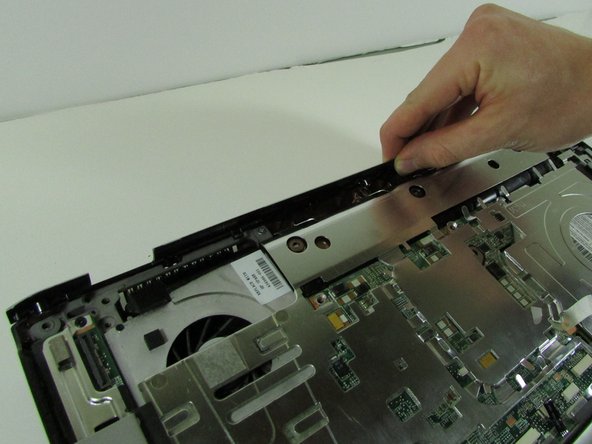
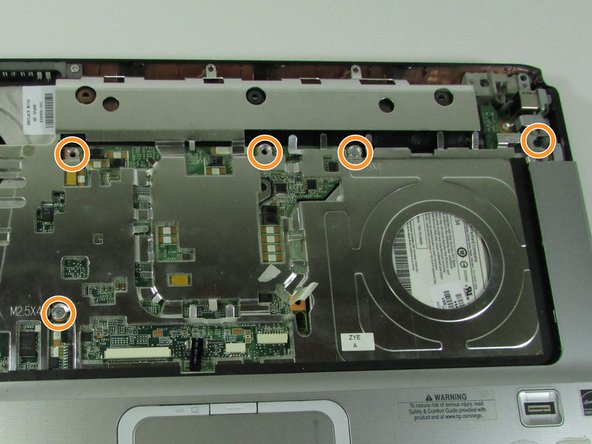
Remove the screw in top left corner using the Phillips #00 screwdriver
-
Remove the five screws that are located on the motherboard cover.
-
Pull up on the cover to remove it.
-
-
-
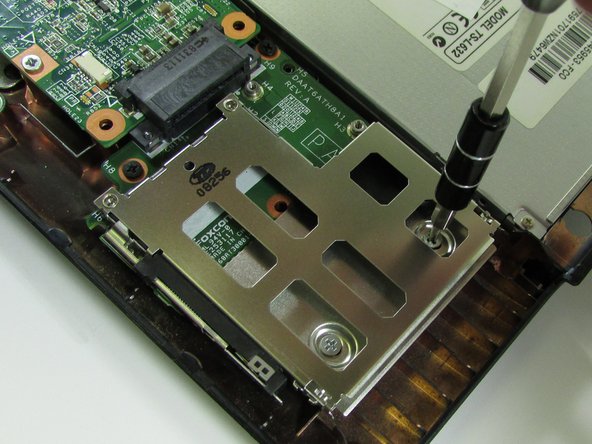
Remove the four screws from the ExpressCard component using the Phillips #00 screwdriver.
-
-
-
Remove ExpressCard component by sliding it out.
-
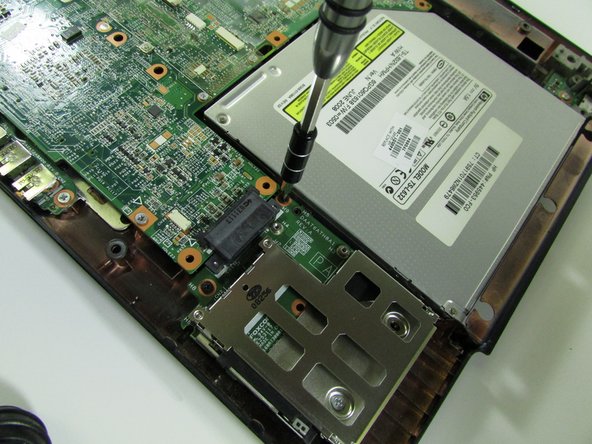
Remove Optical Drive by sliding it out.
-
-
-
Using the Phillips #00 screwdriver, remove the one screw near where the ExpressCard component was.
-
-
-
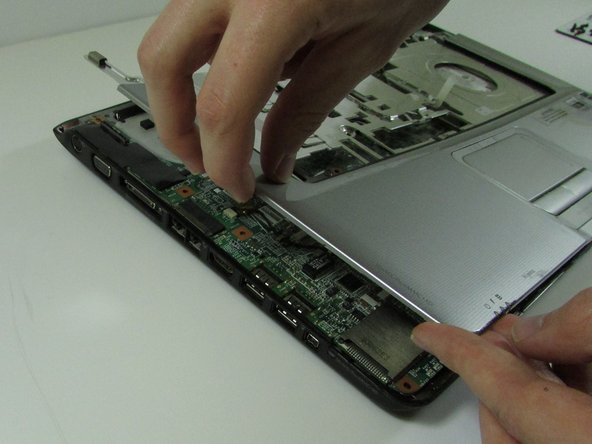
Lift up motherboard.
-
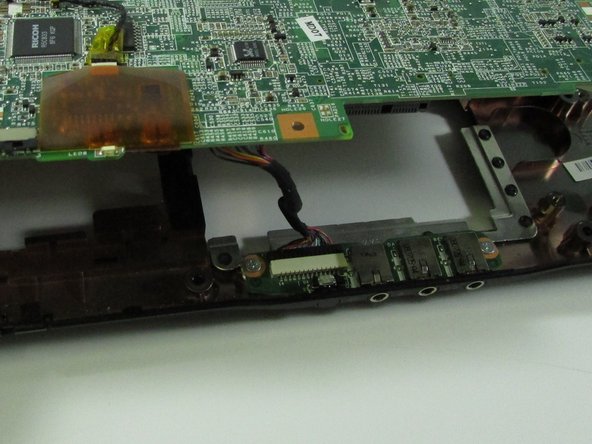
Detach the motherboard connector at the front under the motherboard.
-
-
-
Lift up and out the motherboard.
-
Detach the connector under the motherboard.
-
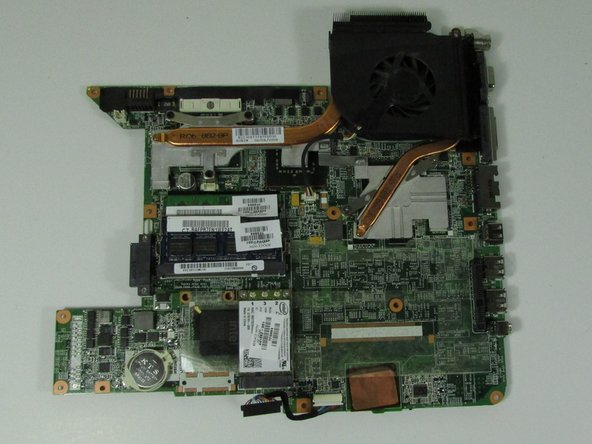
Remove the motherboard.
-
-
-
Using a Phillips #0 screwdriver unscrew the 5 screws located on the mother board.
-


To reassemble your device, follow these instructions in reverse order.
To reassemble your device, follow these instructions in reverse order.
Rückgängig: Ich habe diese Anleitung nicht absolviert.
5 weitere Personen haben diese Anleitung absolviert.
Team

University of Illinois Urbana-Champaign, Team 1-118, Wolske Fall 2015 Mitglied von University of Illinois Urbana-Champaign, Team 1-118, Wolske Fall 2015
UICU-WOLSKE-F15S1G118
1 Mitglied
6 Anleitungen geschrieben