Einleitung
You will need to remove many parts of the computer. The key is to be careful when removing some parts of the computer.
Was du brauchst
-
-
Shut down the computer.
-
Turn computer upside down so the base is facing upward.
-
-
-
Slide latch next to battery icon until battery pops up.
-
Pull the battery away from the computer until completely detached.
-
-
-
Position the computer so the front is towards you.
-
Remove two 5mm Phillips #1 screws
-
Slide the hard drive cover towards the empty battery spot and remove it.
-
-
-
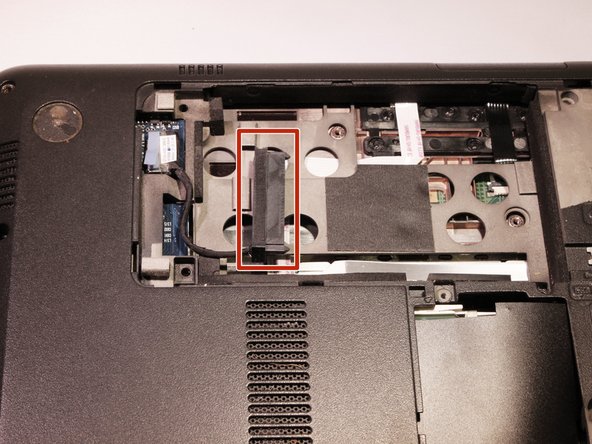
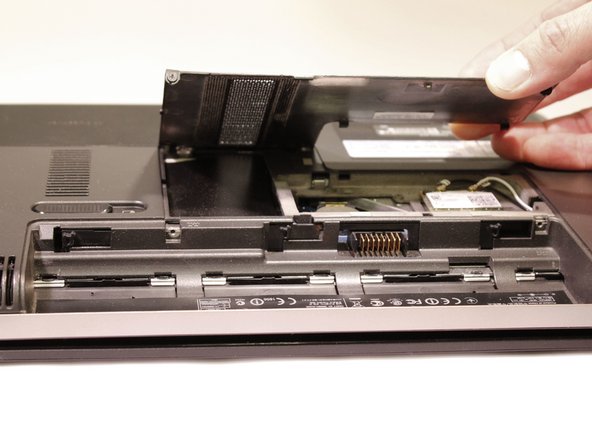
Loosen two 5mm Phillips #1 screws securing plastic cover, until cover is detachable.
-
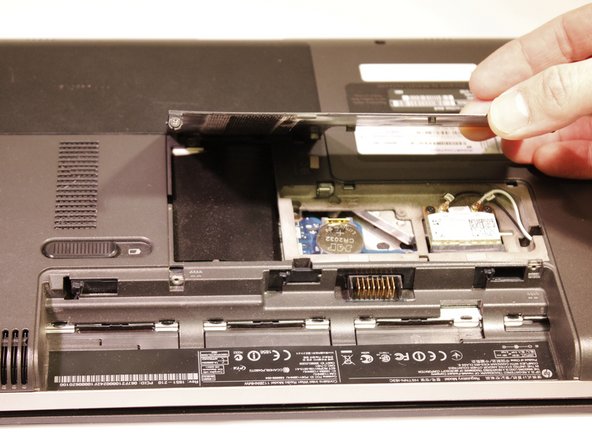
Slide cover toward empty battery area and remove it.
-
-
-
-
Disconnect the hard drive cable that is plugged in.
-
Lift the tab on the hard drive to pull it out of the computer.
-
Hard Drive is removed.
-
-
-
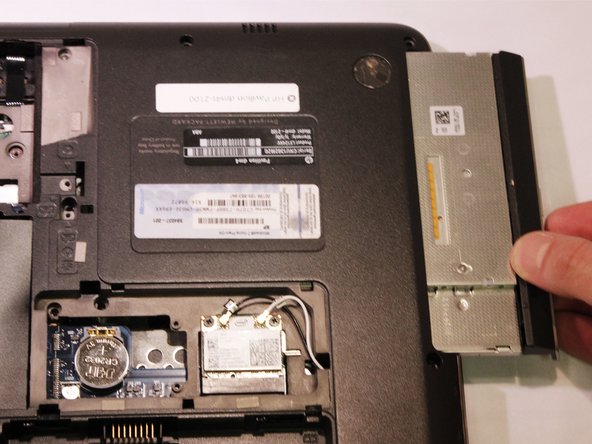
Remove one Phillips M2.5X5.0 Screw that is securing the optical drive.
-
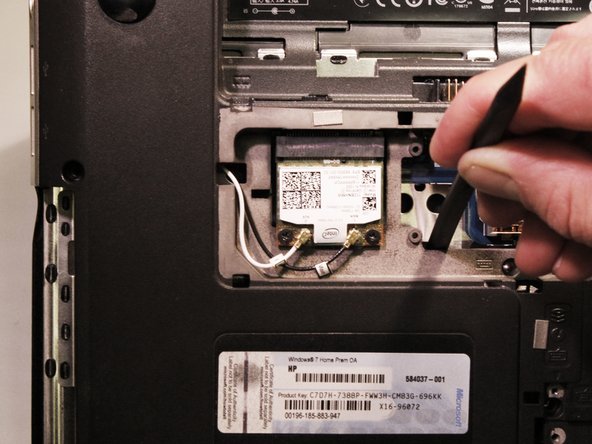
With the nylon spudger, push the optical drive until you can grab it.
-
Pull the optical drive all the way out, until removed.
-
-
-
Remove 2 Phillips M2.5X6.5 screws from the back of the computer.
-
Turn the computer over, and open the computer as far as possible without breaking it.
-
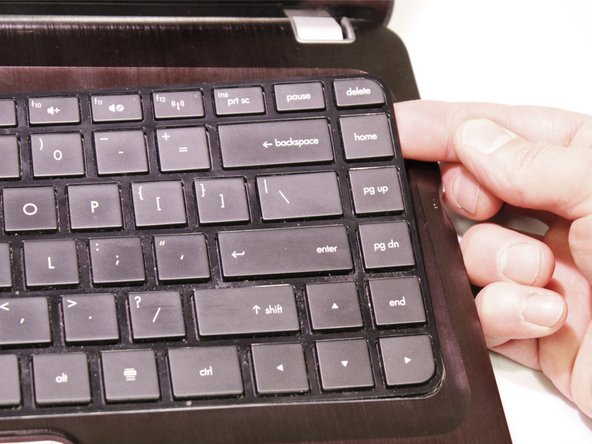
Release the top of the keyboard by lifting up and gently pull the top up until the whole keyboard is up.
-
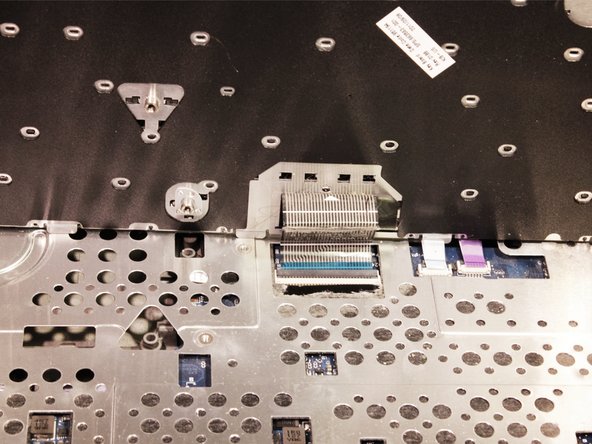
Lift plastic cover to release the ZIF connector that is holding the keyboard in place. Then remove the keyboard.
-
-
-
Turn the computer upside down with the front towards you, and, remove the two rubber feet near the battery.
-
Remove 13 Phillips M2.0X7.0 screws.
-
Remove 6 Phillips M2.0X2.0 broad head screws.
-
Turn computer over and open the computer as far as possible without breaking it.
-
-
-
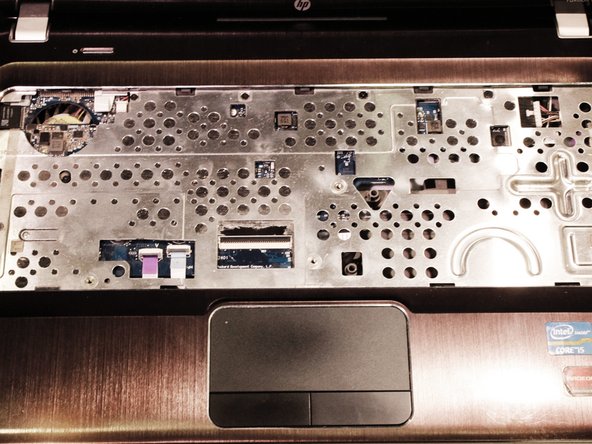
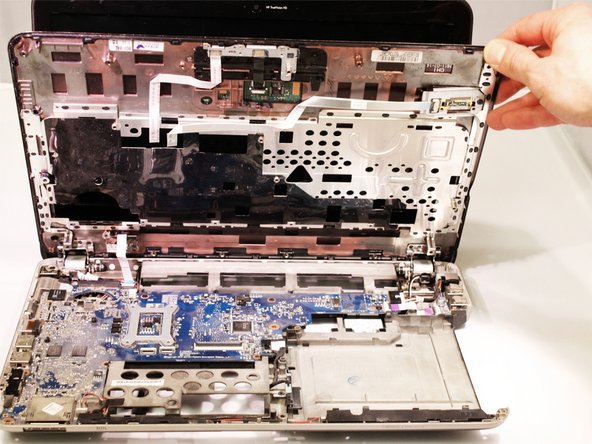
Release 2 ZIF connectors where the touch pad cable and fingerprint reader are connected.
-
Remove 4 Phillips M2.0X4.0 screws near the top of the keyboard area.
-
Lift top cover from the base and release the ZIF connector that the power button is connected to. The cover should now be removed.
-
-
-
Take the top cover and put it upside down and remove one Phillips M2.0X3.0 screw.
-


To reassemble your device, follow these instructions in reverse order.
To reassemble your device, follow these instructions in reverse order.
Rückgängig: Ich habe diese Anleitung nicht absolviert.
Eine weitere Person hat diese Anleitung absolviert.

Team

Eastern Washington University, Team 2-3, Andersen Winter 2016 Mitglied von Eastern Washington University, Team 2-3, Andersen Winter 2016
EWU-ANDERSEN-W16S2G3
5 Mitglieder
6 Anleitungen geschrieben