Zum Hauptinhalt wechseln

HP Prime Graphing Calculator G8X92A Motherboard/Display Replacement

Was du brauchst

  1. HP Prime Graphing Calculator G8X92A Motherboard/Display Replacement, Battery: Schritt 1, Bild 1 von 2 HP Prime Graphing Calculator G8X92A Motherboard/Display Replacement, Battery: Schritt 1, Bild 2 von 2
    • Power down the device.

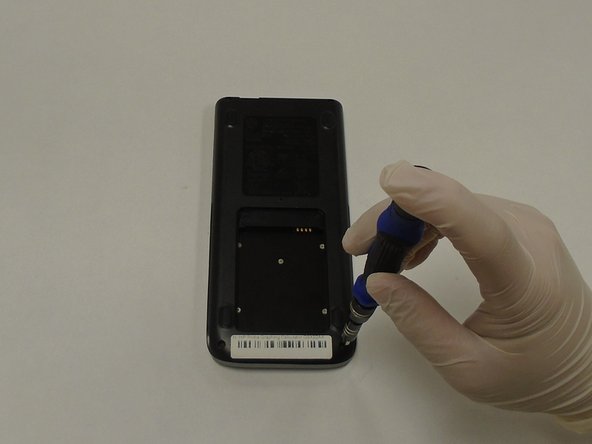
    • Flip the device face side down so the back of the device is facing up.

  2. HP Prime Graphing Calculator G8X92A Motherboard/Display Replacement: Schritt 2, Bild 1 von 3 HP Prime Graphing Calculator G8X92A Motherboard/Display Replacement: Schritt 2, Bild 2 von 3 HP Prime Graphing Calculator G8X92A Motherboard/Display Replacement: Schritt 2, Bild 3 von 3
    • Using a Phillips #00 screwdriver, remove the two 4.5 mm screws securing the battery cover located at the bottom center of the device.

    • Remove the cover.

  3. HP Prime Graphing Calculator G8X92A Motherboard/Display Replacement: Schritt 3, Bild 1 von 3 HP Prime Graphing Calculator G8X92A Motherboard/Display Replacement: Schritt 3, Bild 2 von 3 HP Prime Graphing Calculator G8X92A Motherboard/Display Replacement: Schritt 3, Bild 3 von 3
    • Remove the battery.

  4. HP Prime Graphing Calculator G8X92A Motherboard/Display Replacement, Button Panel: Schritt 4, Bild 1 von 2 HP Prime Graphing Calculator G8X92A Motherboard/Display Replacement, Button Panel: Schritt 4, Bild 2 von 2
    • Using a Phillips #00 screwdriver, remove the four 4.5 mm screws securing the back panel to the device.

  5. HP Prime Graphing Calculator G8X92A Motherboard/Display Replacement: Schritt 5, Bild 1 von 3 HP Prime Graphing Calculator G8X92A Motherboard/Display Replacement: Schritt 5, Bild 2 von 3 HP Prime Graphing Calculator G8X92A Motherboard/Display Replacement: Schritt 5, Bild 3 von 3
    • Using a spudger, gently pry apart the front and back panels.

  6. HP Prime Graphing Calculator G8X92A Motherboard/Display Replacement: Schritt 6, Bild 1 von 3 HP Prime Graphing Calculator G8X92A Motherboard/Display Replacement: Schritt 6, Bild 2 von 3 HP Prime Graphing Calculator G8X92A Motherboard/Display Replacement: Schritt 6, Bild 3 von 3
    • Using a Phillips #00 screwdriver, remove the eleven 3 mm screws securing the battery board/button panel located at the bottom half of the device.

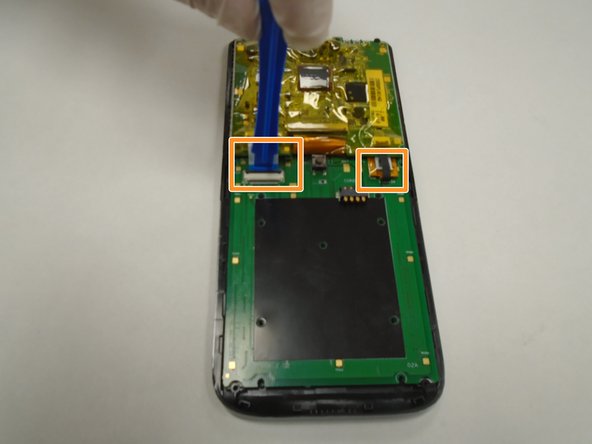
    • Using a plastic opening tool, gently pry the retaining clip securing the ribbon cable to the top-left side of the board.

    • Using plastic tweezers, gently unplug the ribbon cable from the board.

  7. HP Prime Graphing Calculator G8X92A Motherboard/Display Replacement: Schritt 7, Bild 1 von 3 HP Prime Graphing Calculator G8X92A Motherboard/Display Replacement: Schritt 7, Bild 2 von 3 HP Prime Graphing Calculator G8X92A Motherboard/Display Replacement: Schritt 7, Bild 3 von 3
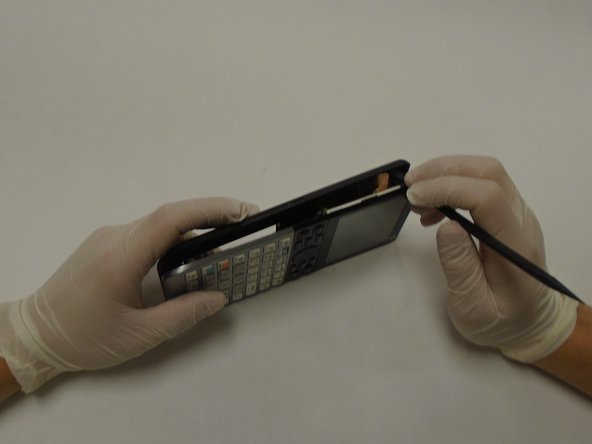
    • Using a plastic opening tool, gently pry upward on the battery board/button panel from the bottom to remove.

  8. HP Prime Graphing Calculator G8X92A Motherboard/Display Replacement, Motherboard/Display: Schritt 8, Bild 1 von 2 HP Prime Graphing Calculator G8X92A Motherboard/Display Replacement, Motherboard/Display: Schritt 8, Bild 2 von 2
    • Remove the lower component from the motherboard

  9. HP Prime Graphing Calculator G8X92A Motherboard/Display Replacement: Schritt 9, Bild 1 von 3 HP Prime Graphing Calculator G8X92A Motherboard/Display Replacement: Schritt 9, Bild 2 von 3 HP Prime Graphing Calculator G8X92A Motherboard/Display Replacement: Schritt 9, Bild 3 von 3
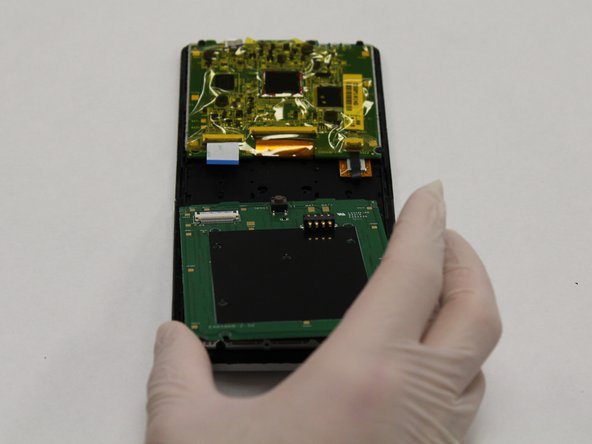
    • Using a Phillips #00 screwdriver, remove the four screws securing the motherboard/display to the front panel.

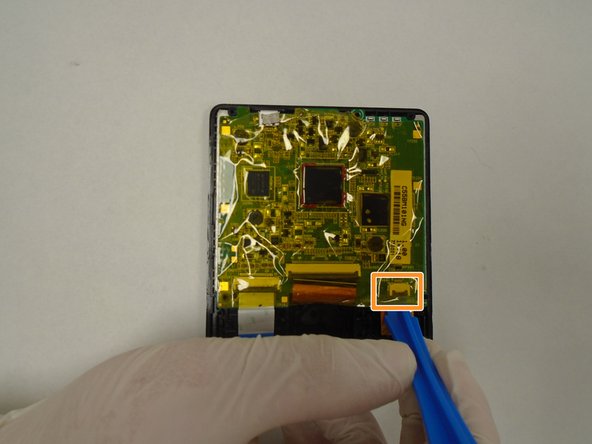
    • Using a plastic opening tool, pry up the locking tab of the ZIF connector on the right side of the device and pull out the ribbon cable.

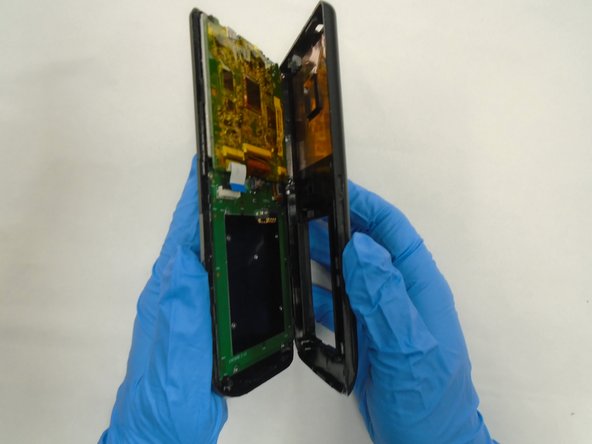
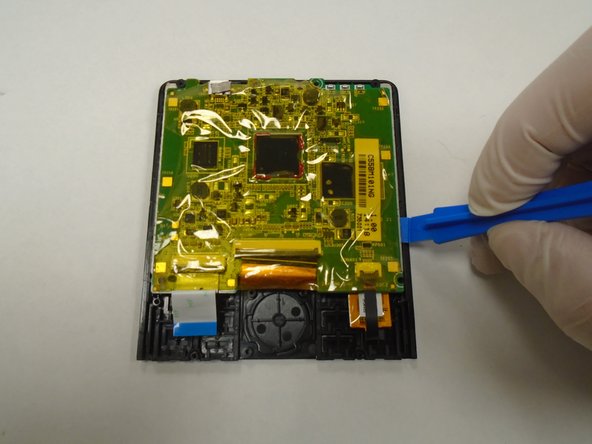
    • Using a plastic opening tool, gently pry apart the motherboard and the front panel.

  10. HP Prime Graphing Calculator G8X92A Motherboard/Display Replacement: Schritt 10, Bild 1 von 2 HP Prime Graphing Calculator G8X92A Motherboard/Display Replacement: Schritt 10, Bild 2 von 2
    • Remove the motherboard from the display.

Abschluss

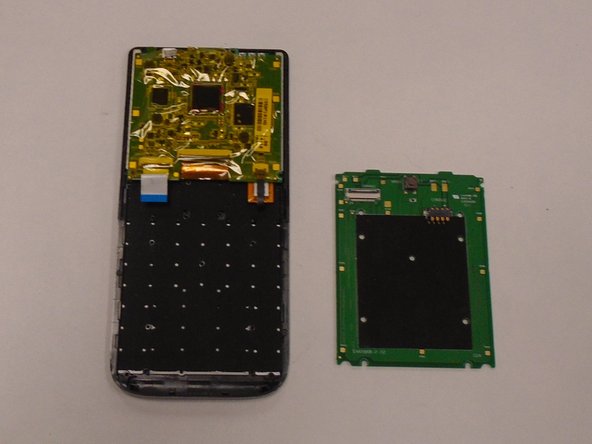
To reassemble your device, follow these instructions in reverse order.

Ein Kommentar

Hi Eric,

Do you know where we could buy / get a screen replacement? I looked everywhere, but I cannot find it.

Led Hilderink - Antwort

Kommentar hinzufügen

Seitenaufrufe:

Letzte 24 Stunden: 1

Letzte 7 Tage: 15

Letzte 30 Tage: 78

Insgesamt: 2,289