Einleitung
The power on/off and HDD activity LED indicates whether the HP Z2 Mini G3 (Model No. 1LE81UP#ABA) is on or off. Also, the HDD activity LED supports as an indicator for hard drive operation.
Follow safe cable practice while handling the cables and keep them away from heat sources.
Be sure that the power is off and the A/C power cord has been disconnected before working on interior components. Removing hardware while the power is on could damage the device or harm you.
Components inside the device are also subject to static damage, so try and work on a hard surface to reduce this risk.
-
-
Slide and hold the latch in the direction of the engraved arrow (to the right).
-
-
-
While holding the latch, lift the access panel upwards and towards yourself and set it aside upside-down.
-
-
-
Rotate the device so the front side is facing you (the side with the power button) and locate the CPU fan.
-
-
-
-
Carefully disconnect the CPU fan by pulling out the wires from the motherboard.
-
-
-
Swing the fan back down and carefully unhook the CPU fan notches by pulling each tab away from the heat sink holes.
-
-
-
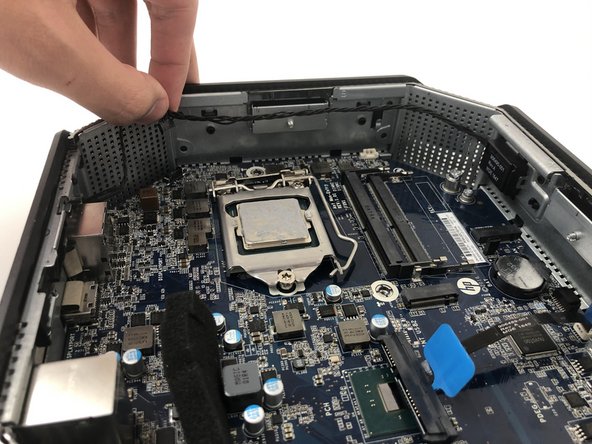
Remove HDD activity LED from retaining clip.
-


To reassemble your device, follow these instructions in reverse order.
To reassemble your device, follow these instructions in reverse order.
Team

Embry-Riddle Aeronautical University, Team S16-G4, Branham Spring 2020 Mitglied von Embry-Riddle Aeronautical University, Team S16-G4, Branham Spring 2020
ERAU-BRANHAM-S20S16G4
3 Mitglieder
6 Anleitungen geschrieben