Einleitung
Replacing the motherboard of the HP eStation Zeen is rated a difficult repair, however anyone with patients can do it. The largest challenges for making this repair is paying attention to details and using a light touch. There are screws to keep track of and multiple connections to unfasten and reconnect, but when taking the time to follow steps closely it is no more complex than replacing the 9 volt battery in most smoke detectors.
Was du brauchst
-
-
Remove the screw caps using the metal spudger.
-
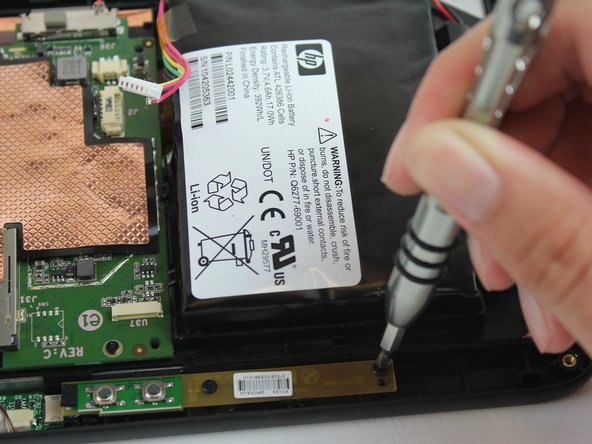
Remove the four 6mm Phillips screws using the Phillips #0 screwdriver.
-
-
-
Unclip each side of the back cover by inserting the plastic opening tool and sliding it along the edge.
-
Remove the back panel by lifting the panel away from the device.
-
-
-
-
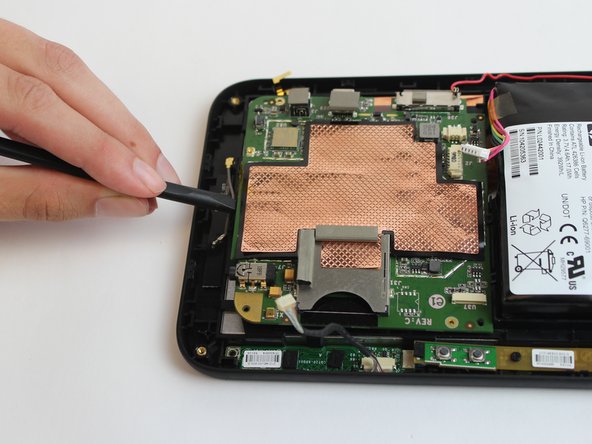
Disconnect the ground wire from the motherboard with tweezers.
-
-
-
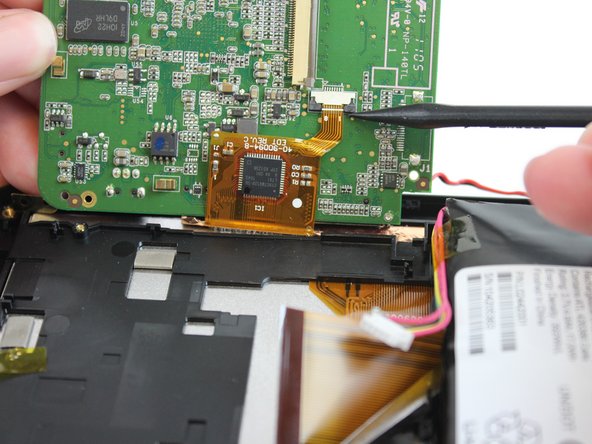
Lift motherboard up to expose the ribbons on the back.
-
Lift the grey tabs to disconnect the ribbons with plastic spudger.
-


To reassemble your device, follow these instructions in reverse order.
To reassemble your device, follow these instructions in reverse order.
Rückgängig: Ich habe diese Anleitung nicht absolviert.
Eine weitere Person hat diese Anleitung absolviert.
Team

USF Tampa, Team 16-4, Eyestone Fall 2016 Mitglied von USF Tampa, Team 16-4, Eyestone Fall 2016
USFT-EYESTONE-F16S16G4
4 Mitglieder
10 Anleitungen geschrieben