Diese Anleitung enthält neuere Änderungen. Wechsel zur neuesten unüberprüften Version.
Was du brauchst
-
-
While sliding the silver release tab up, simultaneously lift the cover up from the left side.
-
-
-
Remove the four silver screws using the T5 Torx Screwdriver (T5 x .25 in).
-
-
-
-
Remove the single black screw that is located beneath the HP sticker with the T5 Torx Screwdriver.
-
-
-
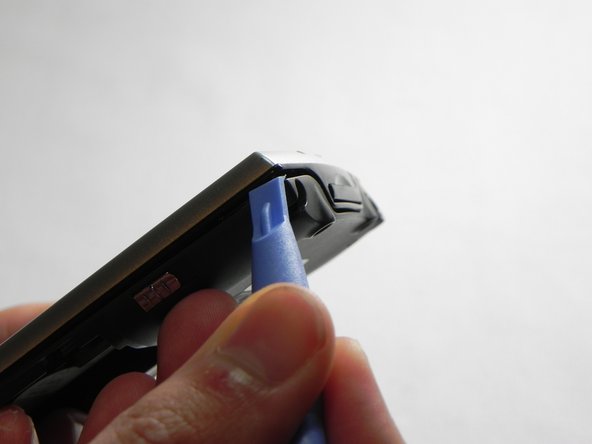
Next, use your plastic removal tool to separate the gray back from the black center piece.
-
For better results, start the separation at the corner piece.
-
-
-
Now that the back cover is removed, remove the small screw (#00 Philips x .17) to the left of the SD card slot
-
-
-
Next you will need to unlock and remove the ribbon cable
-
Carefully pull back on both sides of the brown bar using metal tweezers, unlocking the cable and slipping it out of the connector
-
-
-
Next you need to remove the wire off the bottom of the mother board
-
Make sure all these connections are properly disconnected before separation of the motherboard
-
-
-
Next use your plastic removal tool and separate the silver front case from the black frame.
-


To reassemble your device, follow these instructions in reverse order.
To reassemble your device, follow these instructions in reverse order.
Rückgängig: Ich habe diese Anleitung nicht absolviert.
Ein:e weitere:r Nutzer:in hat diese Anleitung absolviert.