Einleitung
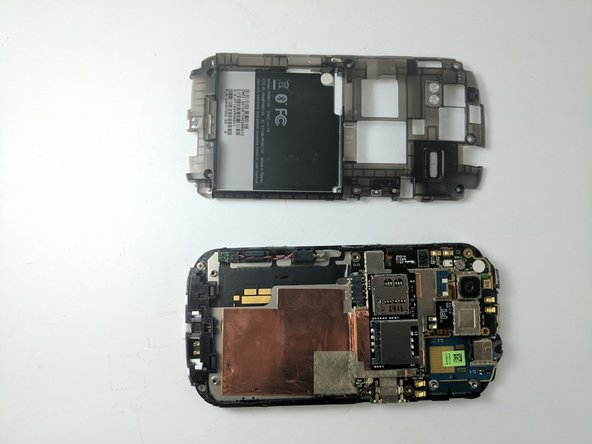
The loudspeaker is located within the back panel of the device. This makes it relatively simple to access.
Was du brauchst
-
-
Gently press the Release Button located at the bottom of the phone in order to remove the back panel of the device.
-
-
-
Once you locate the battery, look for a notch below it.
-
Gently insert your fingernails into the notch.
-
Lift the battery out of its recess.
-
-
-
-
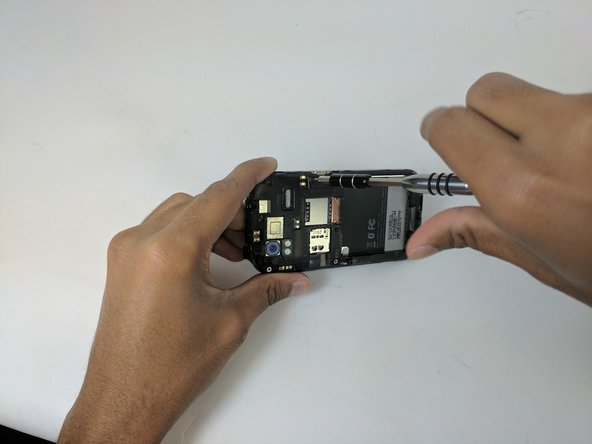
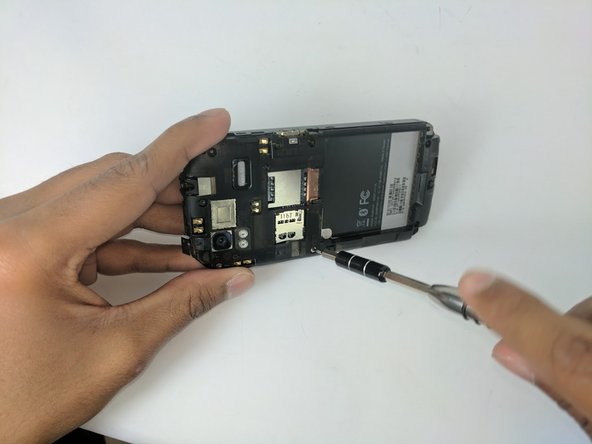
Use the Torx T5 screwdriver to remove the 7 Torx Screws (3mm) attached to the back housing of the device.
-
-
-
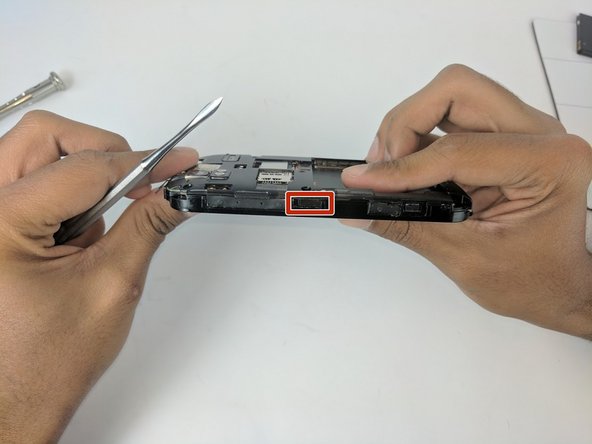
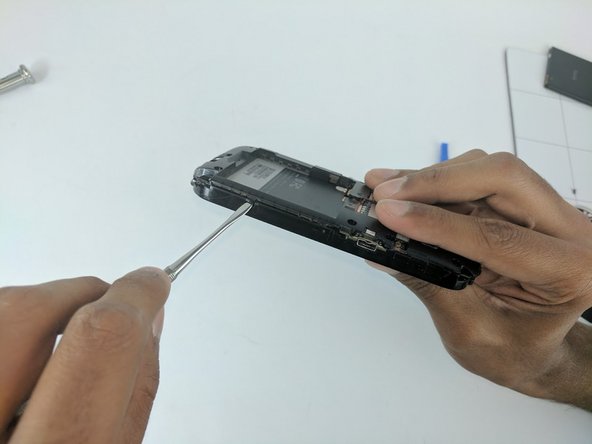
Proceed to remove the back housing by using the spudger to gently unclip each clip holding the back housing in place and then lift the outer edges of the back housing
-
-
-
Now simply remove the back panel by gently pulling. This will make it easier to access the devices internal components.
-
-
-
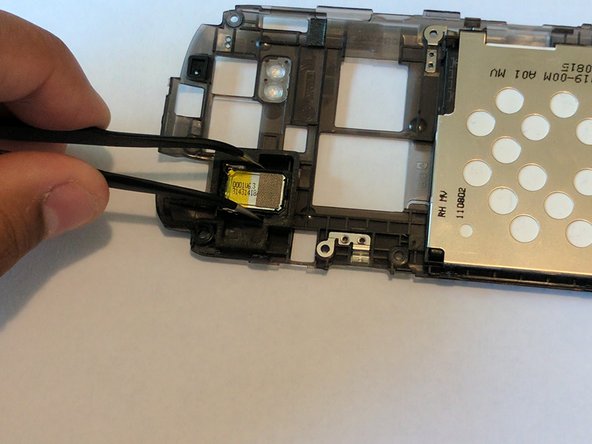
Turn the back panel over to access its interior, and locate the loudspeaker marked in the picture.
-
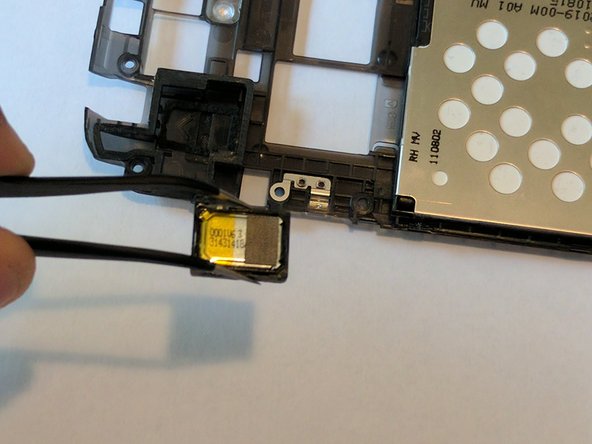
Remove it by gently pulling with the precision tweezers.
-


To reassemble your device, follow these instructions in reverse order.
To reassemble your device, follow these instructions in reverse order.
Rückgängig: Ich habe diese Anleitung nicht absolviert.
Ein:e weitere:r Nutzer:in hat diese Anleitung absolviert.
Team

USF Tampa, Team 16-3, Eyestone Fall 2016 Mitglied von USF Tampa, Team 16-3, Eyestone Fall 2016
USFT-EYESTONE-F16S16G3
2 Mitglieder
10 Anleitungen geschrieben