Diese Version enthält möglicherweise inkorrekte Änderungen. Wechsle zur letzten geprüften Version.
Was du brauchst
-
Dieser Schritt ist noch nicht übersetzt. Hilf mit, ihn zu übersetzen!
-
Here is the Desire X, with the touchscreen damaged, but working. I have tried to replace only the touch, but I broke the LCD... It´s very very hard to separate...
-
-
Dieser Schritt ist noch nicht übersetzt. Hilf mit, ihn zu übersetzen!
-
Once the back cover and battery are removed, its time to dissasembly. First unscrew the 5 torx #5 from back side.
-
Then, with a flat screwdriver, push and open the back cover, from side to side.
-
-
Dieser Schritt ist noch nicht übersetzt. Hilf mit, ihn zu übersetzen!
-
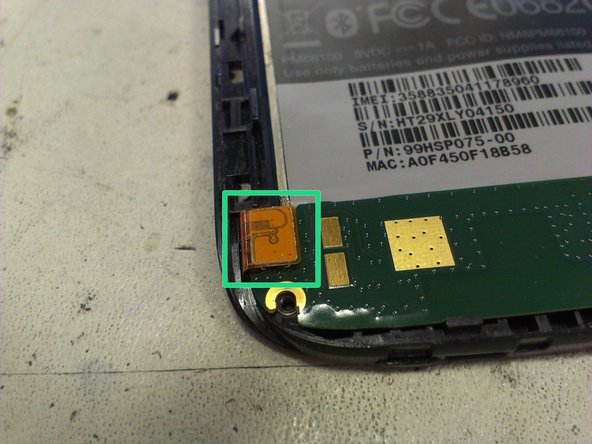
Now, on the main board, we have to remove the screw near the camera.
-
Release the connector on the bottom
-
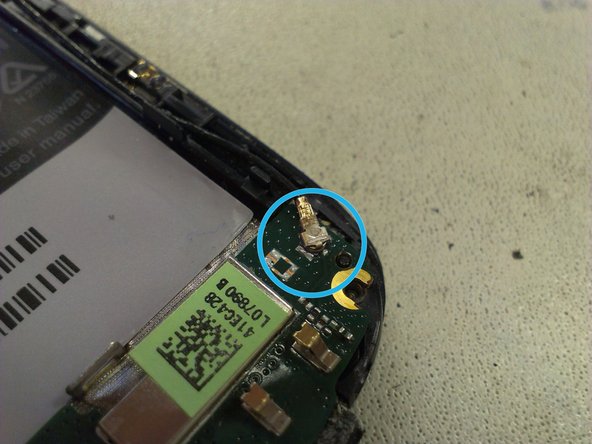
Finally, remove the antenna connector.
-
-
-
Dieser Schritt ist noch nicht übersetzt. Hilf mit, ihn zu übersetzen!
-
Once the bottom connector is loosed, you can take away the sound board and separate the flat cable from underneath.
-
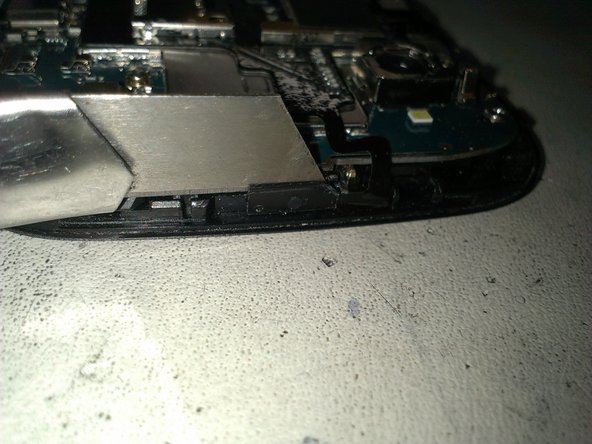
Next, the power button has to be removed. It is a bit sticky, so you may want to use a cutter or knife to separate. Long nails also work.
-
-
Dieser Schritt ist noch nicht übersetzt. Hilf mit, ihn zu übersetzen!
-
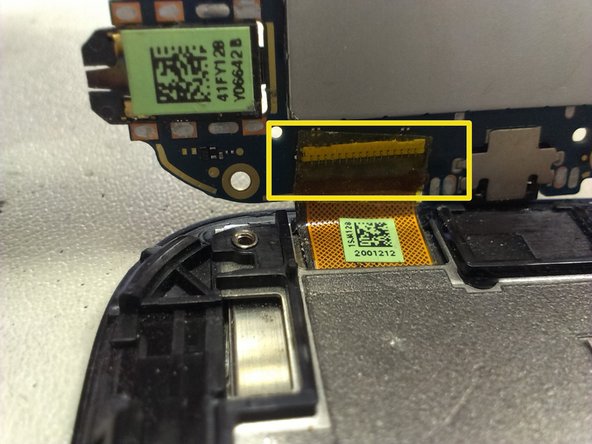
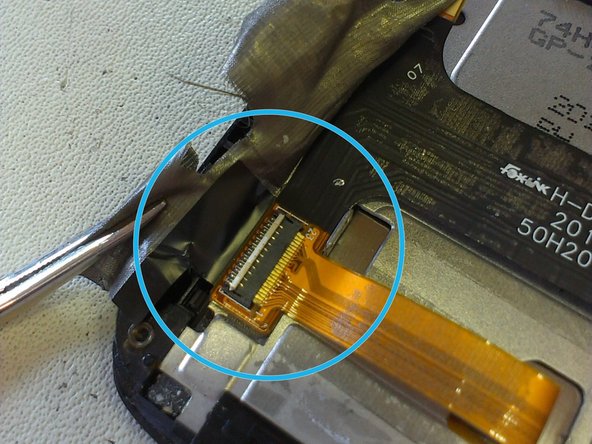
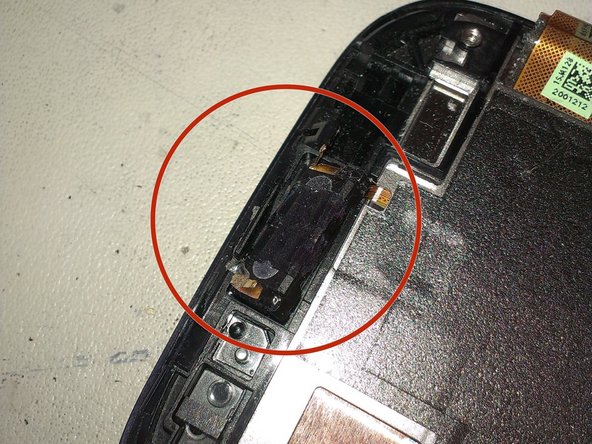
Now, its time to release the vibrator connector (or vibrator from holder - easier), and then release the lower connector on the main board ( see pic 2). Remove the black tape first, and then use some tweezers to pull out the connector.
-
-
Dieser Schritt ist noch nicht übersetzt. Hilf mit, ihn zu übersetzen!
-
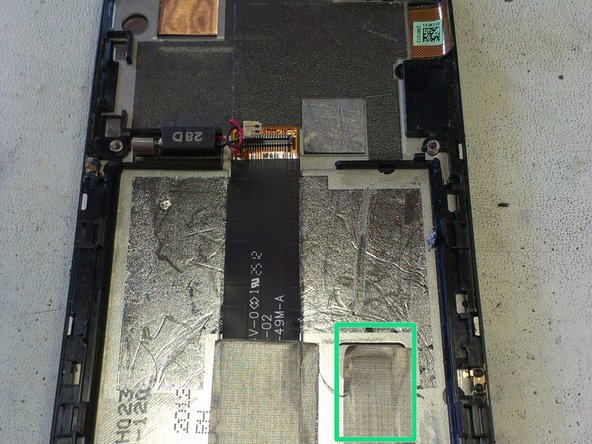
Now, its time to remove the product label, and keep it without bend to put back togheter.
-
Then, under the silver ribbon, which is hard to remove, there is another flat connector, which must be disconnected.
-
-
Dieser Schritt ist noch nicht übersetzt. Hilf mit, ihn zu übersetzen!
-
The flat cable that goes to main board must be removed, and the flat cable of the touch is loosed.
-
Remove the speaker from the top side of the phone.
-
-
Dieser Schritt ist noch nicht übersetzt. Hilf mit, ihn zu übersetzen!
-
To remove the glue from the LCD and touch of the screen, we have to heat all the screen, with special attention to the top and bottom zones. I have one Hot Air Station, but you can do it with a hairdryer. With more time you heat, more easy to remove, but be careful...
-
With a Metal thin blade, insert between bezel and LCD, and bend it to start releasing.
-
-
Dieser Schritt ist noch nicht übersetzt. Hilf mit, ihn zu übersetzen!
-
Finally, the both parts comes apart. At the left, the LCD + touch. At the right, the chassis.
-
Now, to assembly the unit back togheter, follow the steps backwards.
-


Rückgängig: Ich habe diese Anleitung nicht absolviert.
13 weitere Nutzer:innen haben diese Anleitung absolviert.
