Diese Anleitung enthält neuere Änderungen. Wechsel zur neuesten unüberprüften Version.
Einleitung
This guide will teach you how to replace/install the midframe.
Was du brauchst
-
-
Place the device on a flat surface with the headphone outlet facing you.
-
Place the tip of one of your fingers over the highlighted spot.
-
-
-
Lay the device on a flat surface with the screen facing downward. Use one hand to hold the device in place.
-
With your free hand, stick one of your fingers in the marked gap. Pull gently upwards towards you.
-
-
-
-
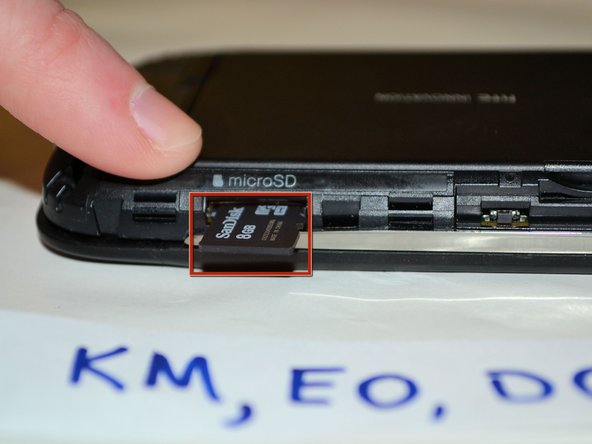
At the lower right hand corner of the phone (as highlighted in the picture as shown) use one hand to hold the device in place and use your finger (on your free hand) to push the micro SD card inwards until you hear a "click" sound and it pops out.
-
If that method is difficult, use the plastic opening tool to push the micro SD card inwards and it will make a "click" sound and pop out.
-
-
-
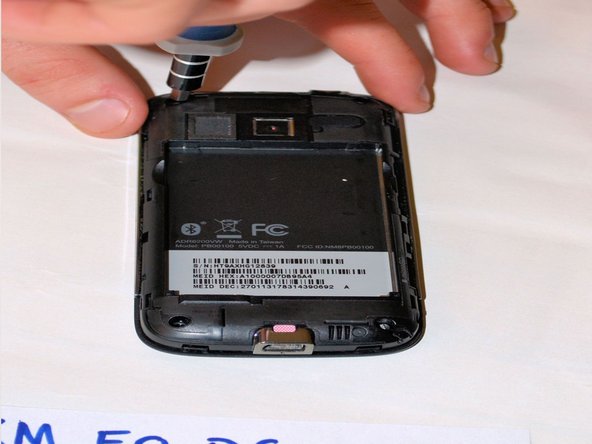
Use the T-4 screwdriver to remove the three .050 mm screws from the back cover.
-
-
-
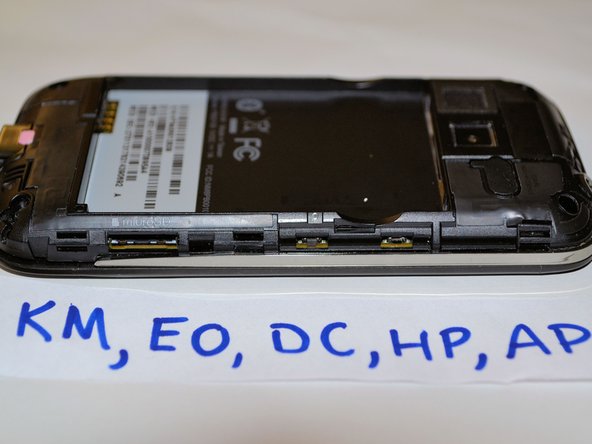
Use the plastic opening tool and place it in the gap by the chrome bezels which are located on both sides of the device. Pull the plastic opening tool downward so that the plastic case will pry open. Start prying open the device and work clockwise.
-


To reassemble your device, follow these instructions in reverse order.
To reassemble your device, follow these instructions in reverse order.

Team

SUNY Cortland, Team 1-2, Getto Spring 2013 Mitglied von SUNY Cortland, Team 1-2, Getto Spring 2013
SUNYCORT-GETTO-S13S1G2
5 Mitglieder
12 Anleitungen geschrieben