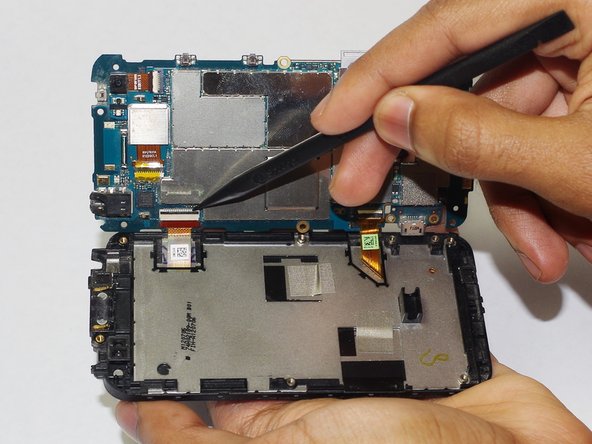
Zum Hauptinhalt wechseln

HTC Droid Incredible 4G LTE Display Assembly Replacement

Was du brauchst

  1. HTC Droid Incredible 4G LTE Display Assembly Replacement, Battery: Schritt 1, Bild 1 von 1
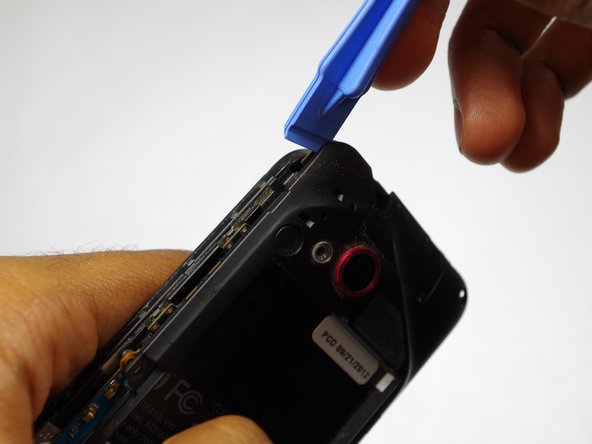
    • Use the plastic opening tool to pry off back cover by inserting opening tool in the space indicated and pushing down on the handle of the tool.

  2. HTC Droid Incredible 4G LTE Display Assembly Replacement: Schritt 2, Bild 1 von 1
    • Remove the battery after taking off the cover.

  3. HTC Droid Incredible 4G LTE Display Assembly Replacement, Midframe: Schritt 3, Bild 1 von 1
    • Remove eight 4mm and one 5mm Torx screws.

  4. HTC Droid Incredible 4G LTE Display Assembly Replacement: Schritt 4, Bild 1 von 2 HTC Droid Incredible 4G LTE Display Assembly Replacement: Schritt 4, Bild 2 von 2
    • Use a prying tool to pry off the midframe.

  5. HTC Droid Incredible 4G LTE Display Assembly Replacement, Micro USB Port: Schritt 5, Bild 1 von 1
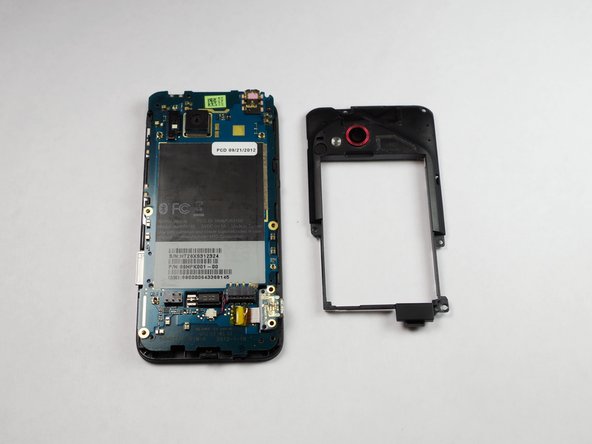
    • Remove the 4mm Torx screw holding the charging port to the phone.

  6. HTC Droid Incredible 4G LTE Display Assembly Replacement: Schritt 6, Bild 1 von 1
    • Remove the silver bracket holding the charging port in place.

  7. HTC Droid Incredible 4G LTE Display Assembly Replacement: Schritt 7, Bild 1 von 1
    • Use a prying tool to remove the charging port as shown.

  8. HTC Droid Incredible 4G LTE Display Assembly Replacement, Display Assembly: Schritt 8, Bild 1 von 3 HTC Droid Incredible 4G LTE Display Assembly Replacement, Display Assembly: Schritt 8, Bild 2 von 3 HTC Droid Incredible 4G LTE Display Assembly Replacement, Display Assembly: Schritt 8, Bild 3 von 3
    • Pry off and remove the back cover

  9. HTC Droid Incredible 4G LTE Display Assembly Replacement: Schritt 9, Bild 1 von 1
    • Remove the 4mm Torx screw.

  10. HTC Droid Incredible 4G LTE Display Assembly Replacement: Schritt 10, Bild 1 von 3 HTC Droid Incredible 4G LTE Display Assembly Replacement: Schritt 10, Bild 2 von 3 HTC Droid Incredible 4G LTE Display Assembly Replacement: Schritt 10, Bild 3 von 3
    • Remove tabs holding the motherboard to the phone.

Abschluss

To reassemble your device, follow these instructions in reverse order.

5 weitere Nutzer:innen haben diese Anleitung absolviert.

Tevin

Mitglied seit: 09/24/14

666 Reputation

4 Anleitungen geschrieben

Team

USF Tampa, Team 15-1, Remmell Fall 2014 Mitglied von USF Tampa, Team 15-1, Remmell Fall 2014

USFT-REMMELL-F14S15G1

4 Mitglieder

8 Anleitungen geschrieben

0 Kommentare

Kommentar hinzufügen

Seitenaufrufe:

Letzte 24 Stunden: 1

Letzte 7 Tage: 3

Letzte 30 Tage: 4

Insgesamt: 1,041