Diese Version enthält möglicherweise inkorrekte Änderungen. Wechsle zur letzten geprüften Version.
Was du brauchst
-
Dieser Schritt ist noch nicht übersetzt. Hilf mit, ihn zu übersetzen!
-
Carefully pull the rear cover from the back of the phone.
-
Place a finger beneath the small lip on the left side of the battery.
-
-
Dieser Schritt ist noch nicht übersetzt. Hilf mit, ihn zu übersetzen!
-
Lay the phone down on it's screen.
-
Lift up on the lip and pull the battery from the phone.
-
-
Dieser Schritt ist noch nicht übersetzt. Hilf mit, ihn zu übersetzen!
-
Remove the four black 3.5mm T5 screws from the back of the phone.
-
-
Dieser Schritt ist noch nicht übersetzt. Hilf mit, ihn zu übersetzen!
-
Insert the flat end of a spudger between the midframe and the display.
-
Slide the spudger along the seam between the frame and the display.
-
Using the spudger for leverage, carefully pry the midframe away from the display assembly.
-
As it releases, pull the midframe away from the phone.
-
-
Dieser Schritt ist noch nicht übersetzt. Hilf mit, ihn zu übersetzen!
-
Set the phone down on its screen.
-
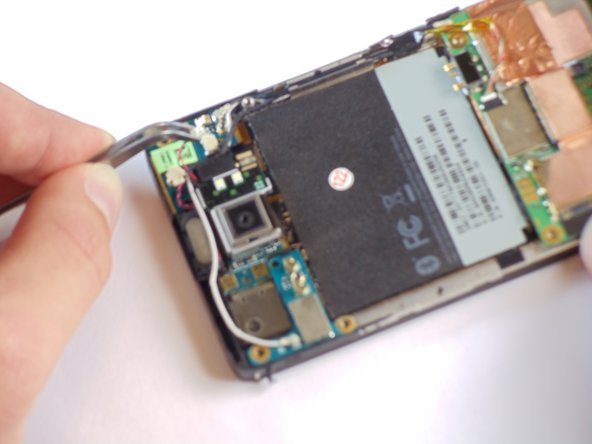
Using tweezers, unplug the small vibrator connector from its socket on the motherboard.
-
-
Dieser Schritt ist noch nicht übersetzt. Hilf mit, ihn zu übersetzen!
-
Pull the vibrator motor from the phone.
-
-
-
Dieser Schritt ist noch nicht übersetzt. Hilf mit, ihn zu übersetzen!
-
Disconnect the small speaker cable from its socket on the motherboard.
-
Remove the earpiece speaker from the phone.
-
-
Dieser Schritt ist noch nicht übersetzt. Hilf mit, ihn zu übersetzen!
-
Remove five T5 Torx screws from the motherboard.
-
-
Dieser Schritt ist noch nicht übersetzt. Hilf mit, ihn zu übersetzen!
-
Disconnect the flash cable from its socket at the bottom of the motherboard.
-
Carefully pull the flash cable from its slot in the side of the phone.
-
-
Dieser Schritt ist noch nicht übersetzt. Hilf mit, ihn zu übersetzen!
-
Pull the camera flash and cover off of the board.
-
-
Dieser Schritt ist noch nicht übersetzt. Hilf mit, ihn zu übersetzen!
-
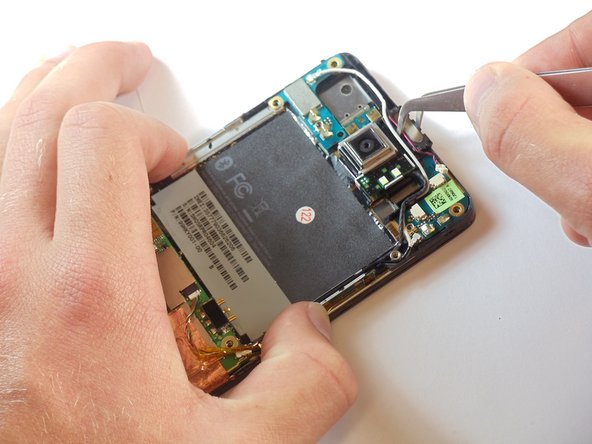
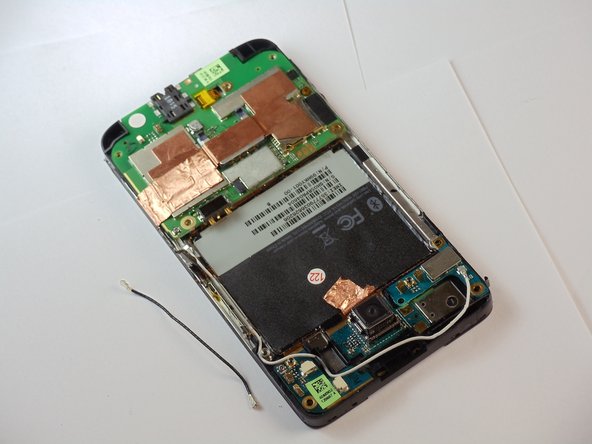
Now locate the coaxial bluetooth cable that connects the top and bottom boards of the phone.
-
Use tweezers to pop both ends of the cable from the boards and remove it completely.
-
-
Dieser Schritt ist noch nicht übersetzt. Hilf mit, ihn zu übersetzen!
-
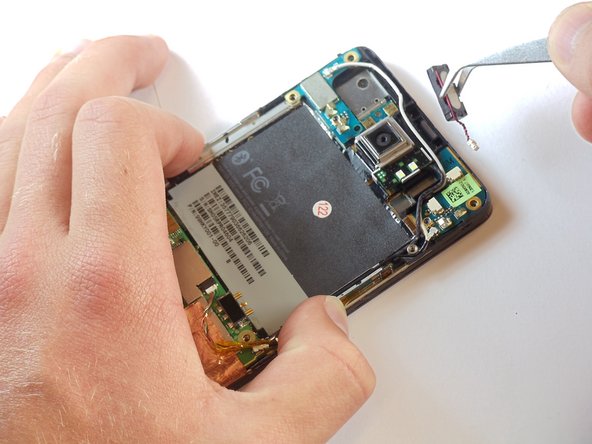
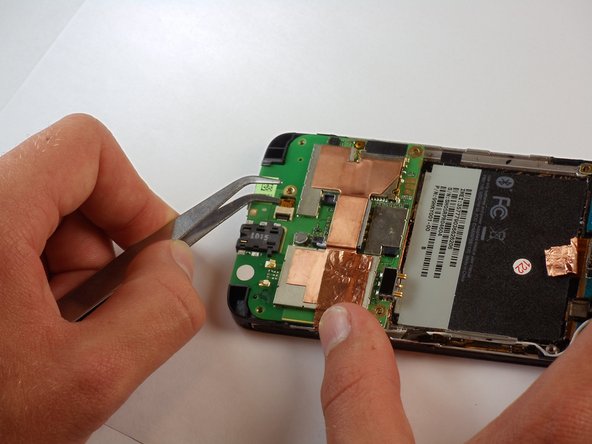
Now find the AP FPC, one of the smallest connectors on the bottom board.
-
Pop the small black tab up using tweezers, then unplug the cable.
-
-
Dieser Schritt ist noch nicht übersetzt. Hilf mit, ihn zu übersetzen!
-
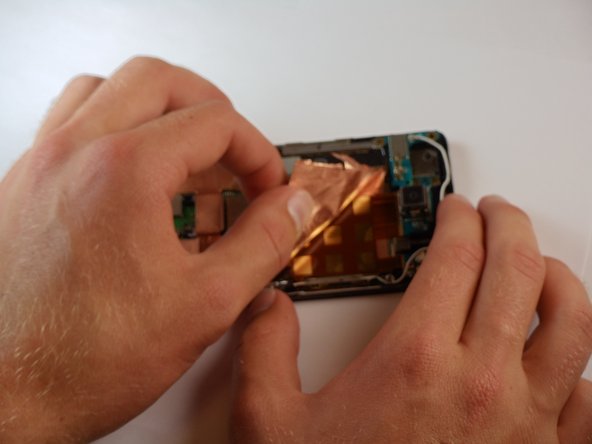
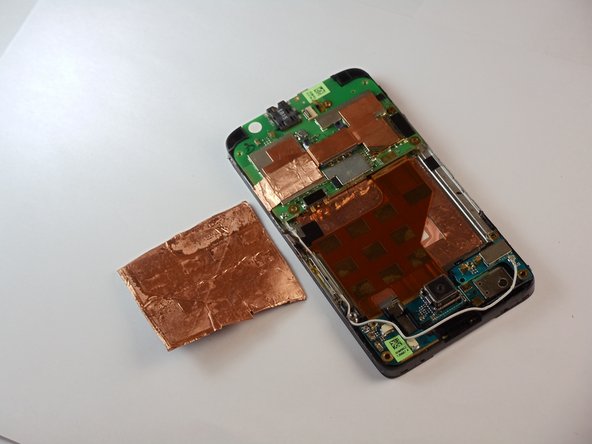
Remember peeling back part of that big sticker in the middle? Now you get to take it all the way off.
-
This may take some time, and the use of the tweezers, but keep at it until the whole sticker is off.
-
-
Dieser Schritt ist noch nicht übersetzt. Hilf mit, ihn zu übersetzen!
-
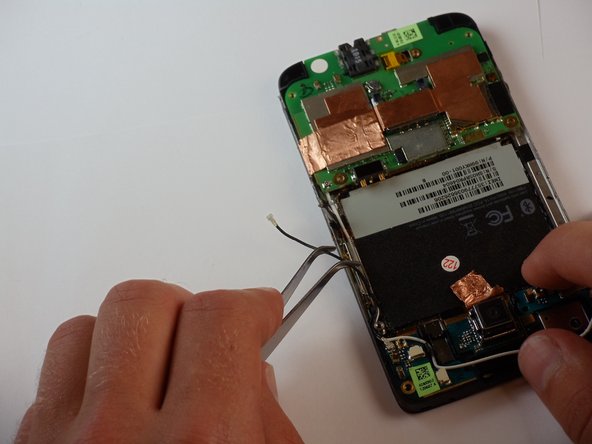
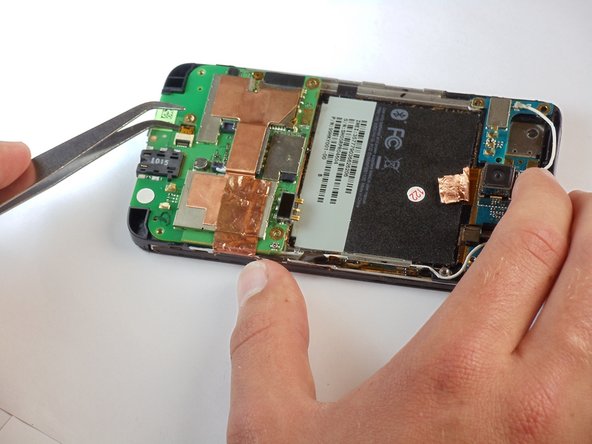
Now find the GPS board in the upper left hand corner of the phone.
-
Disconnect the white cable from its socket on the motherboard.
-
-
Dieser Schritt ist noch nicht übersetzt. Hilf mit, ihn zu übersetzen!
-
If this step does not progress easily, check to see that there are no screws still holding the board in place.
-
With the cable removed, pop the GPS board out of the phone using tweezers.
-
-
Dieser Schritt ist noch nicht übersetzt. Hilf mit, ihn zu übersetzen!
-
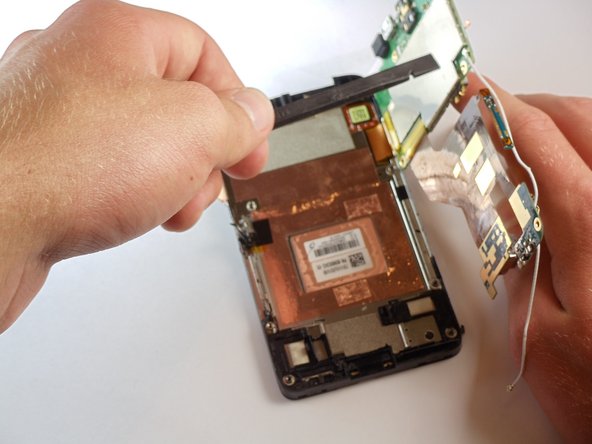
Using a spudger, begin to pry the copper colored board in the middle away from the phone to loosen it.
-
Also pry the small piece that runs under where the volume selector is on the full phone.
-
-
Dieser Schritt ist noch nicht übersetzt. Hilf mit, ihn zu übersetzen!
-
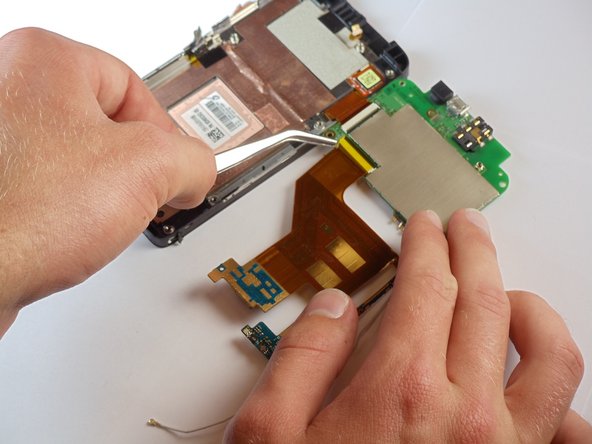
Gently pop both the top and bottom boards off of the phone, and turn them over to the left
-
-
Dieser Schritt ist noch nicht übersetzt. Hilf mit, ihn zu übersetzen!
-
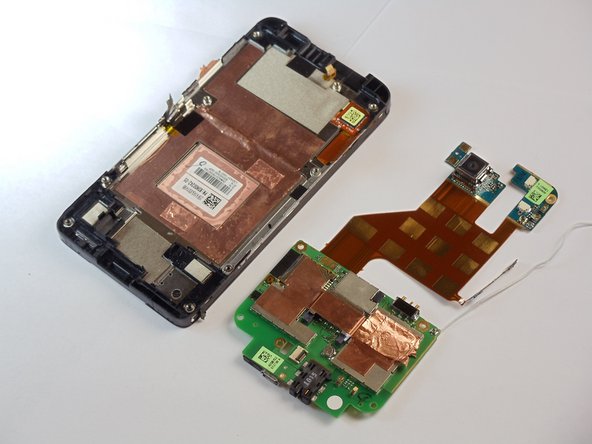
With the back of the main board exposed, flip up the little brown lever at the end of the connector and unplug the final cable that connects it to the main board.
-


Rückgängig: Ich habe diese Anleitung nicht absolviert.
4 weitere Nutzer:innen haben diese Anleitung absolviert.
Team

Cal Poly, Team 24-55, Amido Spring 2011 Mitglied von Cal Poly, Team 24-55, Amido Spring 2011
CPSU-AMIDO-S11S24G55
5 Mitglieder
16 Anleitungen geschrieben