Einleitung
Do you have a hard time turning on/off your phone? This guide will show you how to replace the power button.
Was du brauchst
-
-
Press your thumbnail into the slot between the rear panel and the front casing located on the bottom of the phone. Use a penny or dime if you have trouble using your thumbnail.
-
With a moderate amount of force, pry the rear panel up and away from the phone. You may need to slide your thumbnail up the crack to separate the rear panel from the front casing.
-
-
-
Press your fingernail into the slot between the battery and the rear inner frame, located between the battery and LED lights.
-
-
-
Gently lever the battery up and away from the lights.
-
Lift the top of the battery up and remove the battery from the rear inner frame.
-
-
-
-
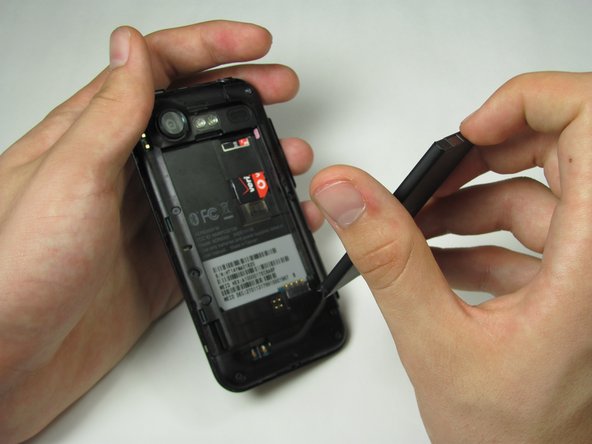
Apply pressure with your fingertip to the pressure clip beneath the SIM card.
-
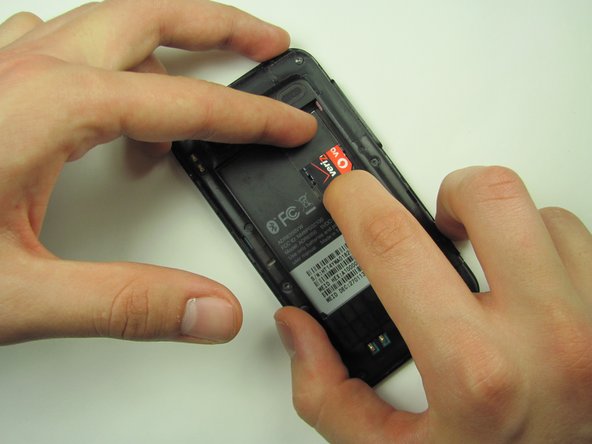
While keeping pressure on the clip, use another finger to gently slide the SIM card down over the clip.
-
-
-
Keep sliding SIM card until completely free from holding apparatus. Now remove the SIM card.
-
-
-
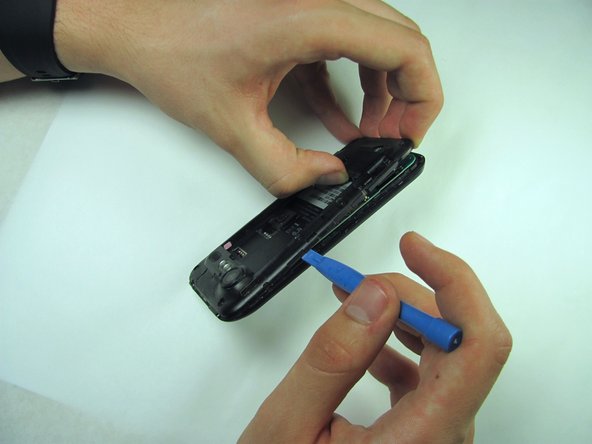
Use a plastic opening tool to run along the phone's side and lever mid panel upward.
-
-
-
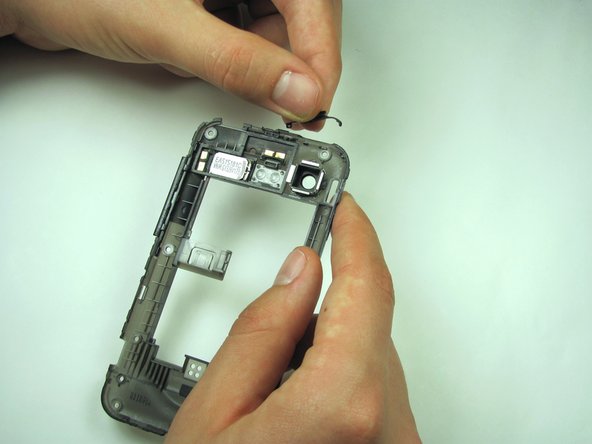
Gently grasp and carefully lift mid panel up and away from the device with your fingers.
-
-
-
Firmly grasp the power button, located on the upper right corner of the mid panel, and gently lift it up and off the mid panel.
-


To reassemble your device, follow these instructions in reverse order.
To reassemble your device, follow these instructions in reverse order.
Rückgängig: Ich habe diese Anleitung nicht absolviert.
3 weitere Nutzer:innen haben diese Anleitung absolviert.
Team

Cal Poly, Team 11-53, Amido Spring 2014 Mitglied von Cal Poly, Team 11-53, Amido Spring 2014
CPSU-AMIDO-S14S11G53
5 Mitglieder
14 Anleitungen geschrieben