Diese Version enthält möglicherweise inkorrekte Änderungen. Wechsle zur letzten geprüften Version.
Was du brauchst
-
Dieser Schritt ist noch nicht übersetzt. Hilf mit, ihn zu übersetzen!
-
First remove the back cover of your phone to expose the battery.
-
-
Dieser Schritt ist noch nicht übersetzt. Hilf mit, ihn zu übersetzen!
-
Turn the phone over.
-
Push forward on the battery with your thumb.
-
-
Dieser Schritt ist noch nicht übersetzt. Hilf mit, ihn zu übersetzen!
-
Take the battery out by lifting it upwards.
-
-
Dieser Schritt ist noch nicht übersetzt. Hilf mit, ihn zu übersetzen!
-
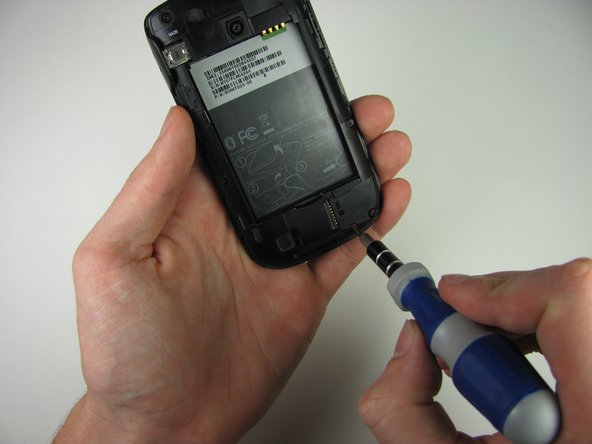
Remove the four 4.9mm T6 Torx screws that secure the back panel to the rest of the phone.
-
-
-
Dieser Schritt ist noch nicht übersetzt. Hilf mit, ihn zu übersetzen!
-
Remove the two 4.3mm Phillips #00 screws that secure the back panel to the rest of the phone.
-
-
Dieser Schritt ist noch nicht übersetzt. Hilf mit, ihn zu übersetzen!
-
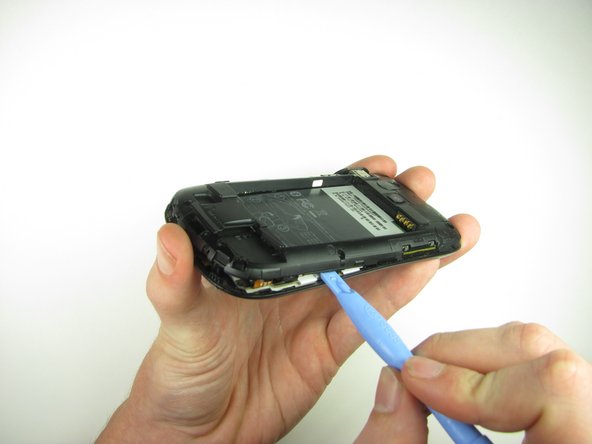
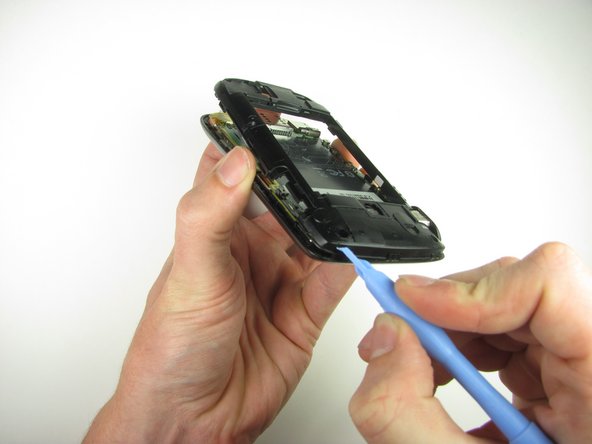
Insert the plastic opening tool along the seams at different points to it pry the clips off.
-
-
Dieser Schritt ist noch nicht übersetzt. Hilf mit, ihn zu übersetzen!
-
Remove the one 3.3mm Phillips #00 screw.
-
-
Dieser Schritt ist noch nicht übersetzt. Hilf mit, ihn zu übersetzen!
-
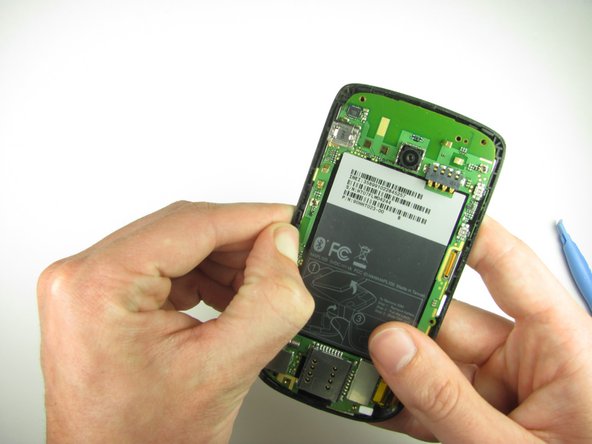
Use your finger or the plastic opening tool to unclip the board.
-
-
Dieser Schritt ist noch nicht übersetzt. Hilf mit, ihn zu übersetzen!
-
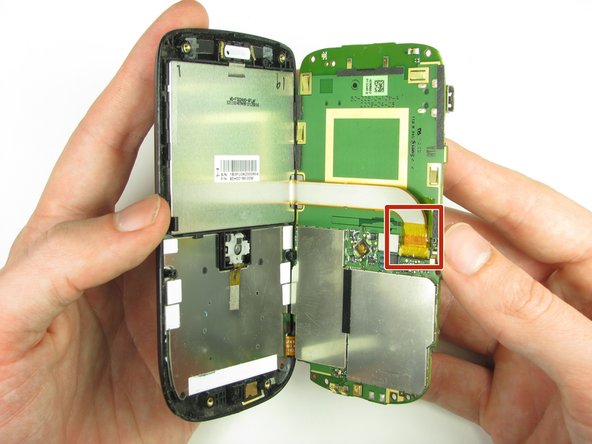
Peel off the yellow piece of tape from the phone.
-
-
Dieser Schritt ist noch nicht übersetzt. Hilf mit, ihn zu übersetzen!
-
Flip up the retaining flap with your fingernail or a plastic opening tool.
-
Pull on the ribbon cable gently with your fingers.
-
-
Dieser Schritt ist noch nicht übersetzt. Hilf mit, ihn zu übersetzen!
-
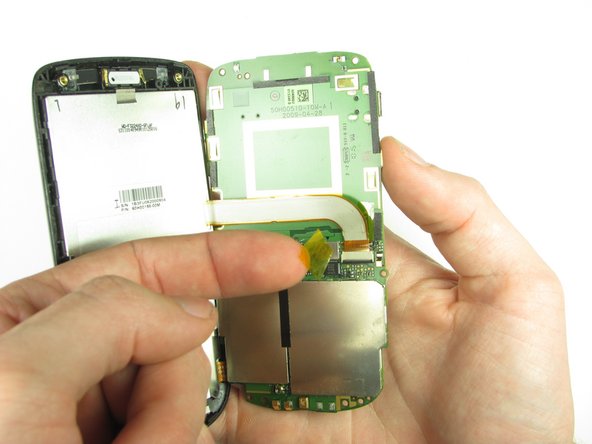
Split apart the motherboard and front panel.
-
Remove the other yellow piece of tape off of the end of the ribbon cable.
-
-
Dieser Schritt ist noch nicht übersetzt. Hilf mit, ihn zu übersetzen!
-
Gently pull on the ribbon cable to separate the motherboard.
-


Team

Cal Poly, Team 20-29, Maness Fall 2011 Mitglied von Cal Poly, Team 20-29, Maness Fall 2011
CPSU-MANESS-F11S20G29
4 Mitglieder
18 Anleitungen geschrieben