Diese Übersetzung enthält möglicherweise noch nicht die neuesten Änderungen der Original-Anleitung. Hilf mit, die Übersetzung zu aktualisieren oder sieh dir die Original-Anleitung an.
Was du brauchst
-
Dieser Schritt ist noch nicht übersetzt. Hilf mit, ihn zu übersetzen!
-
Use an iOpener or hair dryer to apply heat to the lower speaker grille, in order to soften the adhesive underneath.
-
-
Dieser Schritt ist noch nicht übersetzt. Hilf mit, ihn zu übersetzen!
-
Slide a thin pry tool underneath the lower speaker cover and slide it across to separate the adhesive underneath.
-
Remove the lower speaker cover.
-
-
Dieser Schritt ist noch nicht übersetzt. Hilf mit, ihn zu übersetzen!
-
Remove the screw under the speaker cover using a T6 Torx screwdriver.
-
-
Dieser Schritt ist noch nicht übersetzt. Hilf mit, ihn zu übersetzen!
-
Slide a thin guitar pick or pry tool between the edge of the display and the rear case, near the bottom of the phone.
-
Carefully work your way up each side of the display and separate the rear case. There are three clips on each side.
-
-
Dieser Schritt ist noch nicht übersetzt. Hilf mit, ihn zu übersetzen!
-
Remove the rear case from the phone.
-
-
Dieser Schritt ist noch nicht übersetzt. Hilf mit, ihn zu übersetzen!
-
Remove the two Phillips screws securing the battery connector.
-
-
-
Dieser Schritt ist noch nicht übersetzt. Hilf mit, ihn zu übersetzen!
-
Disconnect the battery by prying the metal cover straight up.
-
-
Dieser Schritt ist noch nicht übersetzt. Hilf mit, ihn zu übersetzen!
-
Remove the two small black Phillips screws.
-
-
Dieser Schritt ist noch nicht übersetzt. Hilf mit, ihn zu übersetzen!
-
Use tweezers to remove the yellow tape covering the flex cable connectors (total of five).
-
-
Dieser Schritt ist noch nicht übersetzt. Hilf mit, ihn zu übersetzen!
-
Carefully disconnect the flex cables at the points where you removed the yellow tape in the previous steps.
-
To disconnect, flip up the small latch on each connector, opposite its cable, and then gently pull the cable free.
-
-
Dieser Schritt ist noch nicht übersetzt. Hilf mit, ihn zu übersetzen!
-
Peel off the silver strip with your tweezers.
-
Using your hands, detach the black strip from the board without removing it.
-
-
Dieser Schritt ist noch nicht übersetzt. Hilf mit, ihn zu übersetzen!
-
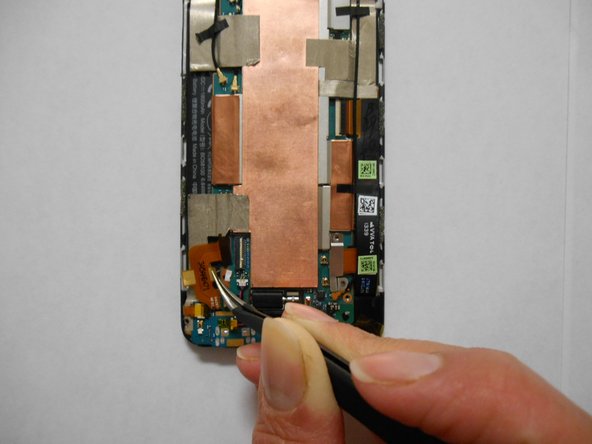
Detach carefully with your tweezers the volume buttons.
-
Detach the power button with your tweezers.
-
-
Dieser Schritt ist noch nicht übersetzt. Hilf mit, ihn zu übersetzen!
-
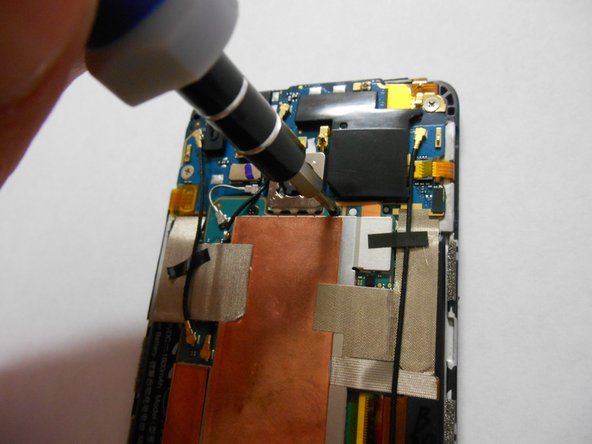
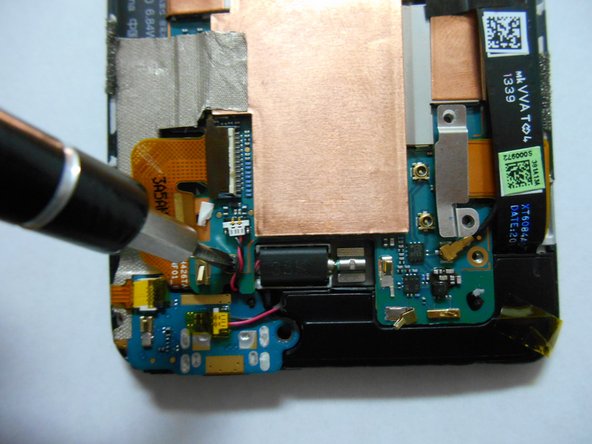
Identify the screw behind the cable.
-
Remove the screw using a Phillips screwdriver.
-
-
Dieser Schritt ist noch nicht übersetzt. Hilf mit, ihn zu übersetzen!
-
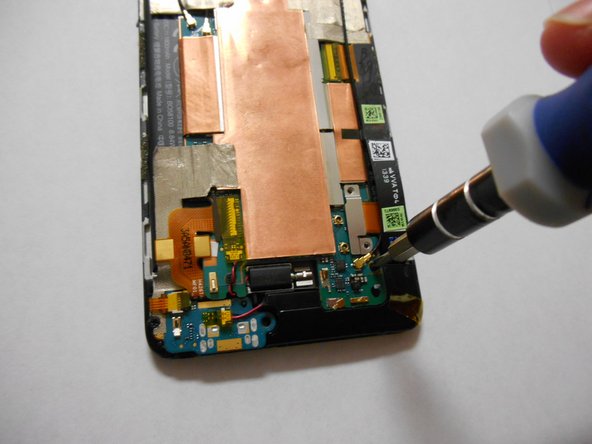
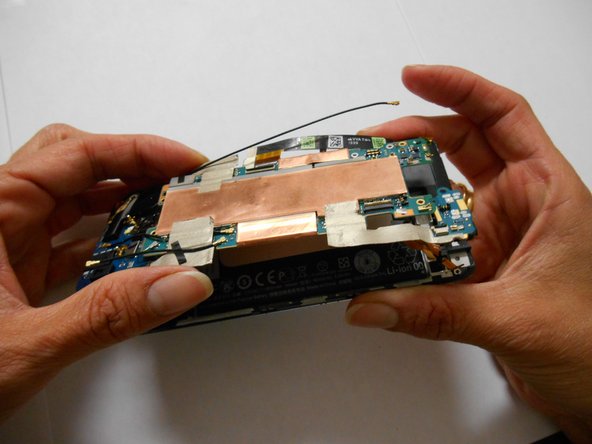
Lift the motherboard, but don't try to remove it completely yet.
-
-
Dieser Schritt ist noch nicht übersetzt. Hilf mit, ihn zu übersetzen!
-
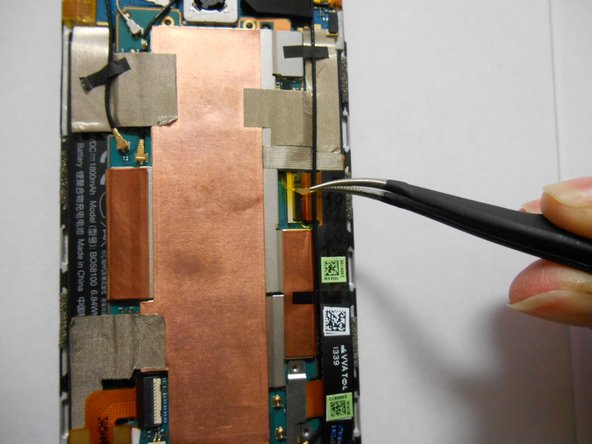
Using your tweezers, remove the black square located in the power button.
-
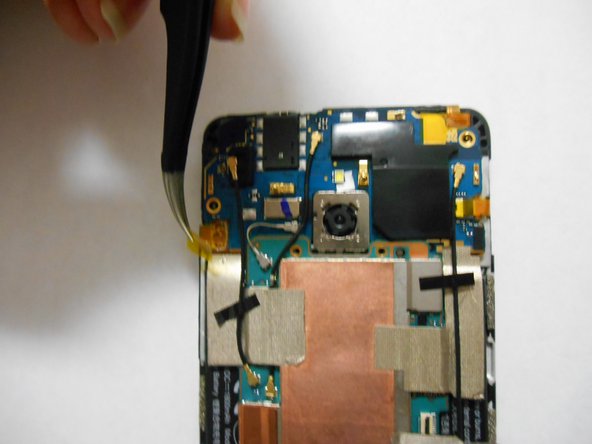
Remove the motherboard completely.
-


Besonderer Dank geht an diese Übersetzer:innen:
9%

Diese Übersetzer:innen helfen uns, die Welt zu reparieren! Wie kann ich mithelfen?
Hier starten ›
Team

USF Tampa, Team 3-4, Brown Fall 2014 Mitglied von USF Tampa, Team 3-4, Brown Fall 2014
USFT-BROWN-F14S3G4
3 Mitglieder
10 Anleitungen geschrieben