Einleitung
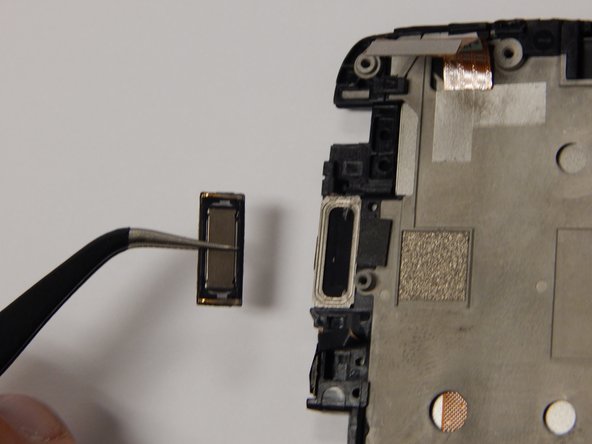
If your top speaker doesn't work then replacement may be the best option.
Was du brauchst
-
-
Hold down the power button to turn off your device.
-
Insert a pin, paper clip, or another similar object into the hole next to the micro sim card holder to remove it.
-
-
-
Using plastic opening tools, pry open the bottom of the device.
-
You will hear clicking sounds as the sides of the device detach from the screen.
-
Once both sides are detached use the suction cup tool to remove the screen completely from the black casing.
-
-
-
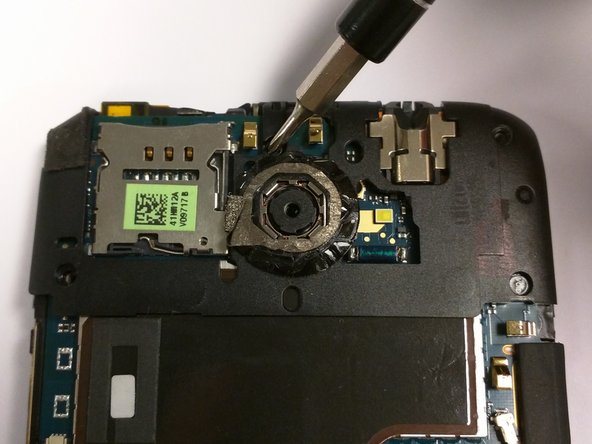
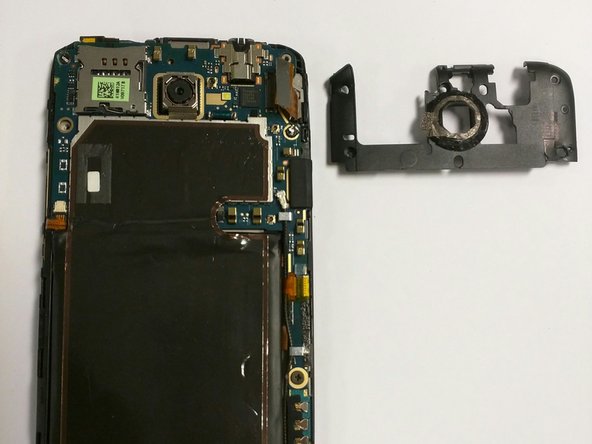
Remove the five 2.4mm screws located around the camera using a Philips head screwdriver to remove the plastic cover.
-
-
-
-
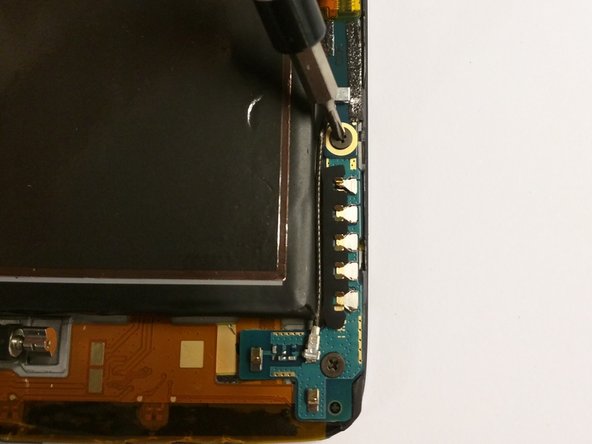
Use the J000 Philips screwdriver to remove the screws and remove the PCB board and antenna.
-
These are two 3.4mm Philips head screws found in the lower right corner of the phone.
-
-
-
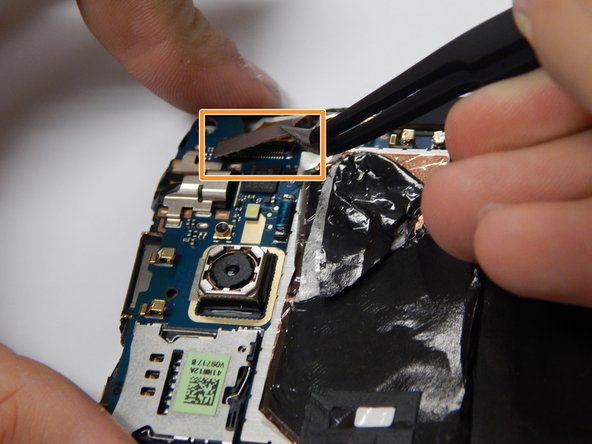
Pull out the power button flex cable using tweezers to disconnect from the phone.
-
Use the tweezers to then disconnect the touch screen flex cable.
-
-
-
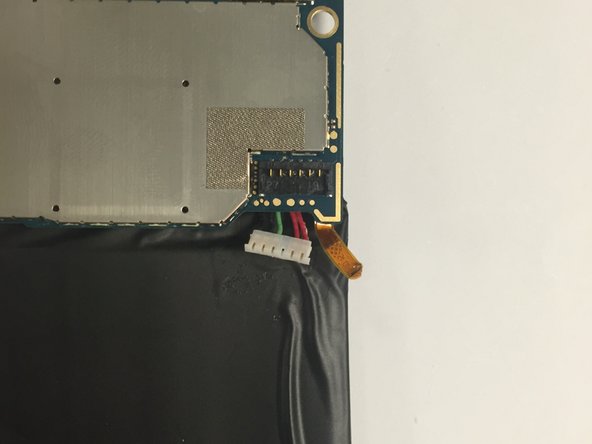
Remove the battery connections to the logic board.
-
This is the six pin connector seen in the red box.
-
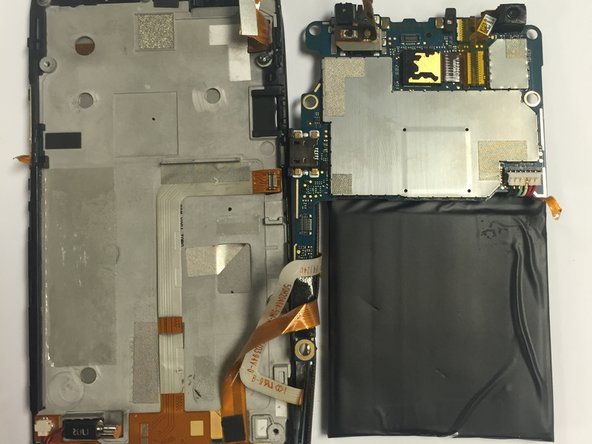
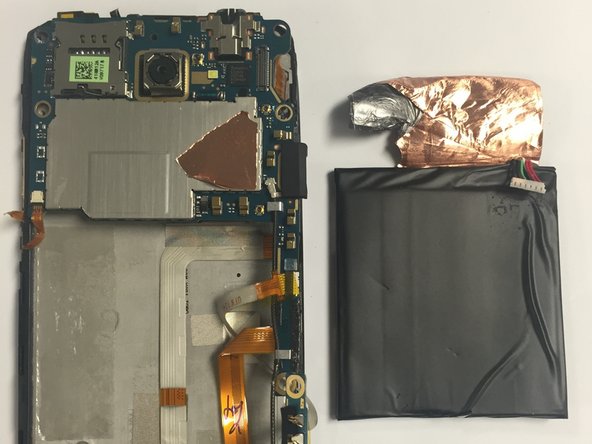
Pull the battery away to remove from the back of the screen.
-


To reassemble your device, follow these instructions in reverse order.
To reassemble your device, follow these instructions in reverse order.
Rückgängig: Ich habe diese Anleitung nicht absolviert.
Ein:e weitere:r Nutzer:in hat diese Anleitung absolviert.
Team

USF Tampa, Team 3-3, Eyestone Fall 2015 Mitglied von USF Tampa, Team 3-3, Eyestone Fall 2015
USFT-EYESTONE-F15S3G3
3 Mitglieder
10 Anleitungen geschrieben