Einleitung
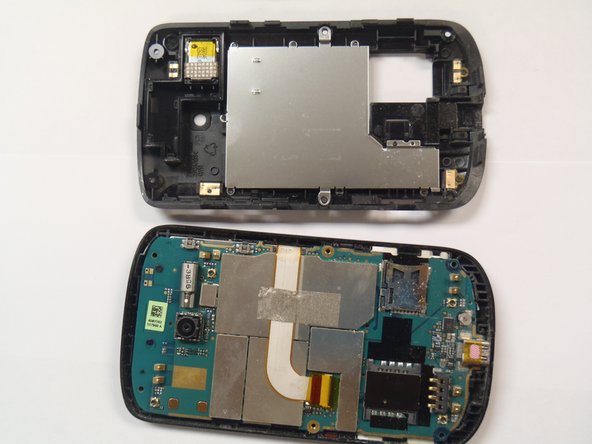
Internal components of a cell phone device are protected by a plastic frame (i.e. motherboard, keyboard, screen, etc.)
Was du brauchst
-
-
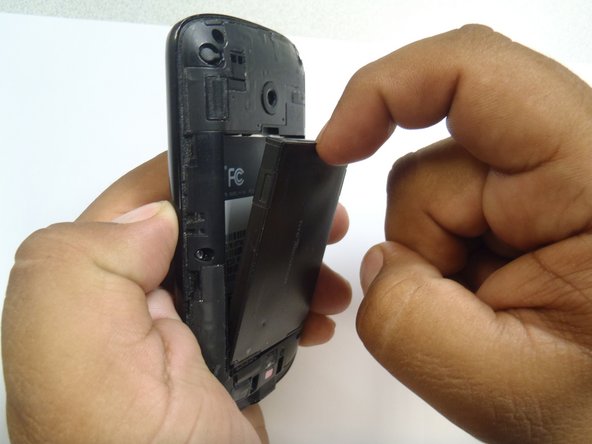
Flip the phone over to have the rear cover facing up.
-
The camera lens should be towards the top of the phone.
-
-
-
Slide the cover up, towards the top of phone, to unlock the battery cover.
-
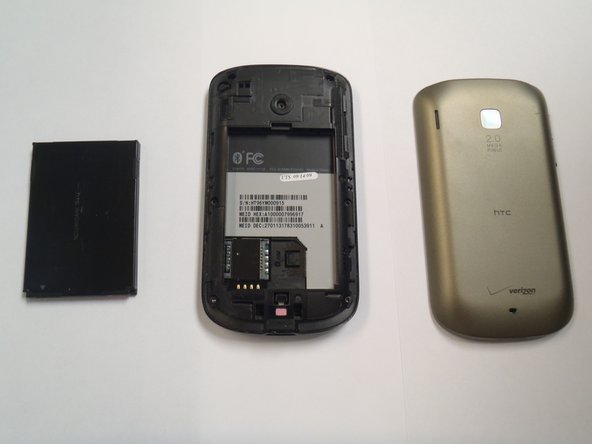
Lift the cover off phone and remove it.
-
-
-
-
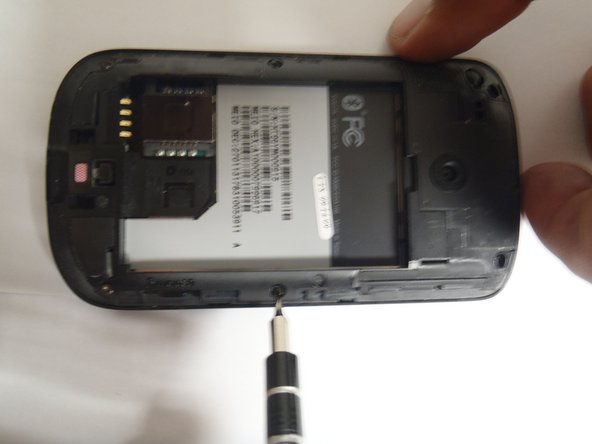
Use your finger to push the top of the battery downwards and lift the battery out of the phone.
-
-
-
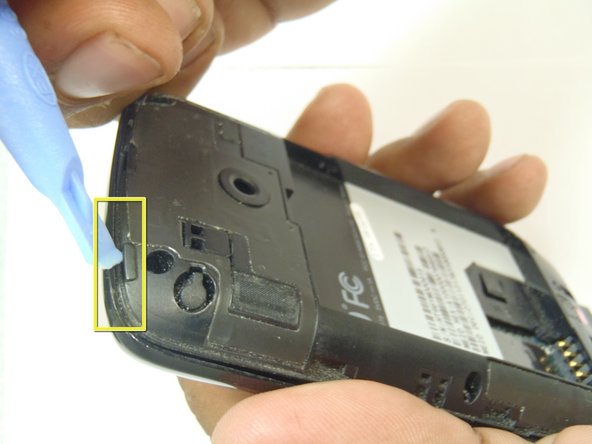
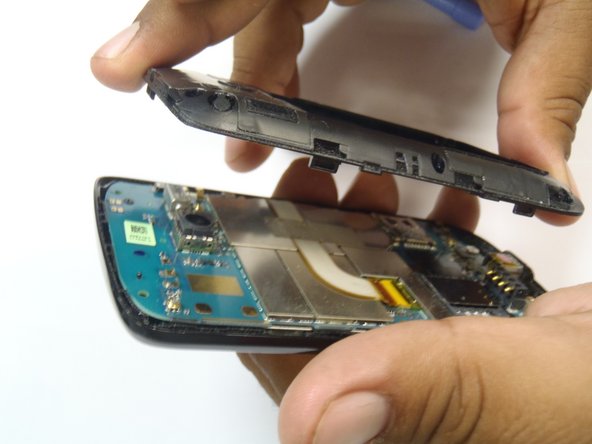
Pry the frame open, releasing the eight plastic tabs around the edge of the frame, using the plastic opening tool.
-


To reassemble your device, follow these instructions in reverse order.
To reassemble your device, follow these instructions in reverse order.
Rückgängig: Ich habe diese Anleitung nicht absolviert.
Ein:e weitere:r Nutzer:in hat diese Anleitung absolviert.
Team

CSU Los Angeles, Team 1-2, Nelson Spring 2011 Mitglied von CSU Los Angeles, Team 1-2, Nelson Spring 2011
CSULA-NELSON-S11S1G2
5 Mitglieder
12 Anleitungen geschrieben