Einleitung
This guide will explain how to remove and install the keyboard slider on the HTC Wizard 200.
The keyboard slider slides out from the right side of the phone to reveal a QWERTY keyboard. The main use of the keyboard is for texting, as well as all typing on the phone.
The keys should type out the correct letter when typing and not repeat letters when pressed once. The slider should smoothly move in and out of the body without catching or sticking. If these symptoms are present, then the keyboard slider needs repairing.
Was du brauchst
-
-
To expose the battery, remove the outer case with your fingernail.
-
Remove the battery by pulling the black tab.
-
-
In diesem Schritt verwendetes Werkzeug:Spudger$3.99
-
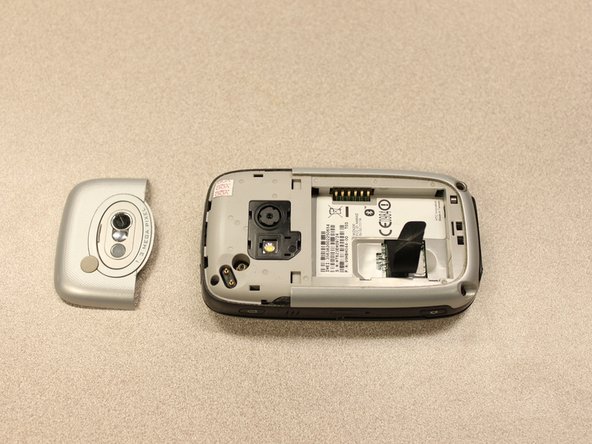
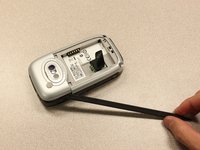
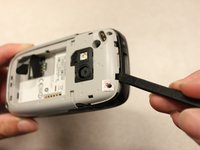
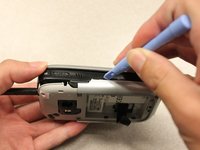
Insert the flat end of the spudger into the two notches on the back of the camera cover and pry them up.
-
-
In diesem Schritt verwendetes Werkzeug:Spudger$3.99
-
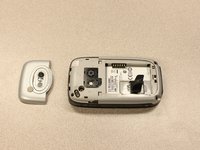
Work the spudger around the edges of the camera cover until it comes off.
-
-
In diesem Schritt verwendetes Werkzeug:T5 Torx Screwdriver$5.49
-
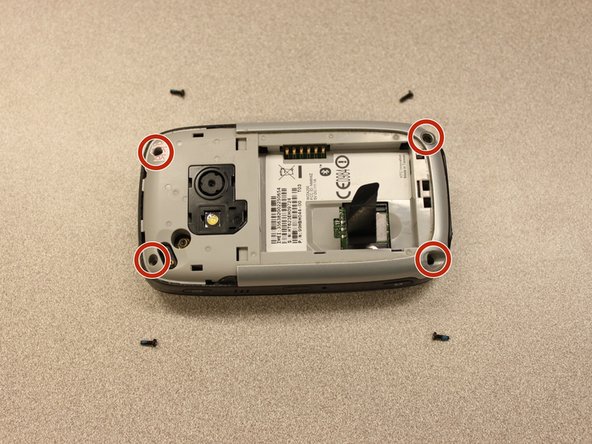
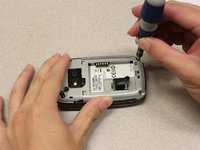
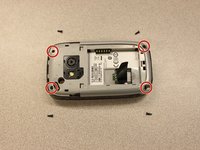
Remove the four 6 mm screws with the T5 Torx screwdriver.
-
-
-
-
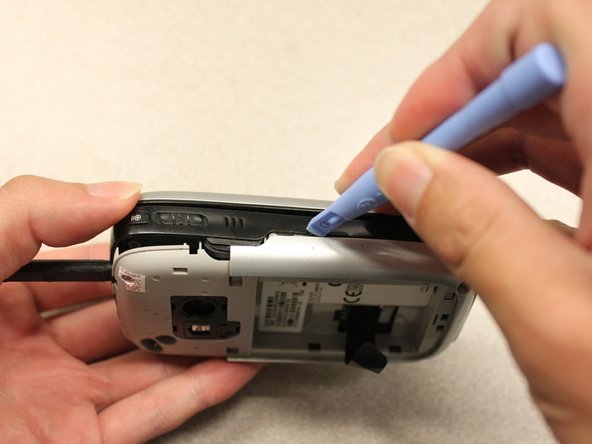
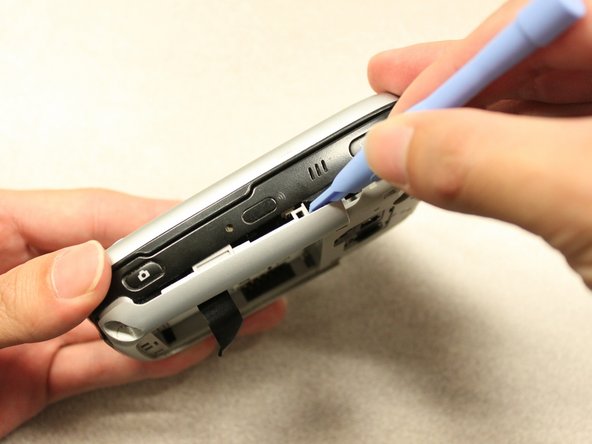
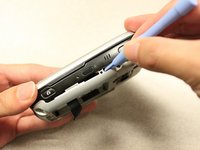
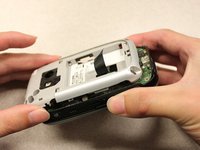
Insert the flat end of an iFixit opening tool between the side and inner covers to create a gap.
-
Work the tool around the edges until all the clips release.
-
-
In diesem Schritt verwendetes Werkzeug:Spudger$3.99
-
Use the spudger to pry the camera off.
-
-
In diesem Schritt verwendetes Werkzeug:Tweezers$4.99
-
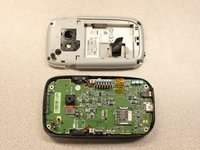
Using tweezers, flip the connector latch away from the motherboard.
-
Detach the flexible connection from under the connector latch.
-
-
In diesem Schritt verwendetes Werkzeug:Spudger$3.99
-
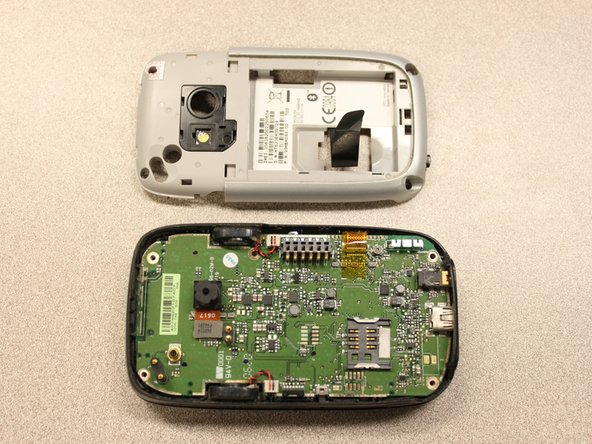
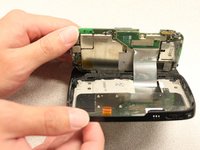
Lift the motherboard out of the case using the spudger.
-
Expose the underside of the motherboard using your hands.
-
-
In diesem Schritt verwendetes Werkzeug:T5 Torx Screwdriver$5.49
-
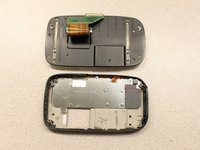
Remove the four 5mm screws with the T5 Torx screwdriver.
-
Remove the keyboard slider from the main body.
-
To reassemble your device, follow these instructions in reverse order.
To reassemble your device, follow these instructions in reverse order.
Rückgängig: Ich habe diese Anleitung nicht absolviert.
Eine weitere Person hat diese Anleitung absolviert.


