Zum Hauptinhalt wechseln

Diese Anleitung enthält neuere Änderungen. Wechsel zur neuesten unüberprüften Version.

HTC Wizard 200 Motherboard Replacement

Was du brauchst

  1. HTC Wizard 200 Motherboard Replacement, Battery: Schritt 1, Bild 1 von 2 HTC Wizard 200 Motherboard Replacement, Battery: Schritt 1, Bild 2 von 2
    • To expose the battery, remove the outer case with your fingernail.

    • Remove the battery by pulling the black tab.

  2. HTC Wizard 200 Motherboard Replacement, Back Panel: Schritt 2, Bild 1 von 1
    In diesem Schritt verwendetes Werkzeug:
    Spudger
    $3.99
    Kaufen
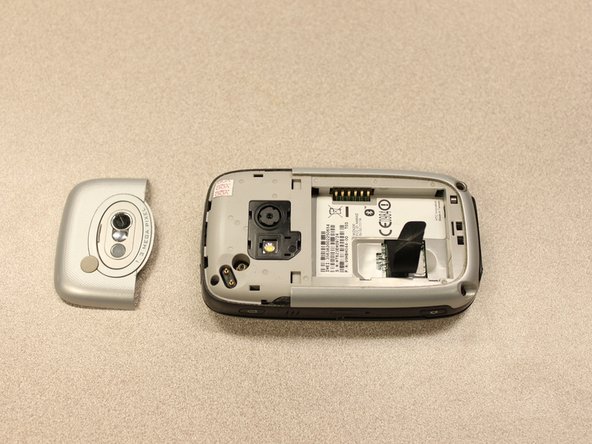
    • Insert the flat end of the spudger into the two notches on the back of the camera cover and pry them up.

  3. HTC Wizard 200 Motherboard Replacement: Schritt 3, Bild 1 von 2 HTC Wizard 200 Motherboard Replacement: Schritt 3, Bild 2 von 2
    In diesem Schritt verwendetes Werkzeug:
    Spudger
    $3.99
    Kaufen
    • Work the spudger around the edges of the camera cover until it comes off.

  4. HTC Wizard 200 Motherboard Replacement: Schritt 4, Bild 1 von 2 HTC Wizard 200 Motherboard Replacement: Schritt 4, Bild 2 von 2
    In diesem Schritt verwendetes Werkzeug:
    T5 Torx Screwdriver
    $5.49
    Kaufen
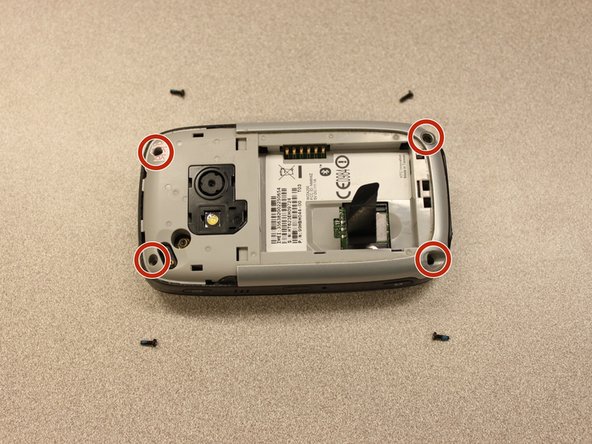
    • Remove the four 6 mm screws with the T5 Torx screwdriver.

    • One of the screws is under the "void" sticker.

  5. HTC Wizard 200 Motherboard Replacement: Schritt 5, Bild 1 von 3 HTC Wizard 200 Motherboard Replacement: Schritt 5, Bild 2 von 3 HTC Wizard 200 Motherboard Replacement: Schritt 5, Bild 3 von 3
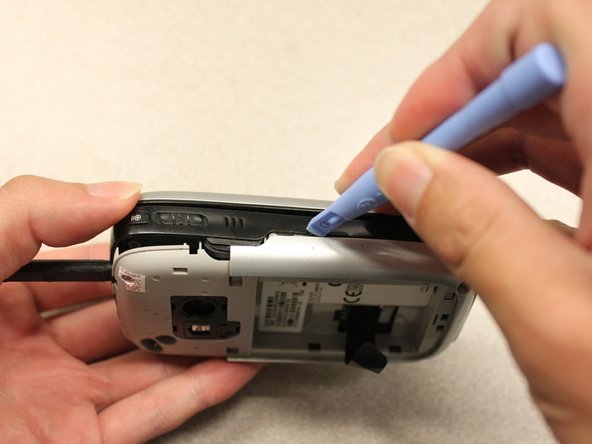
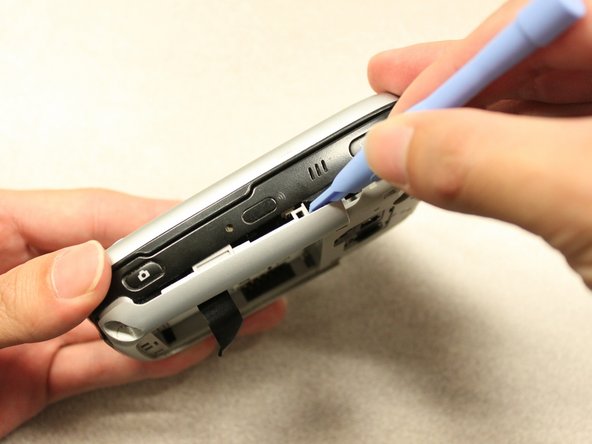
    • Insert the flat end of an iFixit opening tool between the side and inner covers to create a gap.

    • Work the tool around the edges until all the clips release.

  6. HTC Wizard 200 Motherboard Replacement: Schritt 6, Bild 1 von 2 HTC Wizard 200 Motherboard Replacement: Schritt 6, Bild 2 von 2
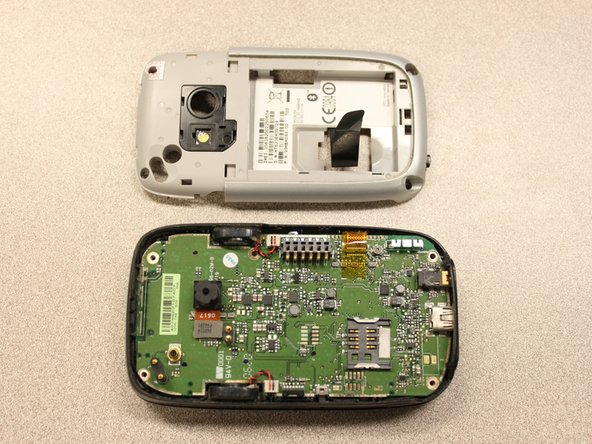
    • Once all the clips are open, remove the inner panel from the phone.

  7. HTC Wizard 200 Motherboard Replacement, Motherboard: Schritt 7, Bild 1 von 1
    • Device rotated 180 degrees.

    • Use the spudger to pry off the camera.

  8. HTC Wizard 200 Motherboard Replacement: Schritt 8, Bild 1 von 3 HTC Wizard 200 Motherboard Replacement: Schritt 8, Bild 2 von 3 HTC Wizard 200 Motherboard Replacement: Schritt 8, Bild 3 von 3
    • Device rotated 90 degrees CCW.

    • You may need to remove a strip of orange anti-static tape (not pictured).

    • Flip up the connector latch.

    • Use the tweezers to detatch the flexible connection.

  9. HTC Wizard 200 Motherboard Replacement: Schritt 9, Bild 1 von 1
    • Device rotated 90 degrees CW.

    • Slide the screen slider into the open position.

  10. HTC Wizard 200 Motherboard Replacement: Schritt 10, Bild 1 von 1
    • Use the spudger to push out the motherboard.

  11. HTC Wizard 200 Motherboard Replacement: Schritt 11, Bild 1 von 3 HTC Wizard 200 Motherboard Replacement: Schritt 11, Bild 2 von 3 HTC Wizard 200 Motherboard Replacement: Schritt 11, Bild 3 von 3
    • Use your hands to gently expose the underside of the motherboard.

    • Use the spudger to pull off the flexible connection.

    • Be careful not to pull apart the motherboard connection quickly, as the connection and cables could be damaged.

Abschluss

To reassemble your device, follow these instructions in reverse order.

Kyle Champ

Mitglied seit: 10/03/11

225 Reputation

12 Anleitungen geschrieben

Team

Cal Poly, Team 20-27, Maness Fall 2011 Mitglied von Cal Poly, Team 20-27, Maness Fall 2011

CPSU-MANESS-F11S20G27

4 Mitglieder

24 Anleitungen geschrieben

0 Kommentare

Kommentar hinzufügen

Seitenaufrufe:

Letzte 24 Stunden: 0

Letzte 7 Tage: 3

Letzte 30 Tage: 14

Insgesamt: 1,115